How to Layer the Altenew Creative Cuts: Lemon Tree Die Set
by Erica Andersson August 11, 2026

Key Takeaways
Simplified Alignment: Altenew’s Key Hole System makes assembling multi-layered paper diecuts effortless for both beginners and experienced crafters.
Realistic Texture & Depth: The Creative Cuts Lemon Tree set features built-in texture details on the top layers, which pop when elevated with varying sizes of foam dots.
Effortless Backgrounds: Soft ink blending with residual brush ink and metallic gold splatters adds immediate background interest without distracting from the main design.
Hello Altenew friends and fans! It's your die cut crazy girl Erica back on the blog with another 'let's get on a roll' post, and YouTube video. As a transplant Spanish person, of Scandinavian origin, I'm doing my best to acclimate to the absolute SAUNA that is the Spanish summer. I might be wilting a little, however my teeny tiny lemon tree is doing well. This little tree is the inspiration behind today's cards, featuring the absolutely lovely Creative Cuts: Lemon Tree Layering Die Set. This is one of the die cut sets that I was instantly smitten with as soon as I saw it.
I was practically giddy with delight as I was die cutting away. It has so many lovely elements and details, like the little texture on the top layer of the lemon die cut. It makes them so realistic!

Crafty Necessities Colored Cardstock + Die Cuts = Perfection
The bright and colorful range of cardstock you can find at Altenew is top-notch, and usually you can find some great suggestions and color inspiration inside the packaging, as well as some card ideas. For my first card, I decided to replicate one of the inspiration cards almost exactly, as it's oh, so gorgeous. I did have to make one slight color change: as the suggested color for the pot die cut was one I didn't have, I substituted it for one of my favorite blues, Desert Night.
Assembling Layered Lemon Die Cuts with the Keyhole System
Thanks to the Keyhole System on the die cuts, it was so easy breezy to puzzle this lemon tree together. In fact, I loved the colors so much I made two—hence the 'let's get on a roll' reference, hinting at my inability to just simply die cut ONE at a time. It's not just me, right?
In the YouTube video, you can see the layering together of the die cuts and see for yourself just how easy it is. In fact, ANY layering die cut set that has the Keyhole System is a great way to introduce friends and family who might be wanting to dip their toes into this fun hobby.
Card Inspiration 1: Following the Packaging Design

As mentioned, the first card is pretty much a straight up step-by-step to make one of the inspiration cards you can find inside the packaging of the Creative Cuts Lemon Tree Die Set. I even used the same sentiment from the Mini Delight: Sweet Popsicles Stamp & Die Set—another incredible set from the August release!
Even though I didn't have to flex my creative muscle for this one, I really enjoyed putting it together and loved seeing it all come together. Basically, what I am saying is that just because you copy something, right down to the sentiment, doesn't mean it's not creative. Just don't pass it off as your own design if you share it on social media. I don't know exactly who designed this card, but it is someone from Altenew and to you I say, 'thank you a lemony lot, I love it!'.
Card Inspiration 2: Subtle Ink Blending & Metallic Splatters

For the second card, I already had my lemon tree assembled and done, so I didn't have to die cut another one. It's kind of shocking even to myself that I put the die cuts away and 'made do' with the one I already had. There is a first for everything, I guess, LOL!
The background I wanted to keep relatively simple to let the lemon tree die cut be the star of the show. I ink blended a bit of leftover blue ink that was left on my Large Ink Blending Brush (the big one with the ergonomic handle). I didn't add any new ink to the brush at all, just kept blending until I had a soft lovely blue on a panel of white cardstock. As I rarely (read never) clean my brushes, I had a fair bit of ink on it and that was all that was needed.
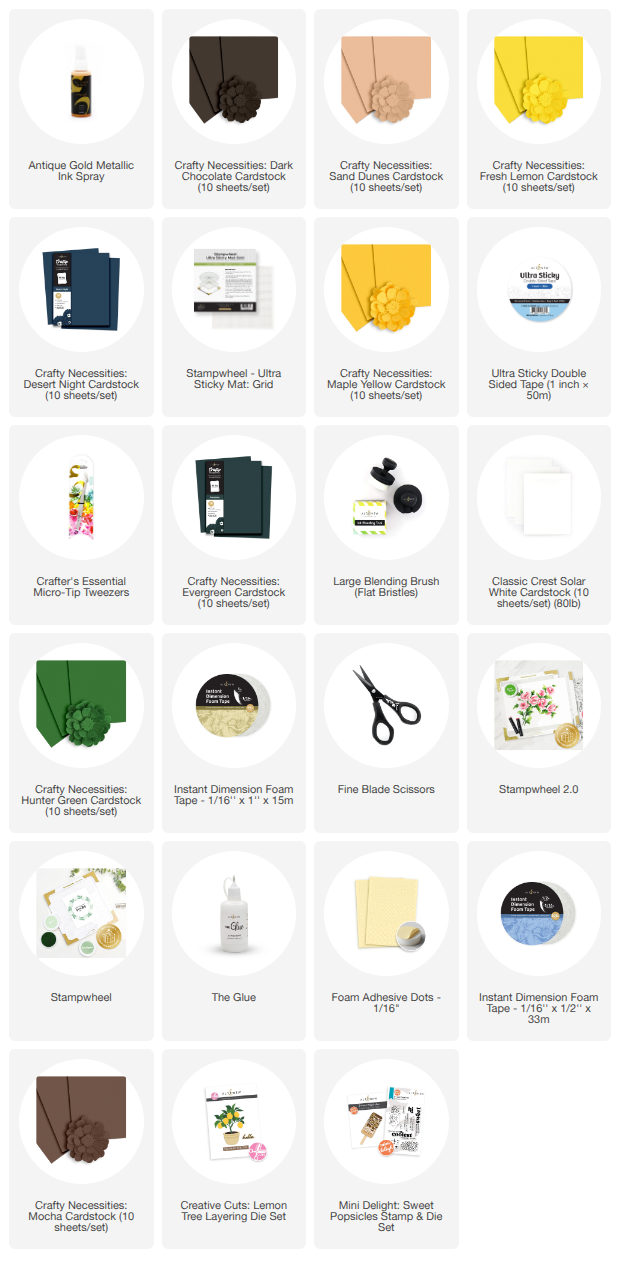
On top of this, I also splattered some gold droplets using the Antique Gold Metallic Ink Spray. By opening the bottle and dipping a paint brush in the ink, you get bigger droplets, but if you prefer a gorgeous gentle shimmer all over, just use the spray bottle as it is. It's an absolute STAPLE in my craft stash!
Adding Dimension with Foam Tape & Dots
To raise the lemon trees and the pot up from the background, I added both Instant Dimension Foam Tape and the new Foam Dots. The foam dots come in three different sizes, and you can choose from two different widths too—this made adding some to the leaves super easy. For the lemons themselves, and the leaves in various sizes, there was a foam dot for all of them!
Before I stuck down the background, I trimmed it down a little to make the card base show around it like a little frame. On the back of it, I added a fair amount of Ultra Sticky Double-sided Tape, and then my luscious lemon tree die cut on top.
Customizing Sentiments & Clean and Simple (CAS) Layouts
For this one, I decided to use one of the die cut sentiments that come in the Lemon Tree Layering Die cut set. One says 'hello' and it's a two-piece die cut with a shadow part and the actual word part. The second says 'let's squeeze the day'—and as a pun lover, I just had to use that one! It made me chuckle. I cut the actual sentiment out of Jet Black Crafty Necessities Cardstock and layered it with Fresh Lemon Crafty Necessities Colored Cardstock, so the words look like they have been written in yellow.
Because this card had the sparkle on the background, I made the decision to not add any extra bling, which will probably come as a shock to many. I don't know what is happening, but I'm making more and more CAS/Clean and Simple cards recently. Or at least my own level of CAS. I really do think that the lemon die cuts are the absolute star of these cards and didn't want to take away too much attention from them.

Well, that is it from me for today, but I really hope you enjoyed this post, feel inspired to get creative, and will get a chance to watch the YouTube video too.
With lemons, love, and punny laughter from your girl Erica!


Save up to 45% off the Pastes/Sprays Collection + Free Silicone Mat (worth $11.99) on orders over $65 from August 11, 2026 at 12:01 AM EDT until August 13, 2026 at 11:59 PM EDT. Shop here: https://altenew.com/collections/pastes-sprays-more
Supply List