Regency‑Inspired Cardmaking with the Craft Your Life Project Kit: The Drawing Room
Key Takeaways
Layered embossing — Combining embossing with stenciling or pastes adds depth and texture that instantly elevates any cardmaking project.
Ink‑blended layers — Layering stencils make it easy to achieve smooth blends, natural shading, and dimensional floral effects.
Color theory — Thoughtful color choices help set the mood, reinforce your theme, and create a cohesive, polished design.
Scene building — Combining background texture, focal elements, and intentional placement creates a strong visual story on your card.
Hello, crafty friends! Lea here with my latest edition of Light & Airy Looks. If you love elegant details, ornate textures, and a touch of historical charm in your cardmaking, today’s project is going to feel like stepping straight into a Regency‑era parlor. For this month’s feature, I’m working with the Craft Your Life Project Kit: The Drawing Room, and it is truly a dream for anyone who enjoys Regency‑inspired cardmaking. From the embossed damask textures to the graceful florals and the beautifully detailed chair, this kit brings together everything I adore about classic, refined cardmaking design.
In this tutorial, I’ll walk you through how I created this richly layered card — complete with a glitter‑kissed background, soft ink‑blended florals, and a sentiment placement that mimics architectural trim. Whether you’re crafting for a special occasion or simply want to explore a more elegant style, this project is a wonderful way to bring a little Regency romance to your cardmaking table.

Creating the Embossed Background
I began by embossing my background panel using the 3D embossing folder included in the kit to a panel of Blush cardstock. This folder features a beautifully framed design that instantly sets the tone for a Regency‑inspired cardmaking project. The raised frame creates a natural focal point, while the surrounding pattern adds depth and sophistication — perfect for ornate cardmaking styles.
Once the panel was embossed, I placed the masking stencil over the center frame. This allowed me to keep the inner portion clean while adding texture to the outer area. With the mask in place, I reached for stencil 1 from the coordinating stencil set — the one that overlays the damask pattern — and carefully applied Iridescent Glitter Relief Paste over the design with a Mixed Media Palette Knife.
This step adds the most magical shimmer. The paste settles beautifully into the recessed areas of the stencil, creating a sparkling, dimensional effect that feels right at home in Regency‑inspired cardmaking. After lifting the stencil, I set the panel aside to dry completely.
TIP:
Once the paste is dry to the touch, cover the back of the panel with Instant Dimension Foam Tape - 1/16'' x 1'' x 15m. This helps counteract any warping caused by moisture and keeps your finished cardmaking project looking crisp and professional.

Ink Blending the Florals
While the background dried, I moved on to the florals — one of my favorite parts of this cardmaking kit. The layering stencils make it incredibly easy to achieve soft, painterly blooms with beautiful depth.
For the petals, I chose shades of purple, using all four colors from the Sugarplums ink color family. Purple is a quintessential Regency color — historically associated with luxury, refinement, and romanticism. It pairs beautifully with the ornate style of this kit, giving the florals a timeless, heirloom feel that works beautifully in Regency‑inspired cardmaking.
For the leaves, I blended sage and olive greens from the Sage Garden color family, which complement the purple tones without overpowering them. Sage green is especially fitting for Regency‑style cardmaking because it echoes the muted, botanical hues often found in period textiles and wallpaper.
The flower centers were inked in warm yellows from the Golden Sunset family, adding a gentle pop of brightness that keeps the palette from feeling too heavy. The combination of purple, sage, and yellow creates a harmonious balance — elegant, soft, and perfectly suited to the refined aesthetic of Regency‑inspired cardmaking.
Once all the layers were blended, I used the coordinating die to cut out the floral cluster. One of the standout features of this die is that it cuts right to the edge of the design, leaving no white border. This creates a beautiful no‑line look, enhancing the realism and delicacy of the florals — a detail that elevates any cardmaking project.

Adding the Regency Chair
Next, I turned my attention to the elegant chair included in the Drawing Room die set. This piece is such a showstopper — ornate, sculpted, and full of personality. I die‑cut the chair from Sagestone and Brushed Gold cardstock and added subtle stamping with kit's stamp set to give it a velvety, upholstered feel. The gold accents bring in that quintessential Regency opulence, tying the entire cardmaking design together.
The chair instantly transforms the card into a little scene — like a glimpse into a beautifully decorated sitting room. It’s one of the reasons this kit is so special: it invites you to build a story, not just a cardmaking layout.

Heat Embossing the Sentiment
For the sentiment, I chose one of the elegant greetings from the stamp set and heat embossed it in antique gold. The warm metallic finish complements the glittery background and the gold accents on the chair, creating a cohesive, luxurious look that enhances the entire cardmaking composition.
This particular sentiment does not have a coordinating die, so I trimmed it into a clean, narrow strip. Instead of placing it at the top or center, I adhered it along the bottom edge of the card.
This placement was intentional — because the scene resembles a room, the sentiment strip acts almost like baseboard trim, grounding the design and visually connecting the elements. It’s a small detail, but it adds so much charm and structure to the finished cardmaking project.

Why This Color Palette Works for Regency‑Inspired Cardmaking
The Regency era was known for its refined elegance, soft color palettes, and intricate decorative arts. The combination of lavender purples, sage greens, warm golds, and soft pinks reflects the textiles, upholstery, and wallpaper patterns of the time — making it ideal for Regency‑inspired cardmaking.
Here’s why this palette works so beautifully:
Purple evokes luxury and romance — perfect for floral cardmaking.
Sage green adds a grounded, botanical feel reminiscent of Regency interiors.
Gold brings in the ornate metallic accents found in furniture, mirrors, and architectural details.
Soft pink in the background creates warmth and softness without overwhelming the design.
Together, these colors create a card that feels both timeless and richly detailed — exactly what you want in Regency‑inspired cardmaking.
Check Out The Regency-Inspired Cardmaking Tutorial Here!

Final Assembly
Once all the elements were ready, I glued the floral cluster and mounted the chair onto the glittered background using foam tape for dimension. The sentiment strip nestled perfectly along the bottom, completing the room‑like vignette.
The finished card is full of texture, shimmer, and classic elegance — a beautiful example of how the Craft Your Life Project Kit: The Drawing Room can bring Regency‑inspired cardmaking to life.
Thanks so much for joining me today! I hope you enjoyed watching my card come to life, and I can't wait to see your take on it!

Enjoy up to 50% off on the Craft Your Life Project Kit & Mini Delight Collection from May 14, 2026 at 12:01 AM EDT until May 16, 2026 at 11:59 PM EDT.
Shop Craft Your Life Project Kits Here: https://altenew.com/collections/craft-your-life-project-kit
Shop Mini Delight Here: https://altenew.com/collections/mini-delight-stamp-and-die-sets
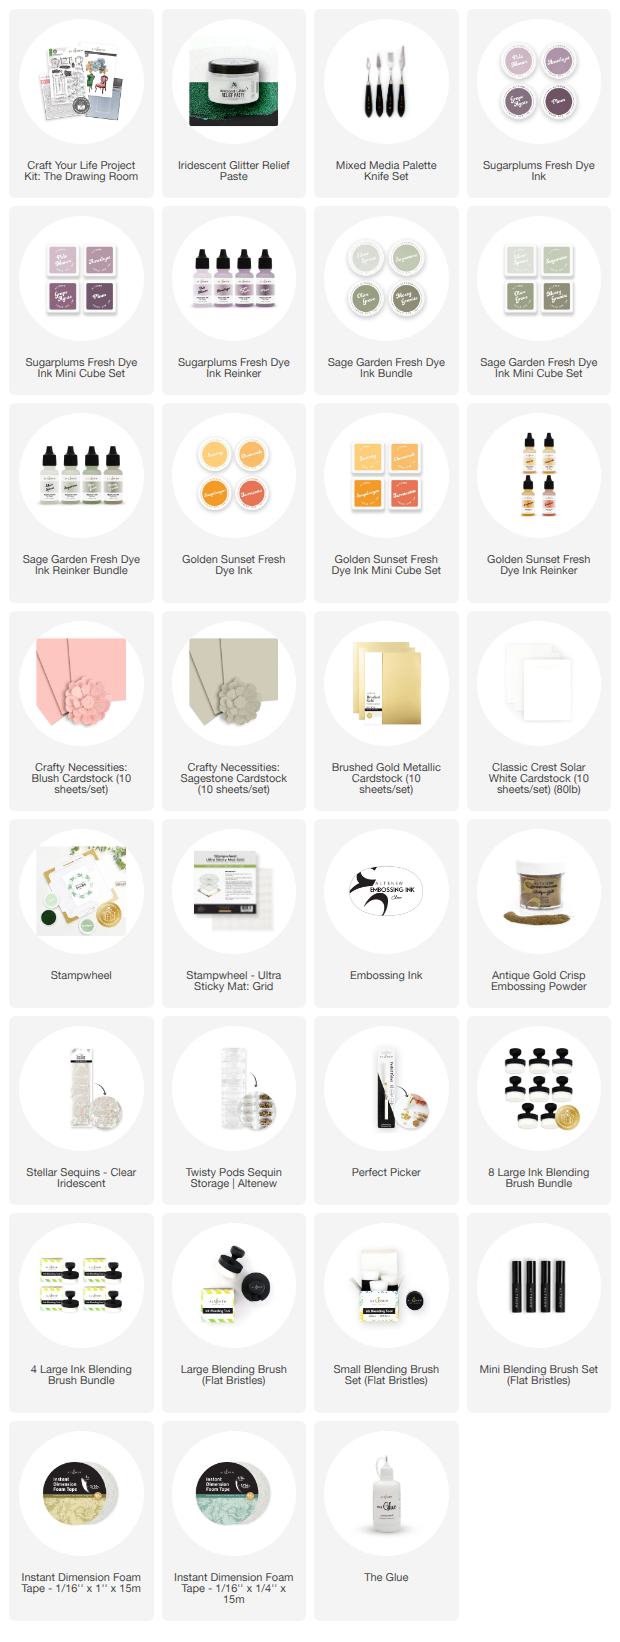
Supplies