Parchment Bouquet Floral Card with Vintage Book Wrapper
Hello crafty friends!
Svitlana here, and today I’m excited to share a card featuring the Parchment Bouquet Die Set, brought to life with a rustic, textural touch. Despite the name, my bouquet isn’t wrapped in actual parchment—it’s wrapped in “newspaper,” giving it a cozy, old-world feel.

Creating the Bouquet Wrapper
For the wrapper, I die-cut each element once out of Crafty Necessities: Misty Moor Cardstock and once out of an old book page. I specifically thrifted a book with naturally aged pages from Goodwill years ago, intending to use it for my crafty endeavors.

After die-cutting, I adhered the book paper cuts onto the Parchment Cardstock die-cuts to add both structure and visual texture.
Flowers and Foliage
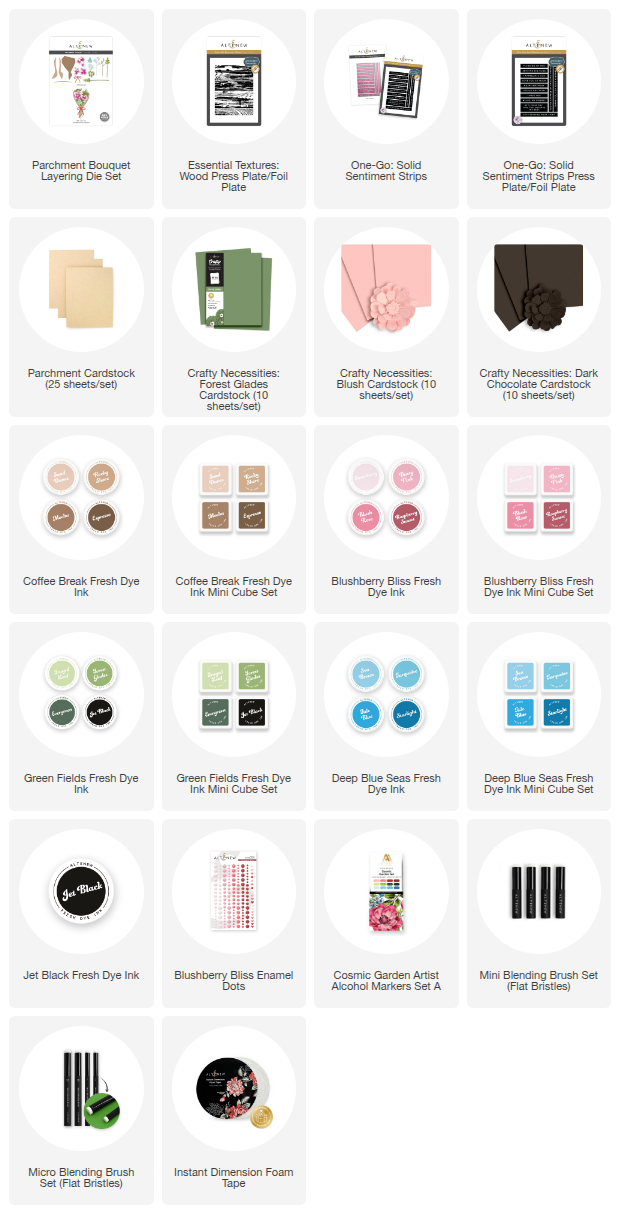
All floral elements were cut using dies from the Parchment Bouquet Die Set out of the Crafty Necessities: Blush and Forest Glades Cardstock, along with Solar White Cardstock.
I added some soft ink blending to the Blush die-cuts using Dusty Pink Fresh Dye Ink, bringing gentle depth to the flowers. The flower centers were cut from white cardstock and colored with a touch of Fresh Lemon Fresh Dye Ink.
For the greens, I started with Forest Glades Cardstock and shaded them with Evergreen Fresh Dye Ink to create a more dynamic, layered look.
I also incorporated a few blue florals, which I inked with Sea Breeze Fresh Dye Ink for a soft, delicate contrast.

After coloring, I assembled the bouquet by layering and adhering the floral elements onto the base wrapper piece with liquid adhesive.
To add dimension, I popped some elements up with a mix of regular and thin black adhesive foam squares, helping build that layered bouquet effect.
The front flaps of the wrapper were also popped up using foam squares to give the arrangement extra volume and life.
I completed the bouquet with a Blush bow, die-cut from the same cardstock and tucked perfectly at the base.
Background Panel
For the background, I reached for Crafty Necessities: Dark Chocolate Cardstock and transformed it into a woodgrain panel using the Essential Textures: Wood Press Plate and Jet Black Fresh Dye Ink. The resulting texture gives a warm, rustic contrast to the bouquet.
The bouquet was then mounted onto the woodgrain panel with foam squares, and the entire panel was foam-mounted onto a white card base using Instant Dimension Foam Tape.

Sentiment Details
The sentiment comes from the One-Go: Solid Sentiment Strips Bundle—one of my go-to sets! I absolutely love this line for its convenience: you can stamp, press, and die-cut multiple sentiments all at once and have a ready-to-go stash for future projects.
Confession time—I often spend so much time on the design that when it comes to the sentiment, I get lazy. That’s why I always keep a stash of these prepped and ready.
For this card, I mimicked the look of white embossing on kraft cardstock by using Sand Dunes Fresh Dye Ink.
Since I had my BetterPress System out already, I also made a batch of sentiments in black for future use. The sentiment on this card is slightly popped up with thin foam squares and placed right on the bouquet.
Finishing Touches
To bring the card together and add a bit of shine, I finished with several Blushberry Bliss Enamel Dots scattered around the bouquet.
I hope you like my card and get inspired to use this amazing Parchment Bouquet Die Set. I believe it could be used for both vintage/rustic as well as clean and modern designs.
~Supply List~