Simple Way to Maximize Your Crafting Supplies | Creative Die-Cutting with Bibi Cameron
Hello from Scotland, Bibi here! I'm excited to share a simple way to maximize your crafting supplies. Keep on reading if you want to learn easy 2-from-1 cardmaking ideas using the brand-new Pumpkin Patch Bundle and stunning new dye ink colors.
New Altenew Fresh Dye Inks

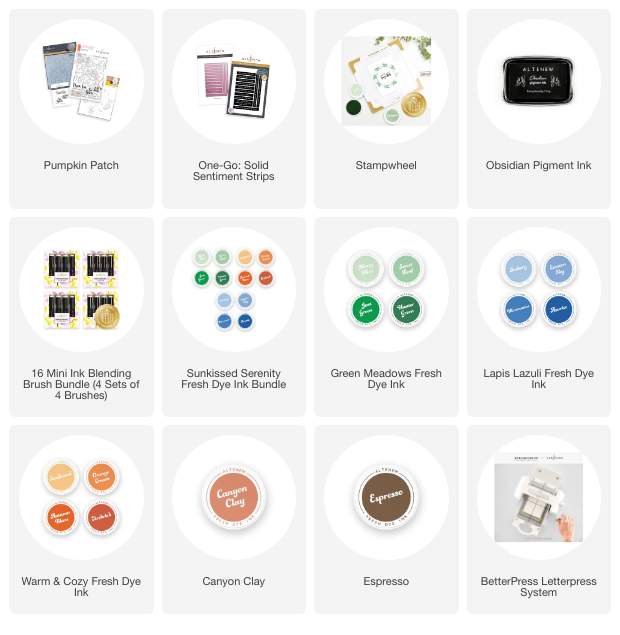
The Sunkissed Serenity Fresh Dye Ink Bundle is a must-have! It features 12 vibrant round ink pads from the Green Meadows, Warm & Cozy, and Lapis Lazuli collections, offering a stunning colour spectrum, from the refreshing light tones of Minty Mint, Sunkissed, and Iceberg to the bold depths of Hunter Green, Firebrick, and Azurite.
These rich hues—from warm oranges to cool blues—provide the perfect balance of light, medium, and dark shades to create soft, delicate designs or striking, dramatic compositions.
How to create two cards from one design and maximize your crafting supplies.

These C6/ A2 handmade cards were made with busy crafters in mind. They are easy makes but the process is still enjoyable and relaxing as you will spend time blending inks through the stencils. Plus, you get to learn a simple way to maximize your crafting supplies.
I filmed the process and you can find it in the link below. Apologies, I have been unable to edit YouTube videos due to motherhood and school holidays.
This is a speed-up video and it will allow you to see the products in action. In real-time, it took me 40 minutes to complete 4 cards. I applied a potpourri of contrasting ink colors (listed below and in the supplies list here). To get color balance, I made sure I did not apply the same color to images that were closed. For interest, I also applied contrasting inks on the same image using the same stencil.
Ink Colors Used
- All the inks from the Sunkissed Serenity Fresh Dye Ink Bundle
- Espresso
- Canyon Clay
- Misty Sage
- Honey Drizzle
- Puffy Heart
- Amber Blaze
- Green Opal

So as you see in the video, I first stamped the image from the Pumpink Patch stamp set on the centre of a 4 1/4″ x 11″ panel cut out of white smooth cardstock (300 gsm).
I used Altenew Obdisian Ink (my new favorite!) and because the stamp and the piece of paper used are large, I used the lid of the Stampwheel as a clear block.
Then, I used a heat tool to quickly heat set the ink. You can allow it to dry naturally too to avoid ink smearing.
Next, I used the 6 layers of coloring stencil and yellow, orange-brown, green, pink, and blue inks.
Once the panels were fully coloured, I cut them in half. I aligned the images with the embossing folder. It gave it a beautiful texture. Sadly, this can't be seen in pictures.
As I got some ink on unwanted areas, I quickly fusy cut 2 off these panels and dhered them over the card bases.
To finish, I added sentiments made using the One-Go: Solid Sentiment Strips better press plate and dies and BetterPress blue ink.
Bonus Card

It's incredibly easy to make this 6″x 6″ handmade card features the whole stenciled and embossed image. For this, I did not use stamps. You can read more on the blog post here.
That's all for today! Hope you enjoyed this simple way to maximize your crafting supplies and create 2 (or more!) cards in one go! Happy crafting!
~Bibi
Supplies