Let's have some fun with colored cardstock!!
by Erica Andersson October 30, 2025
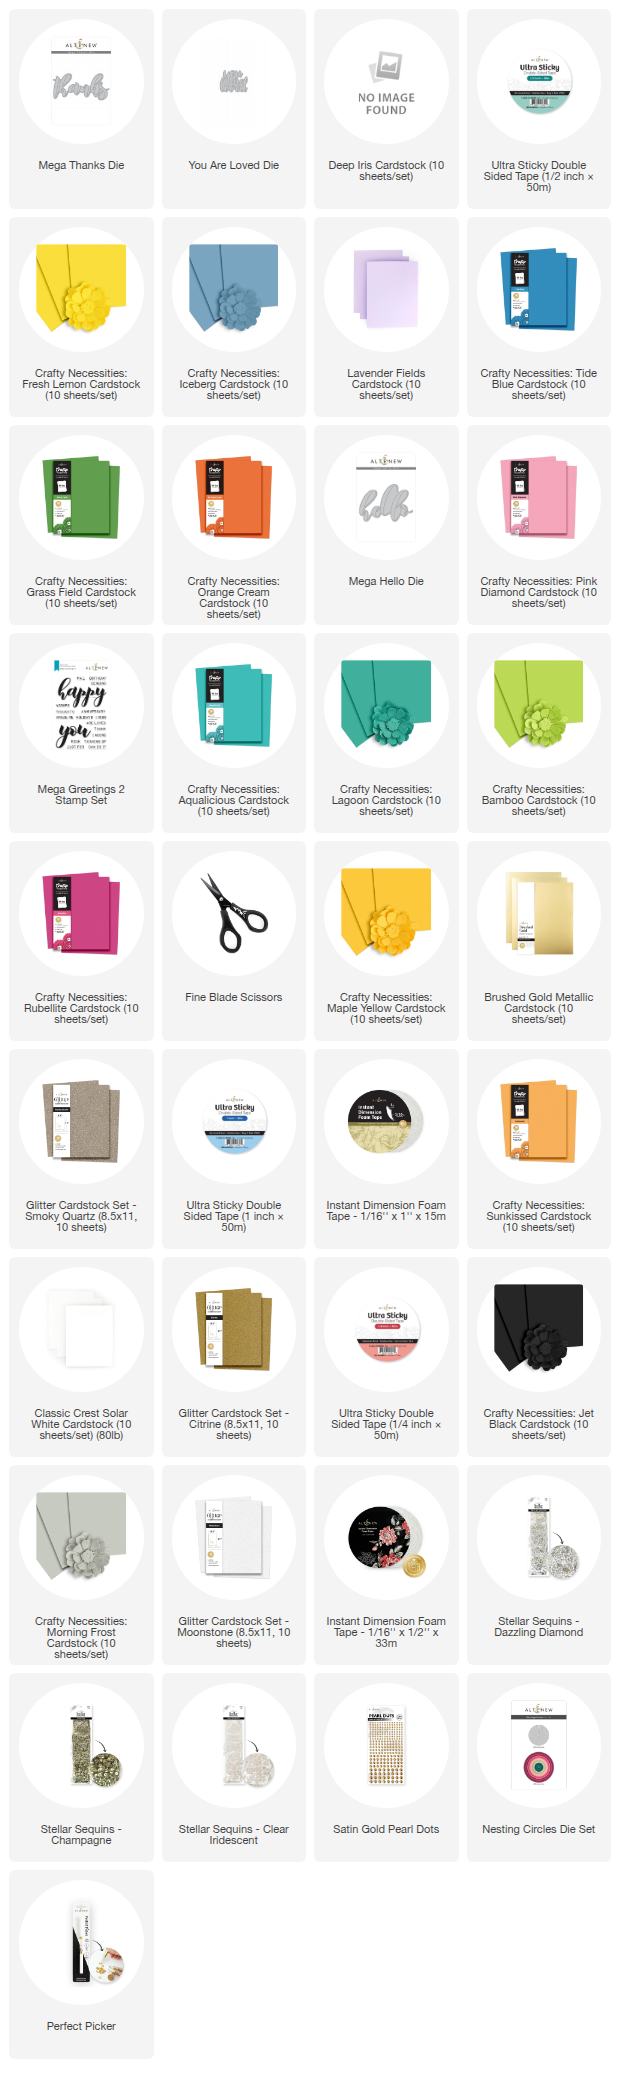
Crafty Necessities Colored Cardstock in focus
Colored cardstock is so versatile, it really is, not to mention it's fun to play with and it looks pretty in your craft room. It can be a bit difficult to not embrace the whole 'full set syndrome', but as tempting as it is, you don't need them all *GASP* I know, I actually said it, LOL.
Hi, and welcome back to the Altenew blog. It's your color-loving gal Erica here with what is going to be a very colorful post. There is currently a promotion for the gorgeous colored cardstock, which is up to 55% off until tomorrow Oct 31st, so it just makes sense to have that range in focus, right?

The first thing to do is to be brutally honest with yourself about your cardstock needs. What do you use it for? Is it mostly die-cutting, or for embossing folders, a tiny pop of color here or there? If the answer is mostly die-cutting and you are into flower die-cuts, pick the colors you like for your flowers. There is no need to get all the shades of one color (although if you want to, now is the time with up to 55% off!)
One simple, yet very effective, way of adding pops of color to a project is to cut strips of cardstock in the color of your choice and add to your backgrounds. There are many ways to do this, do straight lines, braid them together, use different widths etc.
For a bright rainbow striped card, I can highly recommend cardstock in the color Maple Yellow, Orange Cream, Rubellite, Deep Iris, Ride Blue, Lagoon and Grass Field.

If you are leaning more towards the pastel rainbow colour scheme, might I suggest cardstock in Fresh Lemon, Sunkissed, Pink Diamond, Lavender Fields, Iceberg, Aqualicious and Bamboo. These colours are luscious while still soft and pastel.

To get the strips even I do prefer to use a diecut, there are several that have already been discontinued and I'm working on getting Altenew to release one *hint, hint* so I used one that cuts three 1 inch strips of cardstock in one go.
When it comes to adhering them to your backgrounds you have a few choices. You can either add ultra sticky double sided tape directly to your card base and then puzzle your strips of cardstock in whatever order takes your fancy.

On the upside there are three different widths of ultra sticky double-sided tape to choose from. What you are going to want to do is keep the backing tape from the strips you use. I know it sounds a bit crazy but just trust me. They will come in handy, especially when you are cutting Instant Dimension Foam Tape to size. Adding the leftover backing tape to the foam before cutting it with your Fine Blade Scissors.
You can also add the 1/4" double sided tape to the back of your 1" wide strips of cardstock, and then create some wildly colorful backgrounds. Use your Fine Blade Scissors to cut down the strips of cardstock and also trim the backing tape so you don't have to worry about wasting any of those precious strips. You are going to want to save the leftovers of those, too. Again, trust me on this.

Coloured Cardstock Backgrounds
Want a little peek at what you can achieve with just a little bit of coloured cardstock, some sticky stuff and some sharp scissors? Of course you do!

Aren't they so fun?? Oh my gosh, these are completely addictive to make and once you start it's hard to stop. If you have an obsessive nature, this is perhaps not the best technique to try, unless you know you can stop yourself. Putting a limit on how many cardstock stripes you cut might help. Asking a family member to hide your cardstock might be helpful too, LOL.
Glitter Cardstock and sentiments
When it comes to diecuts, especially sentiments and word dies, there is something really fabulous about cutting them from the range of glitter and brushed metallic cardstock. I'm completely addicted to this stuff!
I also like layering my word die-cuts with colored cardstock, to give the word/sentiment a shadow. It helps them stand out a bit better, plus it also makes it a bit sturdier.

This You Are Loved die is one of my all-time favorites from Altenew. I have had it since it was released, which must be close to 8 or 9 years ago. How fabulous does it look cut out of Smoky Quartz Glitter Cardstock?

I absolutely love big word diecuts, oh my gosh, they are so much fun and absolutely perfect for the kind of backgrounds you can make with strips of coloured cardstock. There are two Mega Word Diecuts that are sized for A2 sized cards, and there is a coordinating stamp set too if that's your jam.
The Crafty Necessities Cardstock in Jet Black is perfect for those shadows you get by layering your die-cuts. If black is too harsh for you there are some fabulous shades of gray too.

Card making process
I have different processes when it comes to card making. Sometimes it's all over the place, a bit of this and a bit of that, improvising and trying things left, right, and center.
Some days I make one card from start to finish without interruptions or making extra sentiments. Other times I like preparing lots of bits and pieces, almost like prepping puzzle pieces and then assemble them one by one. No gold stars for which one is happening today, given that I have kind of given away the game by this point.

All of the backing tape I saved from making the backgrounds came in handy when it came time to trim down the Instant Dimension Foam Tape. Told you it would come in handy, didn't I? Craft smarter, not harder right? Like we did with the strips of cardstock, the Fine Blade Scissors made easy work of this. The size of these scissors makes it really easy to cut thin, thin pieces of the foam tape to puzzle on the back of the word dies.

Most of the word diecuts have been layered with another coloured cardstock piece, for that shadowed look. When it comes to layering these up I highly recommend using liquid glue, and some Crafter's Essential Micro-Tip Tweezers. Oh, and a steady hand!
Finished cards, make that cardstock pop!
This one was a bit of a use-up-the-leftover-cardstock experiment, as I had a negative piece of Crafty Necessities Cardstock in Jet Black and I thought it would be a cool look to have the strips peek through the Mega Hello. I happened to have the little pieces from inside the letters too, so I used the actual diecut to place the pieces in the correct spot.

This one is like a really colourful wallpaper, and I dig it. I spaced the strips of cardstock so a little bit of the white card base peeked through, and this is one way to make the colours pop on their own. To add some glam to this one I have stacked a You Are Loved diecut from Brushed Gold Metallic cardstock with one cut out of Crafty Necessities Cardstock in Jet Black. The black layer is that little bit of extra icing on the cake!

On this one I debated adding Gem Sparkles in Black Onyx or Pearl Dots in Satin Gold and after some, rather clever if I may say so myself, experimenting (check the video to see for yourself!) I settled on the pearl dots. I wanted some of them on every single strip of cardstock, so I have added a smidge more than what could be deemed generous. It's Bling Town, baby!
For our first pastel rainbow card I went for a diagonal striped look, and I messed up the spacing a little but eh, we will make it work, right? Because this is a softer background, I decided to use one of the many, many You Are Loved die-cuts, layered with one in Morning Frost cardstock. On this one I also added some sequins for a sparkly look!
While I was on a roll with the pastel rainbow, I made a second background and this time I used strips of cardstock to cover the whole card base. I did forget to use the Aqualicious strips though.. what a rookie mistake, eh??
On this one I used a You Are Loved diecut in Smoky Quartz Glitter Cardstock, layered with one in Jet Black cardstock. Oh, it's just luscious! I have also used the Nesting Circles Dies to cut out a piece out of iridescent vellum cardstock, to frame the You Are Loved diecut. Here I used a Normal For Erica level of bling, in Dazzling Diamond.

As mentioned above, on this one I have used Stellar Sequins in Dazzling Diamonds to complement that Smoky Quartz Glitter Cardstock BUT I think maybe the Champagne ones would work too, however I will have to add that to my 'must try list'.
Next up I placed strips of cardstock diagonally on a white card base, with a little bit of a gap between each strip to let that white come through. I think it gives a little bit of room for each colour of cardstock to shine.
On this one I used a Mega Hello Die out of Crafty Necessities Colored Cardstock in Jet Black, and finished it off with a few Stellar Sequins in Champagne.

Even with all of these cards made, I still had some leftover cardstock strips and I thought why not show you a way to use those up too? I had a piece of cardstock in my little 'leftover box, that was cut on the diagonal and it was perfectly sized to fit some of these leftovers. So out came the scissors and glue!
On the back of this piece I have added LOTS of Instant Dimension Foam Tape to make sure it doesn't dip anywhere. This was going to be the 'base' for a Mega Hello cut out of Citrine Glitter Cardstock. You have two options for stacking up your word die to make sure it also doesn't sag anywhere. One is to cut more pieces of the word/sentiment die and trim these to cut off the excess, then layer them up as you normally would. I personally think this is the easiest way, but it does use up cardstock and I had all that extra Instant Dimension Foam Tape already loaded up on the backing strips so I got snipping with the Fine Blade Scissors again and voila!

On this one I have used some Pearl Dots in Satin Gold to finish off the sentiment, as I also added a 'friend' to the card. I have lost the dot over the 'I' so I used a dot for it instead, and then I couldn't help myself so I added some more to the card...

Ok, if you are still here, you deserve a gold star. You can always cut one out of Brushed Gold Metallic cardstock, and have a cookie too. This was a long post but I really hope you found it inspiring and fun! If you have been eyeing some colored cardstock, you have until tomorrow to take advantage of up to 55% off sale of the range so don't wait!

Also, check out the video if you want to see the cardstock stripping in action! With love and light, creativity and sparkle from your coloured cardstock loving gal Erica