Let's Create Some Delicious Texture | One Stencil, Three Cards!
by Erica Andersson September 3, 2025
Hello, hello September and Altenew fans & friends! I hope you are all doing well and are in the mood to create some insane texture with just ONE single stencil. Ok, maybe not just one thing...we will be using a few more things (in fact, I have used so many different Altenew products for these cards) for interest, texture, tactile feels, and of course sparkle and shine!

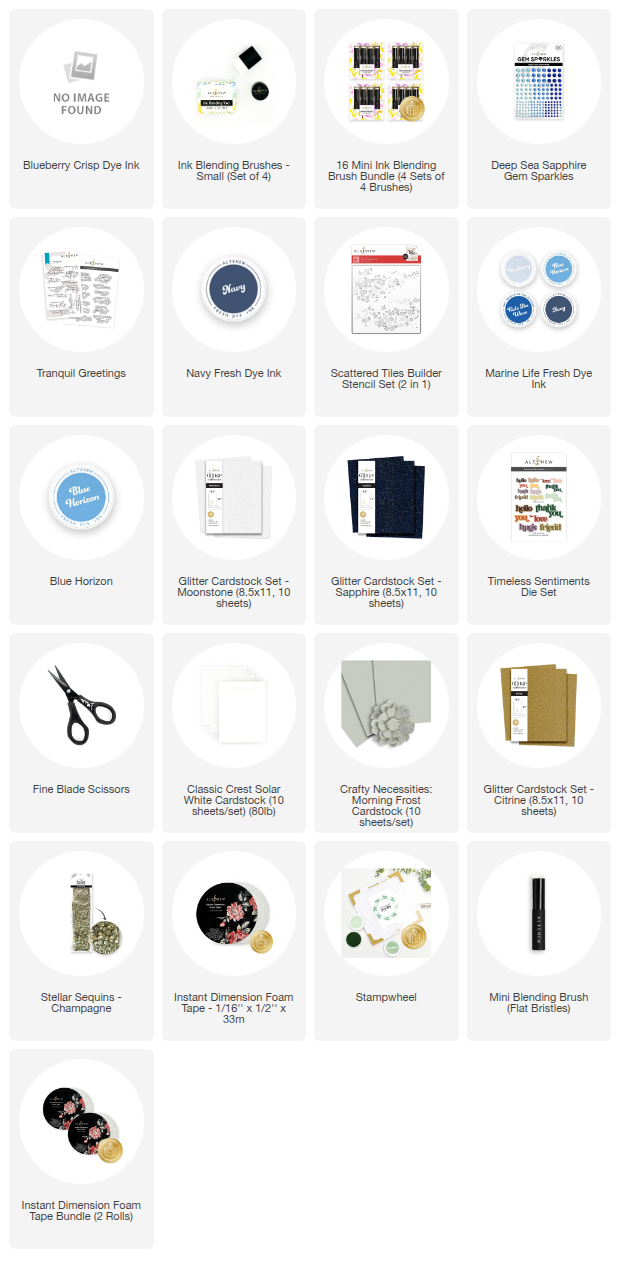
There is a video for these cards up on the Altenew YouTube channel as well, if you prefer to watch and follow along. All the products I have used to create these cards, and all of that delicious texture are listed at the bottom if you want to recreate these cards with me.
I am a huge fan of stencils. They are so versatile and fun, you can do so many different techniques with them, they take up very little storage space and they are affordable too (so you can get a lot of bang for your buck, which we like!)
One of my favourite ways to add texture is to use Shimmer Relief Paste. I adore that stuff and using them with stencils is fab, fab, fab for shimmery texture. My all-time fave Shimmer Relief Paste has to be Enchanted Gold, but I'm trying to not be so obsessed with it and use the many other colors I have too. As I was planning on using Morning Frost Crafty Necessities Cardstock I thought Shimmer Relief Paste Brushed Pyrite would be a fabulous combo. Spoiler alert, it was and the shiny texture is insane!
The stencil I have used, both for ink blending the background and for creating the texture with the Shimmer Relief Paste, is called Scattered Tiles. It's a 2 layer stencil set and I really like it! I have made quite a few cards with it already.
As I knew I was going to use Shimmer Relief Paste for the texture, I needed to give the backgrounds time to dry so the backgrounds were the first priority. I have done one with white card stock, one with the Morning Frost card stock and then I ended up ink blending another one background, with blue ink directly on a white panel. I love blue of all shades so I had to. Not only because I wanted to use that Scattered Tiles stencil with Enchanted Gold Shimmer Relief Paste for some lovely contrast texture. Gold and blue is such a classic combo, and it works for so many different occasions.

The blues I have used are from the Marine Life Fresh Dye Inks bundle, along with a bunch of different ink blending tools. On the white background I used all four ink colours, and for the texture I used the stencil in different places to add more Shimmer Relief Paste. I wanted more texture than what I would have gotten from using it in one place, so I moved it and added more paste. If you do this, just remember you need to be a little careful as the paste will be sticky until it's dry. RESIST the temptation to check the texture before it's completely dry.

On the Morning Frost background, I used the darker two shades of the inks for the colour, and I used both stencils for this part. For the texture part I used stencil 1 only, with the Shimmer Relief Paste and then set aside to dry.

The final background was done by ink blending Ride The Wave Fresh Dye Ink in an ombré fashion, so lots of blue at the bottom of the panel and actually some white left in the top right corner. On top of this I used stencil 1 only again, this time with the Enchanted Gold Shimmer Relief Paste. The gold texture on top of the blue? Oh, wow... I adore it! It obviously wasn't quite shimmery enough apparently, as I felt like splattering some gold watercolor on top of this, which I promptly did. It really added a little something-something, and I was SO tempted to add some silver water colour to the other two panels but managed to rein myself in and left them as they were. They actually had plenty of texture, interest and shine already.

While all my backgrounds were drying, I grabbed some already heat embossed sentiments, word diecuts and of course I made some more too... The word diecuts are from the absolute must-have Timeless Sentiments, and these are cut out of a variety of card stocks. White, Morning Frost, as well as Glitter Card stock in Moonstone, Citrine and Sapphire for extra interest, sparkle and texture.
There is a little sneak peek of something coming in the September release: the Nesting Circles Die Cuts. These I have used with all the colours of glitter card stock to add more texture, as well as white card stock to create a focal point on the cards. Almost like a stage for the sentiments to go on, if that makes sense.
The circles have been layered up and added to two of the cards. One of these was adhered with Instant Dimension Foam Tape, and the other was was glued straight down. The glitter card stock circle lends a fab touch of texture and glamour.

For the final card, I used the Timeless Sentiments set again and cut out the shadow part of the 'thank you' out of Glitter Cardstock in Sapphire, and the actual words out of white card stock. The glitter card stock was also used as a frame around the background, by trimming down the Morning Frost panel a little. This frame was a fabulous addition, and the glitter and texture help the background pop! Oh and a smart thing I did to save some of the glitter card stock was to cut out the shadow part out from the panel that would be covered by the background panel. Nobody will know and you will save yourself card stock. Win-win!

A a total texture addict, I thought 'these cards need more'. LOL. I ended up using all three of the colours of Gem Sparkles from the Deep Sea Sapphire on two of the cards, and on the blue and gold card I added a quite small (for me) amount of Stellar Sequins in Champagne.
After adding much less sparkle than I could have, if you know you know, but I liked the amount of bling and felt the amount of texture and interest they added was perfect. Lo and behold, I stopped there. Who knew I could rein myself in when it came to bling and texture. Must be one of those days!

That's it for me for today but it this texture crazy gal has inspired you, I'd love to hear about it!
Lots of love and light, sparkle and creativity from Erica