How to Reink Ink Pads
Having trouble with how to refill stamp ink pads? Then you're in the right place. This blog post will show you how to moisten dry ink pads with ink refills or reinkers. It's a simple process that should get you back to your stamping projects in no time!

How Do You Reink a Stamp Pad?
Reinking a dry ink pad is relatively simple. However, you still need to take extra precautions and care since the pads are pretty delicate. There are a few things to consider before reinking such as the material of your ink stamp pads and the consistency of its refiller or reinker. Inkpad refills have the same formula as its ink pad. So for the purpose of this blog post, we will stick to how to reink ink pads by material.

Tip: When purchasing stamp ink pads, always get its reinker whenever possible.
How to Reink Felt Stamp Pads
If you've ever had a dried-out ink pad, you know how frustrating it can be. Fortunately, it's easy to reink your ink pads and make them as good as new. Here's what you need to do:
- First, start with a clean ink pad. If your ink pad is dirty, the new ink will just get muddy. Use a soft cloth or paper towel to wipe away any dirt or debris. You can also use mild adhesive tape and gently dab it over your dry ink pad to pick up any smaller debris.
- Next, open up the ink refill bottle and pour a small amount of ink onto the pad. You can start by squeezing dots of ink on the pad in batches to avoid over-inking. Usually, the ink will soak right away for truly dry ink pads.
- Another way to reink is to spread the ink as you squeeze the bottle. This method requires a delicate touch. The nozzle should only barely touch the ink pad— just enough to use it as a spreader.
- Altenew Inks are made with felt stamp pads. To avoid damaging the felt, it is usually best to use the dotting method.

How to Reink Foam Stamp Pads
Reinking foam stamp pad inks are similar. However, there is an additional method that you can try. Foam stamp pads soak ink slower than felt or linen pads. You can use both the ink-dotting and nozzle spread methods to reink these types.
Tip: Aside from using the bottle nozzle to spread the ink, you can also use a bone folder to spread the ink and help the foam pad sink them in quicker. This tip also helps spread the ink more evenly for foam stamp pads.
Other than bone folders, you can be resourceful and use the back of a plastic spoon or a plastic card to spread the ink.

Tip: Ink pads will dry out more in the middle, so start reinking there.
How Do You Refresh Pigment Ink Pads?
Refreshing pigment ink pads are no different from dye inks. However, be mindful of the size of your particular ink pad and work gradually.

Altenew Mixed Media Pigment Inks
How to Know If the Ink Pad Has Too Much Ink
A well-hydrated ink pad produces the best stamping results. However, it can be the opposite when it’s overly saturated with ink. It can soak the grooves of your stamp and produce a muddy print. A wet surface is another sign to look out for if your stamp pad has too much ink. It can no longer soak the refilled ink and just stays on top. This excess ink can spell accidental finger stains.

What to Do If There Is Too Much Ink
It is typically suggested to wipe off the excess ink with cloth or baby wipes. You can even stamp off the excess on paper or cardstock. However, why not make the most of this extra ink? You can create a card! You can take an ink blender and gradually lessen the excess ink while creating a fabulous card in the process.

Ink Blending Tools for Card Making Ideas and Projects
5 Ink Blended Cards You Can Create with Excess Stamp Pad Ink
1. Easy Ink Blended Background Elements
You can always create a monochromatic background if you’ve over-reinked just one stamp pad. You can use a geometric stencil or, place the ink blender straight on top of your cardstock then spin the blending tool to get a fun circle of blended color. You’ll achieve this brushed ink texture with this technique!

Altenew Purple Wine Crisp Dye Ink
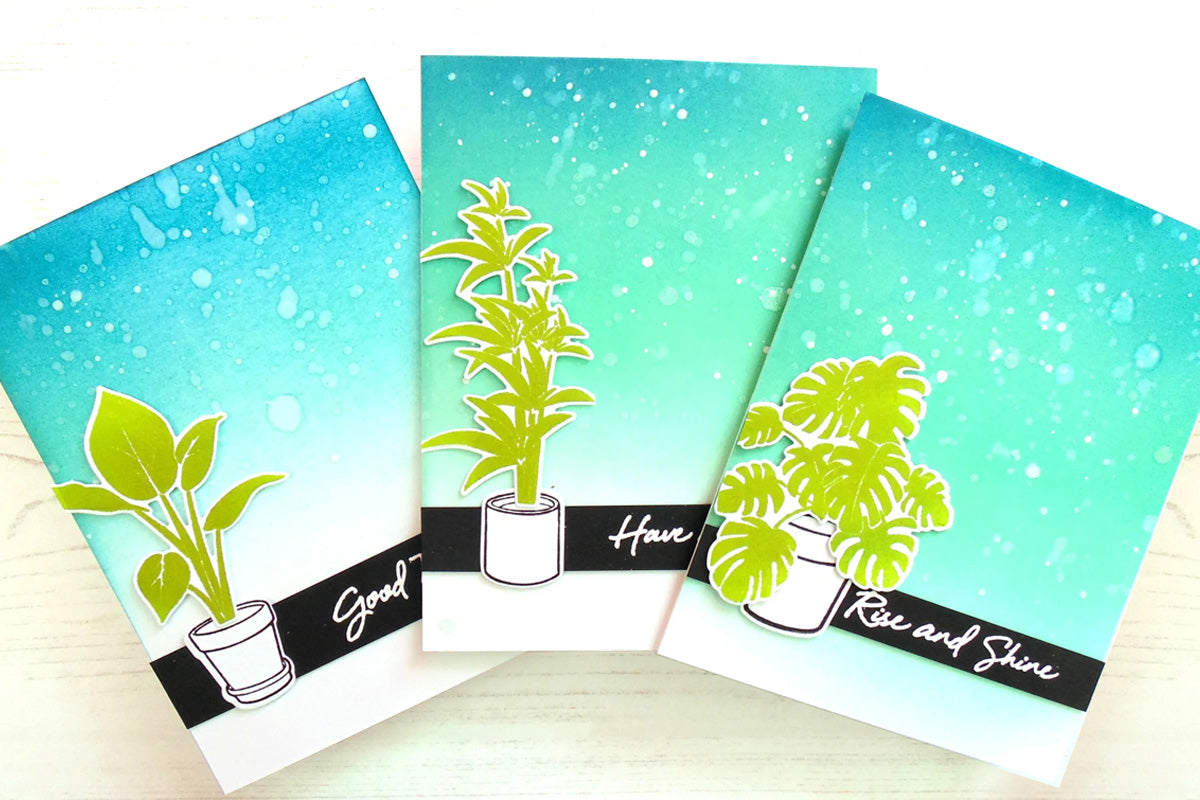
2. Ombre Ink Blended Landscape
If you happen to have over-inked two or more pads, you can create an ombre background with these excess inks. Perhaps a lovely night sky image, a sunset, or even a seaside image. It’s a great project to create, especially if there is plenty of excess ink to work with.

3. Gradient Ink Blended Background
Over-inking stamp pads happen more often than one would like to admit. But worry not since there are plenty of card projects you can make as a remedy. In this case, Lydia was able to create 3 cards with just one ink. If you have a stamp pad that is literally spilling excess ink, use it to create gradient backgrounds!

You can even use more ink here like Lydia did. Check out how she blended these backgrounds in three different ways in this video.
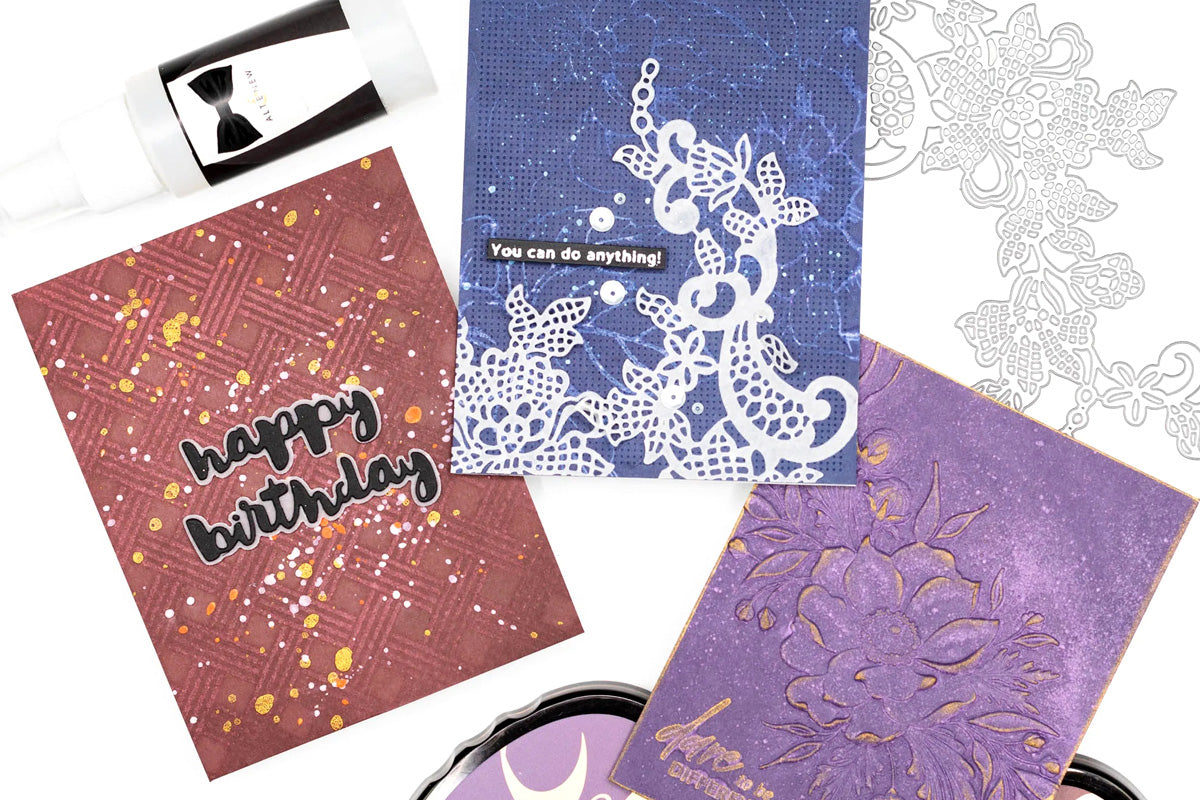
4. Textured Ink Blended Cards
You can try out a new technique while avoiding ink waste with a project like this. Here Norine made batik prints and textures with inks and stamps. Since this design is highly artistic, working with muddy stamp prints would indeed be ok. Muddy prints can add to the overall aesthetic you are trying to achieve.

5. Water Stamping with Excess Ink
Water stamping is another style you can try with ink blending! For this project, you will be using stencils and dies. Jenny used a large ink blending tool to cover up the whole card with ink. She then adhered her stencil and sprayed water on it using a fine mister. She then used a paper towel to soak up the excess water and removed the stencil to reveal the effect!

Ink-blended and Water Stamped DIY Cards
Note that this technique works best with darker ink so if you happen to have over reinked a darker pad, then this is an excellent card to make!
What Can I Use Instead of an Ink Pad?
While in the process of reinking your dried-out pads, you will stumble upon some worn ones. Over time your ink pads can come off of the case. You can glue these dried-out pads first before reinking. In the meantime, you could also use a dry baby wipe or kitchen roll to 'create' an ink pad— it is not the best solution but it would work.
If you’d rather wait for your repaired ink pad to try, you can use your reinkers to refill an empty brush marker instead.

Altenew Martian Terrain Re-Inkers
Avoid Dry Ink Pads Thanks to Altenew Reinkers
Now that you know how to reink a stamp pad, it’s time to get started! Make sure to have your materials like glue, reinkers, wipes, and empty brush markers ready so you'll have a smooth time reinking your pads. And if ever you find yourself with an overhydrated ink pad, feel free to follow any of the awesome projects shared here!
We have more of them on our All About Crafting page if you’ve enjoyed the reinking tips and ink blending projects shared here. Give it a visit to see more content!


Leave a comment