How to Make a Custom Shaped Card Base: A Step-by-Step Guide
by Jaycee Gaspar July 12, 2026

KEY TAKEAWAYS
Repurpose Existing Dies: Create custom, trendy card shapes (like hexagons) by rotating and realigning standard dies (e.g., pocket banner dies) from your current stash to fit standard A2 envelopes.
Stitched Edge Alignment: Achieve a seamless look on custom shapes by manually aligning the die's micro-holes with the existing stitched pattern before running it through the die-cutting machine.
Secure the Card Hinge: Form a functional shaped card base by scoring a quarter-inch line parallel to the edge of one panel and gluing the folded tab to a second panel.
Apply the Golden Ratio: Align focal points—like floral clusters and sentiments—along the curve of the Golden Spiral (1.618 to 1 ratio) to create naturally balanced, visually pleasing card compositions.
Enhance Texture with Ink & Embossing: Boost dimension by running cardstock through 3D embossing folders, then lightly sweeping pigment ink over the raised edges for a metallic, gilded finish.
Layer Coordinates for Realism: Combine coordinating dies and embossing folders using keyhole alignment systems to construct lifelike, multi-layered botanical elements.
Hey there everyone, welcome back to another Perfect Pairing!
Today, we’re putting aside the usual A2 card blanks because these Altenew designs deserve something a little more unconventional. We’re going to shop our own stash today to engineer a custom, shaped card base that perfectly frames our flowers. Keep reading to find out how to get creative with your dies and make these trendy card shapes.

How to Engineer a Custom Hexagon Card Base
To start, I dug into my stash and landed on the Pocket Banner Die Set (which coordinates with the Mega Alphabet dies). While it's designed to make a classic jean pocket shape, I wanted to push its utility to create a custom hexagon. Because the finished piece is roughly A2-sized, it still fits standard envelopes beautifully!
For the base, I precut three cardstock panels to 4.25" x 5.5". Two are my preferred heavy weight—Neenah Solar White 110 lb.—and the third is an 80 lb. panel, which I prefer to craft on before gluing everything down.
The First Cut: Secure the pocket die to your first 110 lb. panel with Satin Masking Tape and run it through your machine.
The 180-Degree Flip: Rotate the cardstock 180 degrees. Realign the die so the bottom valley of the pocket barely crests the stitched etching at the bottom.
Align the Stitching: Feel with your fingers to ensure the micro-holes of the stitched etching on the left and right sides match the existing pattern. This gives you a seamless look without puncturing extra holes.
Repeat: Repeat these steps for the second 110 lb. panel and the 80 lb. panel, using your first cut as a physical alignment template.

Scoring and Assembling the Card Hinge
To turn these pieces into a folding card, align the long side of one 110 lb. hexagon to the left margin of your scoring board. Use a bone folder to score a quarter-inch line parallel to the edge, then glue that folded tab to the unscored panel to complete the base.
Design Tip: I like putting the score line on the front of the card because it adds a nice bit of texture, but it does limit your hinge movement. If you choose the front, make sure to score your 80 lb. panel at the quarter-inch mark too, which helps immensely when planning your layout.

Creating an Elegant, Ink-Blended Background
With the heavy base set aside, let's leave that 80 lb. panel on the desk and bring in the Winterberry Poinsettias 3D Embossing Folder. I aligned it to create a beautiful framed look. Don't worry about the center texture, as we will cover most of it up later! After embossing, lightly sweep a Rose Gold Pigment Ink Pad over the top. The soft sponge pad perfectly catches the high edges of the design to add a gorgeous touch of shine.

Muted Holiday Color Palettes for Christmas in July
Now for the main event: the Lush Botanicals: Poinsettia 3D Embossing Folder & Die Set set. This system combines dies and coordinating embossing folders so you can cut your shapes and add incredible, lifelike texture using Altenew’s keyhole alignment system. Demand for these is huge—when I was helping out at the Altenew Simon Says Create booth, folks were continuously asking for it and it sold out fast!
I used the dies to cut a beautifully muted holiday palette: Misty Sage, Sagestone, Misty Morning, and Sandy Blush cardstocks, with Brushed Rose Metallic for the centers. Over on my sticky mat, I did some ink blending to create a cooler, wintry transfer of color—perfect for a Christmas in July mood:
Misty Sage: Blended with Coastal Haze for a soft center halo.
Sagestone: Deepened with Misty Harbor.
Misty Morning: Enhanced with Cloudy Sky and Nimbus for contrast.
Sandy Blush: Touched up with Earthy Rose and Toasted Paprika to match our rose gold background.
Next, align the die cuts upright into the coordinating embossing folder and run them through to press in those realistic veins. To finish the pieces, sweep that same Rose Gold pigment ink along the edges of the bracts for a gilded look. Follow the little "T" keyhole openings to perfectly line up and glue your layers together, concealing the center hole with the metallic flower center.

Muted Holiday Color Palettes for Christmas in July
This layout left the perfect opening on the top left for a sentiment, so I brought in the Timeless Sentiments Holiday Edition. I stacked a few white cardstock layers for dimension and glued it to a Brushed Rose Metallic shadow layer.
To finish everything up:
Adhere your embossed 80 lb. background panel to the shaped card base.
Foam-mount the poinsettia arrangement to the bottom right (remembering not to glue anything over that scored hinge line).
Splatter the entire card front with Rose Quartz from the Metallic Watercolor pan set.
Add a few Pewter Stellar Sequins for that final bit of holiday sparkle around the sentiment.
The Pocket Banner die set and the Lush Botanicals Poinsettia are a truly perfect pairing, proving that you can always stretch the items already sitting in your stash to craft something completely unexpected.
Are you ready to shop your stash and try a new shape for your next project? Let me know what dies you're thinking of breaking out in the comments below.
Until next time, happy crafting!


For VIPs only: Get 2X Points on every order from July 12, 2026 at 12:01 AM EDT until 11:59 PM EDT. Shop here: https://altenew.com/collections/all-altenew-products
Not part of our Loyalty Program yet? Create a store account HERE to start earning your points for future savings!
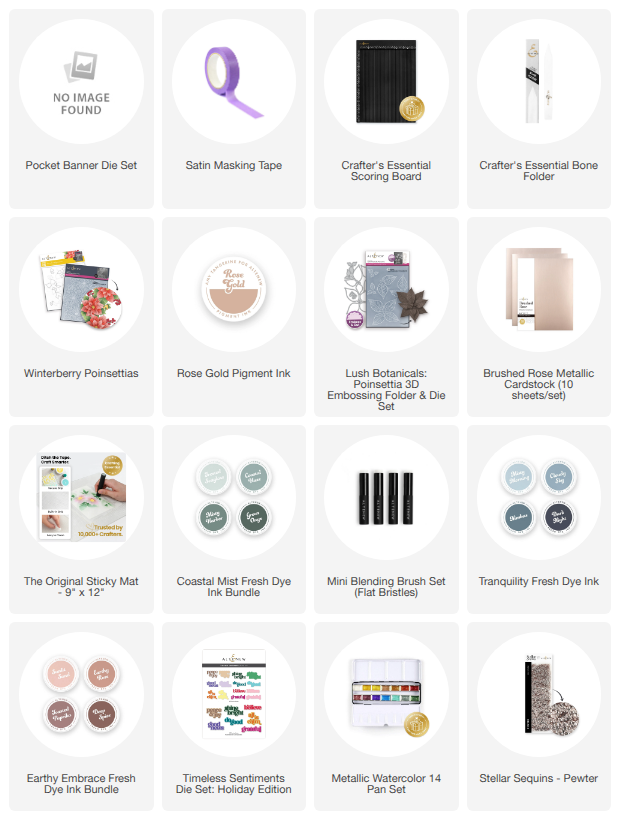
Supply List for Jaycee's Shaped Card