How to Add Interest to Embossed Images | 2 Quick Cards!
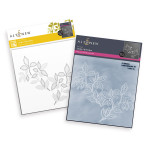
Hello Altenew friends, Hannelie here today with two quick cards and tips on how to add interest to embossed images. My cards feature the Leafy Splendor 3D embossing folder and the coordinating Coloring Stencil Set. I love the versatility of this set! The color scheme you choose can dramatically change the feel of your design, as shown in today's examples.
What I especially appreciate about this set is its suitability for clean and simple designs. It leaves plenty of room for a stamped sentiment, making it ideal for creating one-layer cards. Of course, you can also add layers or a die-cut sentiment for a more detailed and elaborate look. You also have the option to use the embossing folder on its own or use the stencils without the embossing folder for a different effect. For added variety, consider changing the orientation of the image in your design. So many possibilities!
How to Add Interest to Embossed Images

Today, I have two examples, one card in a fresh green color palette, using shades of green from the Jade Dreams Fresh Dye ink Bundle, and one card using warm hues from the Sun-Kissed Delights Fresh Dye Ink Bundle.
To make the Jade Dreams version you will need:
- White cardstock.
- Leafy Splendor 3D embossing folder and coordinating coloring stencil set.
- Die cutting machine.
- Jade Dreams Fresh Dye Ink Bundle.
- Golden Honeycomb ink from the Sun-Kissed delights Fresh Dye Ink Bundle.
- Mini Blending brush for stenciling the images and Large Blending Brush for the background.
- Rectangle mask, cut with a rectangle die and a sheet of paper.
- Obsidian black ink.
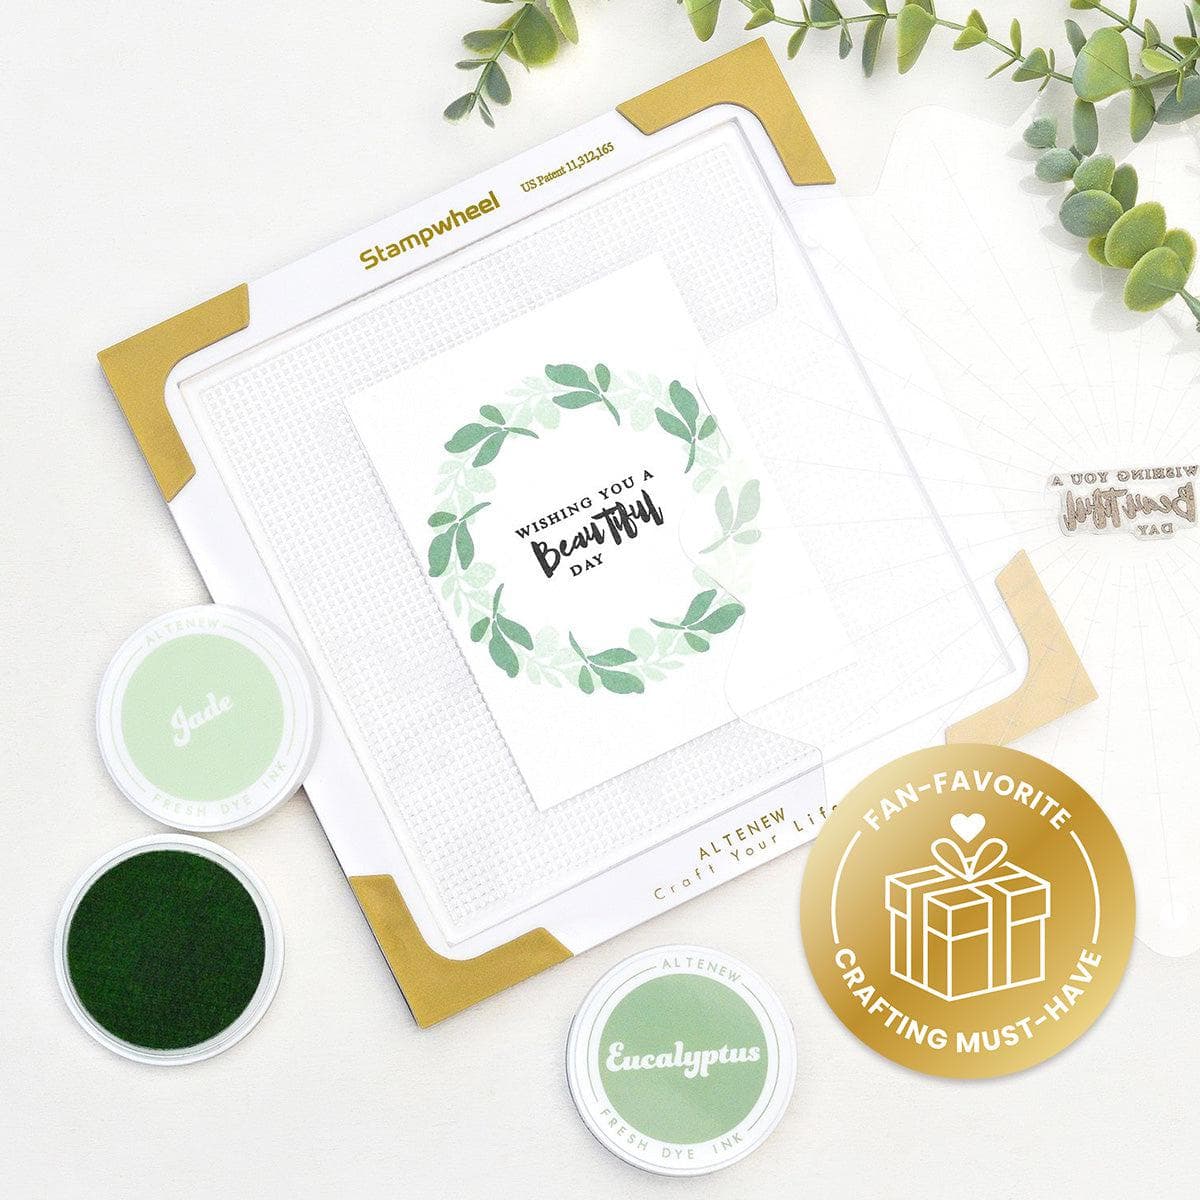
- Stampwheel.
- Flutter & Bloom stamp set (sentiment).
- Jade dreams enamel dots.

Step by step instructions to make the Jade Dreams version:
- Trim a piece of white cardstock to A2 size.
- Place the card panel in the embossing folder and run it through your die-cutting machine.
- Secure the card panel to the sticky mat of the stampwheel.
- Use the coordinating coloring stencil set and small blending brushes to add color to the embossed surfaces. I applied darker shades of green to the base of the leaves and added a touch of Golden Honeycomb to the tips.
- Use the rectangle mask, and a large blending brush with the lightest shade of the bundle (Pistachio), to add a subtle block of color, giving the illusion of an extra layer without adding bulk.
- Use the stampwheel to stamp the sentiment using Obsidian black ink.
- Embellish the card using enamel dots.
- Adhere the card panel to a folded card base using your choice of adhesive.

To make the Sunkissed Delights version you will need:
- White cardstock.
- Leafy Splendor 3D embossing folder and coordinating coloring stencil set.
- Die cutting machine.
- Sun-Kissed delights Fresh Dye Ink Bundle.
- Mini Blending brush for stenciling the images and Large Blending Brush for the background.
- Circle die.
- Rustic Linen stampset.
- Obsidian black ink.
- Stampwheel.
- Bouquet of Poppies stamp set (sentiment).
- Instant Dimension foam tape.
- Sun-kissed delights enamel dots.

Step by step instructions to make the Sunkissed delights version:
- Trim a piece of white cardstock to A2 size.
- Secure the card panel to the sticky mat of the stampwheel.
- Start blending ink from the bottom upwards, using a large blending brush. Begin with the darkest shade (Melted Butterscotch) and gradually blend in lighter shades as you work your way up, achieving an ombré look.
- With the card panel still in the stampwheel, use the Rustic Linen background stamp to add texture to the blended ink panel.
- Place the ink blended and stamped card panel in the embossing folder and run it through your die-cutting machine.
- Secure the panel to a sticky mat and use the coloring stencils to color the embossed surfaces.
- Use a small circle die to cut out a piece of card stock large enough to fit the chosen sentiment.
- Use a small blending brush to add a light layer of ink to the circle and use the stampwheel to stamp the sentiment using Obsidian Black ink.
- Adhere the sentiment to the card panel using Instant Dimension foam tape.
- Embellish the card with enamel dots.
- Adhere the card panel to a folded card base.

Two quick cards with added interest to the embossed images!

I hope today's projects have sparked some ideas for your next cardmaking session with embossing folders. Whether you're making a quick card or want to experiment with layers and textures, this set gives you the flexibility to do it all. What color combinations or techniques would you try with this versatile set? I'd love to hear your ideas in the comments below!
Thanks for joining me today—happy crafting!
SUPPLY LIST
|