Got scraps and zero ideas what to do with them? This blog post and VIDEO with EASY ideas are for you! Tremendous Texture with Erica + VIDEO
Hi Altenew fans and friends, it's your friendly card stock scraps hoarder Erica back on the blog and YouTube channel today.

I thought I'd take something that I used to think of as a negative; hoarding every last little piece of colored cardstock for those ‘you never know when you will need it' moments, and turn it into a positive. Sounds like a tip top idea, doesn't it? I'm sure I'm not the only one who find it really hard to let go of scraps. Please tell me I'm not delusional about this, tell me you have a big bin (or two.. maybe three) of colored card stock scraps tucked away in your craft room too.

If you saw my last post, you will already know I had a healthy stack of bright and colorful scraps leftover, and it seemed crazy to just stick them in with the rest. I decided there and then to just get on with it and use them. Chances are that if I stick them in the scraps pile, they will be there for months and months. Although now I'm wondering, are they really scraps if you use them on the same day as they are ‘created'. Oh well, I'm rolling with it now!

In the photo you can see the colors I have used, and while this looks really neat and pretty, the die-cut parts of these scraps are cleverly hidden. It's a great reminder that photos shared are curated to look fab and inviting, and doesn't show the whole truth.
Turning Cardstock Scraps Into a New Project!
For the first part of this project you will need a paper trimmer and your scraps of colored cardstock. A touch of patience won't go amiss either. With the help of the paper trimmer, cut equally sized strips from these and put to one side. I cut mine to about 1cm width, and I cut two strips of each color. When you have your strips cut, separate them into colors and also into the order you want to add them in. I have one for a sort of bright rainbow order, but you can do whatever you want. Go to town with your creativity!

Next up you will need some kind of tape, whether its double sided or in a tape roller, doesn't' matter. Add some to about half of an A2 sized panel or directly to a card base. Then it's time for the fun part! Adding the strips of card stock scraps to your panel to create a colorful background. This is so much fun and quite addictive, if you ask me.

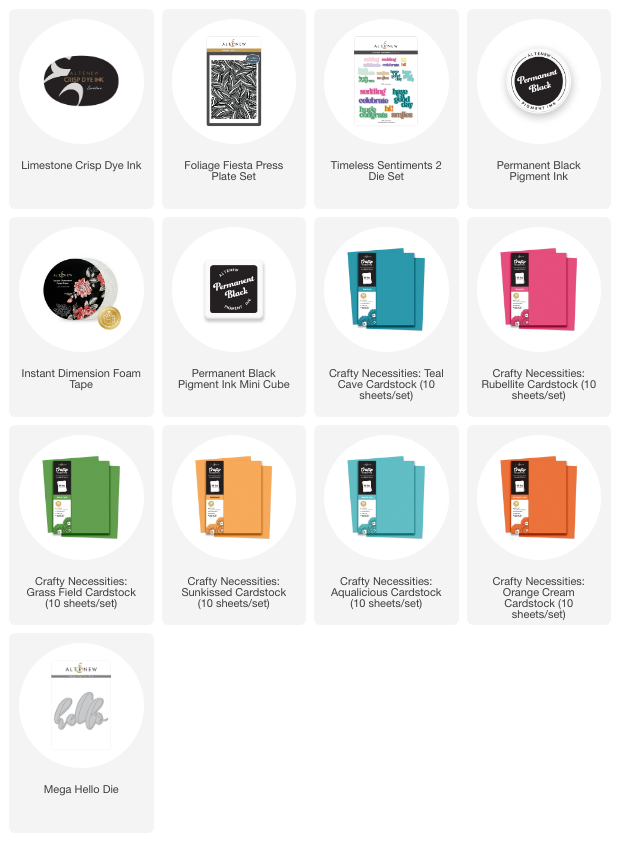
Some other scraps I had leftover from the previous card making sessions were the backgrounds using the Foliage Fiesta Press Plate done with Limestone Fresh Dye Ink and Permanent Black Ink.

I wanted to incorporate two of these together for some extra texture and dimension on at least one of the cards, so I cut and puzzled the leftover Limestone inked piece and the solid black one. I must say I really like how it turned out! One of the cards is done in portrait mode and the other in landscape mode, but the strips are both going from left to right, vertically, on both of them.

Seeing as these are both done with scraps of card stock and backgrounds, some clever cutting and no stamping whatsoever, I decided to keep on going with the die cutting. I found white and black card stock scraps and cut out ‘sending smiles' from the Timeless Sentiments 2 Die Set. The black and white combination is such a classic, and works on pretty much any design.

For the second card I used the Mega Hello Die, and cut it out of black and Brushed Gold Metallic Cardstock. I didn't have a gold scrap big enough for the Mega Hello so I did have to get some more out, but all in all, it's pretty much ALL scraps used for both of these cards!! Not too shabby, right?

The gold Mega Hello is adhered to the black one slightly off-set to create a shadow, this helps the sentiment stand out when you have a busy background. I also added a little bit of Instant Dimension Foam Tape on the top half of the word die, to make it level with the background. The Fiesta Foliage piece has Instant Dimension Foam Tape on the back of it as well, to create layers and dimension.

Using foam tape is such an easy way to add dimension and while there is a lot of texture on this card already, with all those strips of card stock scraps, the press plate pieces and the layered word dies, I'm of the opinion you can always add more!

It just looks fabulous, fun and happy, doesn't it? I did use some Instant Dimension Foam Tape on the back of the Sending Smiles word dies too, because why not, right?

These I placed right in the middle of the card, but I did try it several different ways before I settled on this. The ‘puzzling' stage is kind of crucial, it's where you should really spend your time to find the placement of images, die-cuts and sentiments, as well as embellishments.

That is it from me for today but I really hope you have been inspired to go and dig into your pile of scraps and have some fun with them. Don't put it off to another day, experiment and try a few things, and see what you end up with!
Don't forget to check out the video too, and let me know if this is something you will try with your own colorful scraps!

Lots of love and creativity,
Erica
Supply List