Thinking Outside of the Box With Fun Little Envelopes – Two Ways

Hi Altenew fans and friends! Are you ready for some fun with a tiny, but mighty die-cut set, aptly named Fun Little Envelopes? I sure hope so, as I'm here for some outside-the-box thinking with this set. Oh hi, it's Erica back on the Altenew blog and YouTube channel. How are you doing today?
Alright, let's have some colorful fun with this cute set, shall we? Have you seen it yet? It's got so many little die-cuts in it, and there are a few different ways to use them. Today, I will be die-cutting them out of card stock, both white and colored card stock, but you can use patterned paper, vellum, or DIY card stock made from stamping some gorgeous Altenew images. So many possibilities!

Welcome to Creativity Unlocked, where we highlight a new product from each month's collection or a fan favorite from past collections!

I had a few ideas swirling around in my head, and I got on a gigantic roll with the Fun Little Envelopes. I used pretty much all of them, except the stamps. One must always have options, am I right? Okay, so first off, I cut out a bunch of white envelopes.
Next up was colored cardstock, and I picked out a bright and cheerful rainbow lineup:

These colors go so well together, and they practically GLOW! If this isn't your choice of rainbow, you have so many other shades and colors to choose from, so why not have a fun little play around and see what works for you? Your next favorite color combo might be discovered during your next crafting session; you never know.
Even the negative pieces look fabulous after all the bits and pieces have been cut out of them, don't you think?

For my second card, this is the “outside-of-the-box thinking” card. I used ONLY one of the little heart clusters to create the background. Yep, that's it. I just cut it out five times in random places. Obviously, I will keep all of those little hearts for something else, but for now, we are going to use that panel.

On the back of this, I adhered little strips of pink shades of card stock, so that three of the hearts in each cluster were covered. I tried using the same color for the entire cluster first, but it felt a little “meh.” Switching it up to have two colors/shades made such a big difference!
I used glue to adhere the strips of card stock to the back, as the spaces between the hearts are small. Make sure not to use too much, as it will seep if you do; plus, you don't need much to make the card stock stick.

Didn't this turn out soooo cute? I got so many more ideas when I played with this, but for now, we'll stick with this one.
The second card also needed a background, and I fell head over heels in love with the Vintage Motifs stencil, so it made sense to use that one. It has the most gorgeous pattern, and OMG, I have tried this with Shimmer Relief Paste – Enchanted Gold on jet black card stock… it looks STUNNING!! I can absolutely see myself having so much fun with this stencil in the future!

For this one I used Silver Stone Fresh Dye Ink and I added the ink in an ombré fashion, from the bottom right corner, rather than flat from the bottom. I left it super soft, almost invisible at the top. One of the reasons for this is because my stencil is missing one of the little pieces, so it fills in the filigree look on one of the patterns, but it's ok.
After I had puzzled all of my Fun Little Envelopes together and made a colourful pile of them, because you know I need options, it was time to play around and find the placement on the card front. I ended up placing them in a bit of an arch from the bottom left corner up towards the upper right corner, leaving enough space for a sentiment.

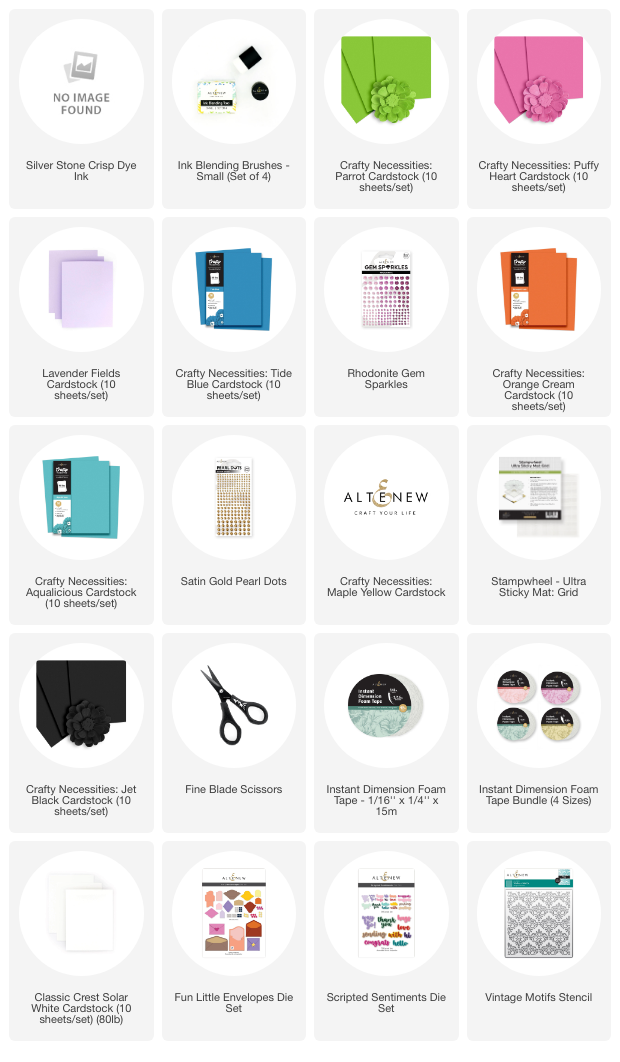
The sentiment is from the Scripted Sentiments die set, and I kept it simple with a white and black ‘hello', which I propped up with some Instant Dimension Foam Tape 1/16″ x 1/4″ x 15m. I can't even tell you how giddy I am about the new sizes of the Instant Dimension Foam Tape! I was already a big fan and now the fun is more than four times as big with new widths, and heights! Yay!

For the pink heart card I used another sentiment from the Scripted Sentiments set, spelling out ‘Sending love' which just made sense. For a flirty and fun look, I mixed and matched some coloured card stock for it, as well as gems from the Rhodonite Gem Sparkle mix.

I am the first to admit that I have a bit of an over-blinging condition but embellishments add a ton of fun to a card. It really can level up your card making! On the first card I used some too, but in a much more understated way. The Satin Gold Pearl Dots in the smallest size were just the thing!

Well, that's about it from me for today, but I made a video too, which you can find on the Altenew YouTube channel. I hope you get a chance to watch it and see these two cards come together.

With love and light, creativity and sparkle,
from Erica