Elevate Die-Cuts with Interest and Dimension Using Ink Blending | Terrific Tags with Michelle
Hello there, Michelle here with another edition of Terrific Tags with Michelle. Today I am elevating die-cuts by adding interest and dimension using ink blending.

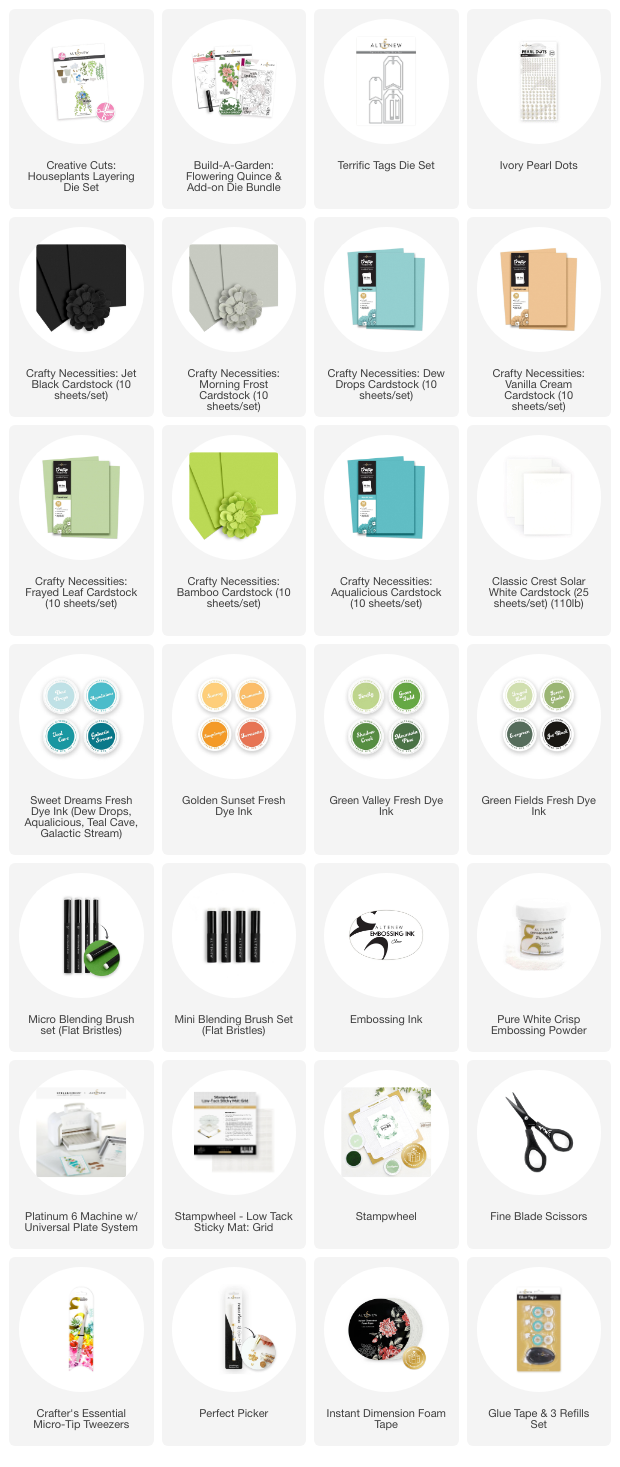
Creative Cuts: Houseplants Layering Die Set
I am using the fabulous new subscription today – Creative Cuts! I love die cutting so this is perfect for me! The set for January 2025 is Houseplants Layering Die Set.
I started off by die cutting the pieces from Crafty Necessities Cardstock. I used Jet Black Cardstock for the inside of the pot, with the rest of the pot cut from Moring Frost Cardstock. The foliage is cut from Bamboo and Frayed Leaf Cardstock. The flowers are cut from Dew Drops Cardstock for the petals and Vanilla Cream Cardstock for the flower centers.

Elevate Die-Cuts with Ink Blending
Whilst the die-cuts look great as they are, they will look even better by adding a little ink blending to them. This makes them appear more dimensional and adds interest.
I blended Dew Drops and Aqualicious Fresh Dye Inks (Sweet Dream Collection) to the flower petals, focussing the color at the base of the petals using a Micro Blending Brush. For the flower centers, I used Chamomile Fresh Dye Ink (Golden Sunset Collection).
I added Firefly, Grass Field & Shadow Creek Fresh Dye Inks (Green Valley Collection) to the foliage cut from Bamboo Cardstock, and Frayed Leaf & Forest Glades Fresh Dye Inks (Green Fields Collection) to the foliage cut from Frayed Leaf Cardstock.

For the pot, I used Jet Black Fresh Dye Ink (Green Fields Collection) and a Mini Blending Brush. I focused the color around the edges and left the center lighter.
As you can see, even adding a little bit of ink blending to the die-cuts really does make a big difference!
Grounding the Plant Pot
To ground the pot, I created a banner piece. I partially die-cut one of the Terrific Tags Dies from Classic Crest 110lb Solar White Cardstock and then cut the top to make it longer (watch the video below to see how I did it!). I then cut a layer from Crafty Necessities: Aqualicious Cardstock and adhered it on top, followed by a strip of white. This will give the pot something to stand on.
The banner was adhered to an A2 sized white card base (4.25″ x 5.5″) with Instant Dimension Foam Tape.
I assembled the pot and flowers and placed the stems/foliage inside the pot, adhering with liquid glue. It was then adhered to the banner.

The flowers were adhered on top using more Instant Dimension Foam Tape.
I stamped a sentiment from Build-A-Garden: Flowering Quince onto Crafty Necessities: Jet Black Cardstock using Embossing Ink and the Stampwheel. I applied Pure White Crisp Embossing Powder and heat set. It was cut into a strip and adhered to the card.
To finish, I embellished with my new favorite embellishment – Ivory Pearl Dots!
Video Tutorial: Elevate Die-Cuts with Ink Blending
I hope I have inspired to add a little ink blending to die-cuts. It really adds so much to the finished look! You can watch the full process video below or on YouTube.

Thank you so much for stopping by today, I hope you have a wonderful day!
Supplies