How to Create a Flower Card with LOTS of Dimension (Step-by-Step Tutorial)
Hello everyone! Svitlana here and today, I'm sharing a flower card featuring one of the stunning Craft-A-Flower Layering Dies, showcased in bold hues with plenty of dimension.
The focal point element was created using the Craft-A-Flower: Magnolia Die Set. I'm a big fan of Craft-A-Flower layering sets in general, but this Magnolia is one of my faves.

How to Create a Magnolia Flower Card with Lots of Dimension
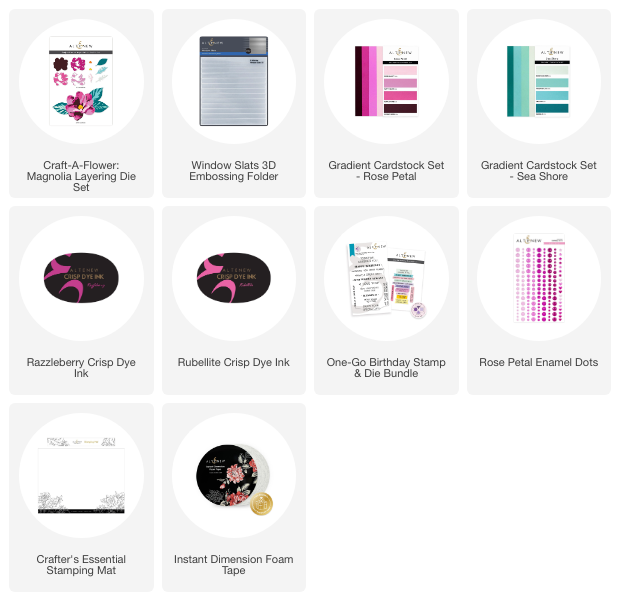
I die-cut the layers of the flower and leaves using Rose Petal and Sea Shore Gradient Cardstock Sets. Followed by assembling the elements by stacking and adhering their layers.
To create the background for this flower card, I ink-blended Rubellite and Razzleberry Crisp Dye Inks onto a white cardstock panel in an ombre fashion.
Tip: I do ink blending on a Stamping Mat and always have some ink left on a mat around the area where I had my panel. In occasions when I want to add splatters onto my background (which is like almost always) I add a little bit of water to that ink residue, pick it up with a small brush, and splattered the background with it. It's an easy way to add perfectly color-matching splatters to your project.

Add Interest with a 3D Embossed Background
In this case, I added splatters on both the background and the flower. The background in turn was foam-mounted onto a white card base using the Instant Dimension Foam Tape.
Next, I added dimension to the panel by dry embossing it with the Window Slats 3D Embossing Folder.
After that, I adhered the flower and leaves onto the card.

The leaves were adhered flat, while the flower was popped up for additional dimension.
To make the sentiment, I used the One-Go Birthday Stamp & Die Bundle, by white-embossing it onto a sheet of Cosmic Berry Cardstock from the Rose Petal Gradient Cardstock Set.

How to Make Your Sentiment Label Pop!
The gradient cardstock set's paperweight is 60-65lb. And while its thinner nature is perfect for layering die-cuts, it's a bit thin for a sentiment label for my taste. But I was dedicated to use this specific cardstock to perfectly match my magnolia flower. So I added some structural thickness to it by die-cutting the same label out of a thicker cardstock of a similar color (I used a cardstock scrap for this, obviously), stacking both labels, and securing them with liquid adhesive.
The sentiment label was popped up onto the flower card and several Rose Petal Enamel Dots were added to accentuate it.
This magnolia flower card design is quite simple and didn't require much effort to create. However, I believe it makes an impact due to the bold and somewhat unusual color palette, along with the added dimension. I hope you like it as much as I do!
Do you like using layering dies for quick and easy flower cards? Share some tips and tricks in the comment section below!
Have a wonderful day!