Dreamy Loose Watercolor Florals | Easy & Elegant Cardmaking!
by Erum Tasneem February 17, 2025

Hi there, crafty friends! Erum here. Welcome to Creative Coloring with Erum. If you love watercoloring but struggle with achieving a loose, effortless look, today's tutorial is for you!

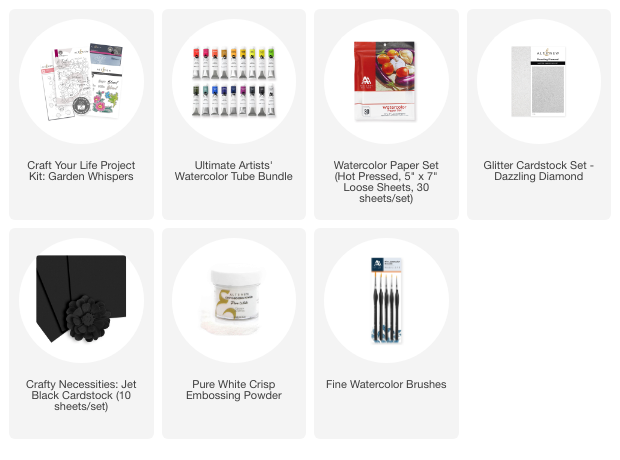
Craft Your Life Project Kit: Garden Whispers
The newest project kit, Garden Whispers, features two beautiful floral arrangements that can be used in various ways. You can use them together, as I have done on my card today, or separately, too! I love the sentiments in the kit; that font is absolutely amazing!
I’ll walk you through a simple technique to create a dreamy, elegant floral card using the Craft Your Life Project Kit: Garden Whispers and Artists’ Watercolor Tubes. The best part? This technique allows the water to do most of the work for you! Let’s dive in.
Prepare Your Watercolor Panel
- Trim Hot Pressed Watercolor Cardstock to A2 size.
- Stamp the floral image from Craft Your Life Project Kit: Garden Whispers using Embossing Ink.
- Cover it with Pure White Embossing Powder and heat set it.
Tip: White and Clear Embossing creates a soft, dreamy effect, perfect for loose watercoloring.
Start with Loose Watercoloring
- Use a Fine Watercolor Brush (Size 1) to wet the floral areas.
- Drop in diluted pink pigment and let it spread naturally, or use your paintbrush to apply it all over the flower.
- Add a second layer of more concentrated pigment for depth. This would be closer to the flower center on the base of the petals.
- Introduce yellow to the petal tips to connect the pinks and greens.
- Color the flower center with yellow and mix in a bit of pink to add depth.

Build the Background
- Extend the yellow outward into the background for a seamless blend.
- Move on to the leaves—wet the area first, then drop in green and yellow pigments.
- Use a second, clean brush to soften the edges, creating a diffused effect.
- For more depth, add a deeper green to the base of the leaves (Phthalo Green + Olive Green + Payne's Gray).
Finishing Touches
- Add mossy green pigment splatters (Olive Green + Phthalo Green) for extra texture.
- Once dry, add fine splatters of black watercolor to enhance dimension.
- Mount the panel onto a card base.
- Die cut “Blessed” out of Dazzling Diamond Glitter Cardstock. Layer it slightly offset over Jet Black Cardstock die-cut, and adhere to your dreamy floral card!

This technique is a game-changer if you struggle with loose watercoloring! The key is to let go of control and allow the pigments to flow freely.
Video: Breathtaking Loose Watercolor Florals – Anyone Can Do It!
You can watch the process video and follow along by clicking the photo below or THIS LINK to take you to the Altenew YouTube channel!

I hope you enjoyed this dreamy, loose watercolor floral card tutorial! As I mentioned, this technique is all about letting go and allowing the colors to flow naturally, making every card unique and elegant.
Have you tried loose watercoloring before? I’d love to hear your thoughts! Let me know in the comments below. If you give this technique a try, don’t forget to share your creations with me—I’d love to see them! Find me on Instagram HERE.
Happy crafting!
~SUPPLIES~