Creativity Unlocked feat. Craft-A-Flower: Calla Lily | Dramatic Watercolor Background with Salt!
by Erum Tasneem December 18, 2023


Welcome to Creativity Unlocked, where we highlight a new product from each month's collection or a fan favorite from past collections!
Hello, everyone! Erum here with a beautiful floral card and a dramatic watercolor background, featuring the Craft-A-Flower: Calla Lily Layering Die Set and a VIDEO for the Creative Coloring with Erum video series.
Keep on reading for more tips and project ideas using this new die set!

Craft-A-Flower: Calla Lily Layering Die Set
Honoring the timeless elegance of calla lilies, the Craft-A-Flower: Calla Lily Die Set captures their graceful allure and enchanting charm. It includes four intricately designed lilies, three finely detailed leaves, and two long stems, providing all essentials for crafting a personalized bouquet.
Creating a Dramatic Watercolor Background with Salt!

- Cut the dies out of cardstock from the 9×12 Watercolor Paper Pad. Adhere all layers together using liquid adhesive. Set aside.
- Trim Watercolor Paper Set (Cold-Pressed, 5″ x 7″ Loose Sheets, 10 sheets/set) to 3.5 x 7″.
- Spritz water over the panel using Fine Mister.
- Apply Emerald Watercolor Brush Marker pigment to the lower edge of the panel and at least up to a quarter of the panel's height.
- Next, add Lagoon Watercolor Brush Marker pigment and mix it a little bit into the emerald area for a smooth transition.
- On the top edge of the panel, I added Persian Blue and Turquoise Watercolor Brush Marker pigments as well.
- To add a pop of contrast color and also to match the background with the leaves, I added Citrus Burst Watercolor Brush Marker pigment.
- After this, I gave the panel a minute to settle. To create the dramatic watercolor effect, sprinkle a lot of salt all over it and let it air dry.
- Once the panel is dry, you can use the heat tool to dry it further, but don't overdo it; otherwise, the salt will burn and turn the panel brown.
Coloring and Adding In the Flowers

Tip: If you are hesitant to use Watercolor Brush Markers, scribble them on a slick surface and use a paintbrush to color.
- Use Mango Smoothie or Citrus Burst and color the flower center directly with the Watercolor Brush Marker.
- Apply a diluted Mango Smoothie or Citrus Burst to the base of the flower and spread it upwards while reducing the concentration. Make sure the pigment is darker on the base.
- Next, add leftover green pigment to just the base of the flower. You should have ombre-looking flowers now with a yellow flower center, and the flower top will be white.
- For the leaves, apply Just Green and Lime to most of them, leaving the tips for Citrus Burst pigment so they stand out on the dark background.
- For the stems, I used the Lime Watercolor Brush Marker.
- Once everything was dry, I adhered the die-cuts on the panel.
- I also included a sentiment from the Timeless Sentiments Die Set.
Video: Add a Beautiful, Dramatic Watercolor Effect to the Background with Salt!
You can watch the video tutorial below or on YouTube.
So what did you think? Did you like the dramatic watercolor effect that salt created? What other designs would you like to try this on? Thanks so much for watching!
1 Product, Multiple Ways!
Before you go, here are a few card ideas featuring this new layering die set!


What do you think about the new Craft-A-Flower: Calla Lily Layering Die Set? Which project/s caught your eye? Comment below! And, as always, thank you for stopping by!
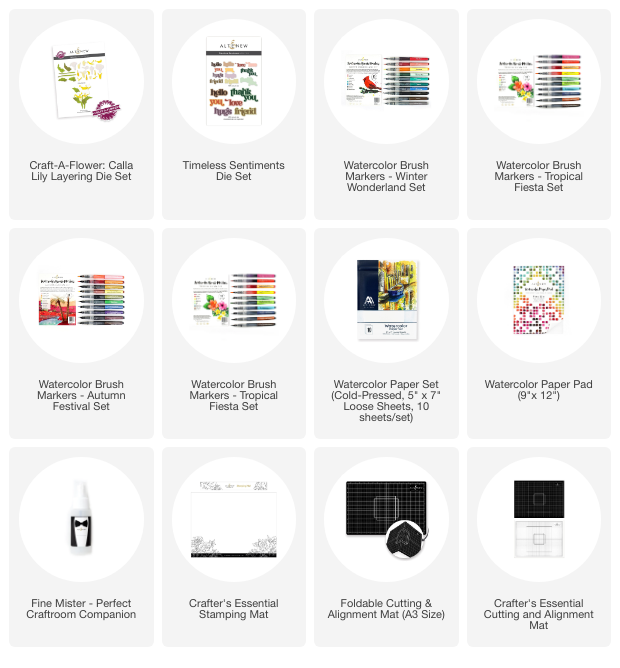
~SUPPLIES~