

Creativity Unlocked feat. April Kiss Camellia | Embrace Your Dark Side to Help Colors Pop!

Welcome to Creativity Unlocked, where we highlight a new product from each month's collection or a fan favorite from past collections!
Hello there, Michelle here with Terrific Tags with Michelle and another edition of Creativity Unlocked featuring Craft-A-Flower: April Kiss Camellia Layering Die Set.
Keep on reading for more tips and project ideas using this layering die set!

Craft-A-Flower: April Kiss Camellia Layering Die Set
The April Kiss Camellia, or camellia japonica, is a beautiful flower with pink and rose hues. The Craft-A-Flower: April Kiss Camellia Die Set captures its beauty with detailed petals, leaves, and debossed elements. It also includes two sentiments with shadow dies, so you only need cardstock to complete your handmade project!
April Kiss Camellia Tag Project

I started off by die cutting Craft-A-Flower: April Kiss Camellia from Classic Crest 110lb Solar White Cardstock.
Important note: With this set, you do need to die cut some layers twice. But no worries, there are helpful instructions on the back of the packaging and also on the actual dies.
Keeping the die cuts in place on a Sticky Mat, I added ink blending on top using a Small Blending Tool and a Mini Blending Brush. I used the Cool Summer Night Fresh Dye Ink collection (all four shades) for the flowers and Green Valley Crisp Dye Inks (all four shades) for the leaves.
PRO TIP: Since I wanted the insides of the petals to be more saturated in color, I switched to a Mini Blending Tool for the darker shades of ink. The bristles are denser on the mini brushes, so they instantly add more saturation of color without much extra work!
I assembled the flowers using the Key-Hole system, shaping the petals as I went to create dimension. While these flowers are automatically very dimensional, shaping the petals really helps to add character to them.
Make Those Colors Pop!

I almost always gravitate toward white backgrounds, but every so often, I like to use darker backgrounds.
For this tag, I cut the largest Terrific Tag Die from black cardstock twice. I adhered the other tag on the back using Glue Tape (for added stability, and so that I have somewhere clean to write a personal sentiment).
I then adhered the flowers and leaves on top using Glue Tape and liquid glue.
PRO TIP: Adding the bright flowers against a darker background really helps make the colors pop! The colors look even more saturated than they did before!
Don't Forget the Sentiments!

I stamped a sentiment from Mini Delight: Plants & Vases onto black cardstock using Embossing Ink. I applied Pure White Crisp Embossing Powder and heat set.
It was cut into a strip and adhered to the tag with Instant Dimension Foam Tape. To finish off, I added a few Crystal Clear Enamel Dots, then a bit of twine through the hole in the tag tied in a bow.
I hope I have inspired you to use dark backgrounds/bases to help those bright flowers really pop! I hope will check out Craft-A-Flower: April Kiss Camellia, too, as it is beautiful!
You can watch the full process video below or on YouTube. Thank you so much for stopping by today!
1 Product, Multiple Ways!
Before you go, here are a few card ideas featuring this layering die set!
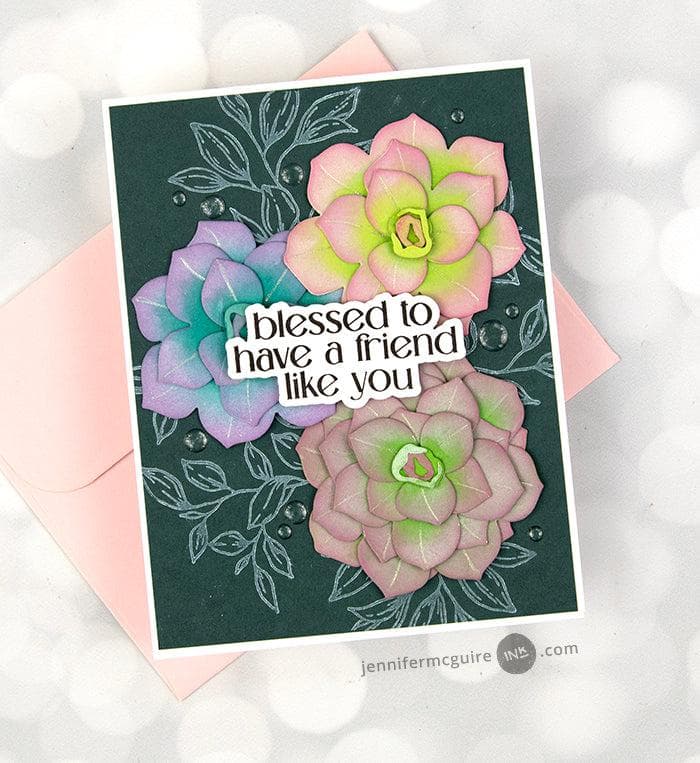
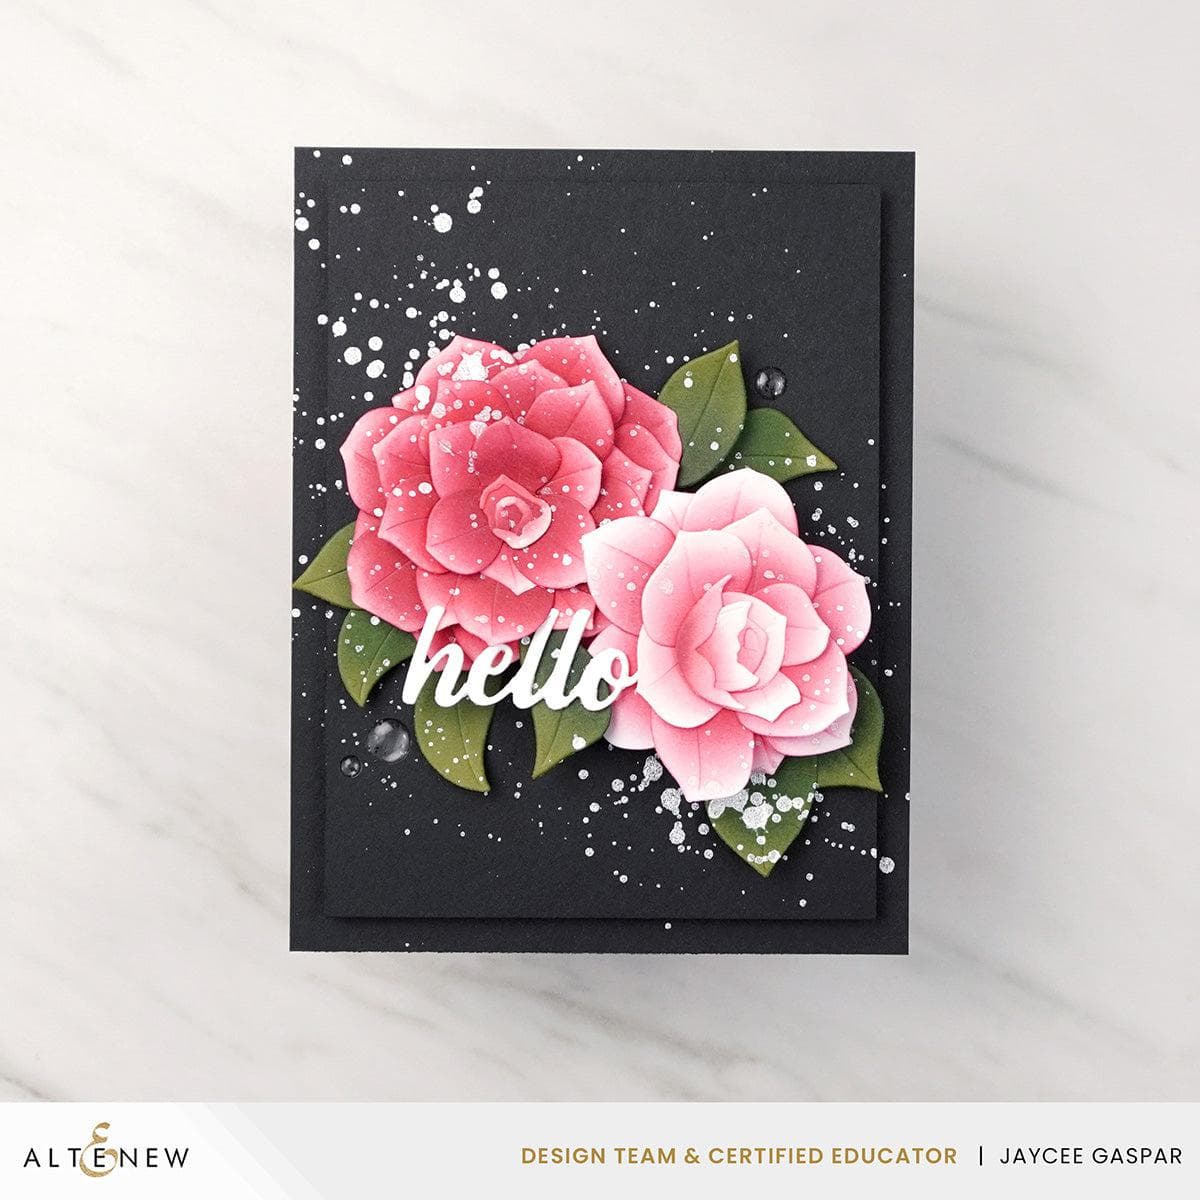
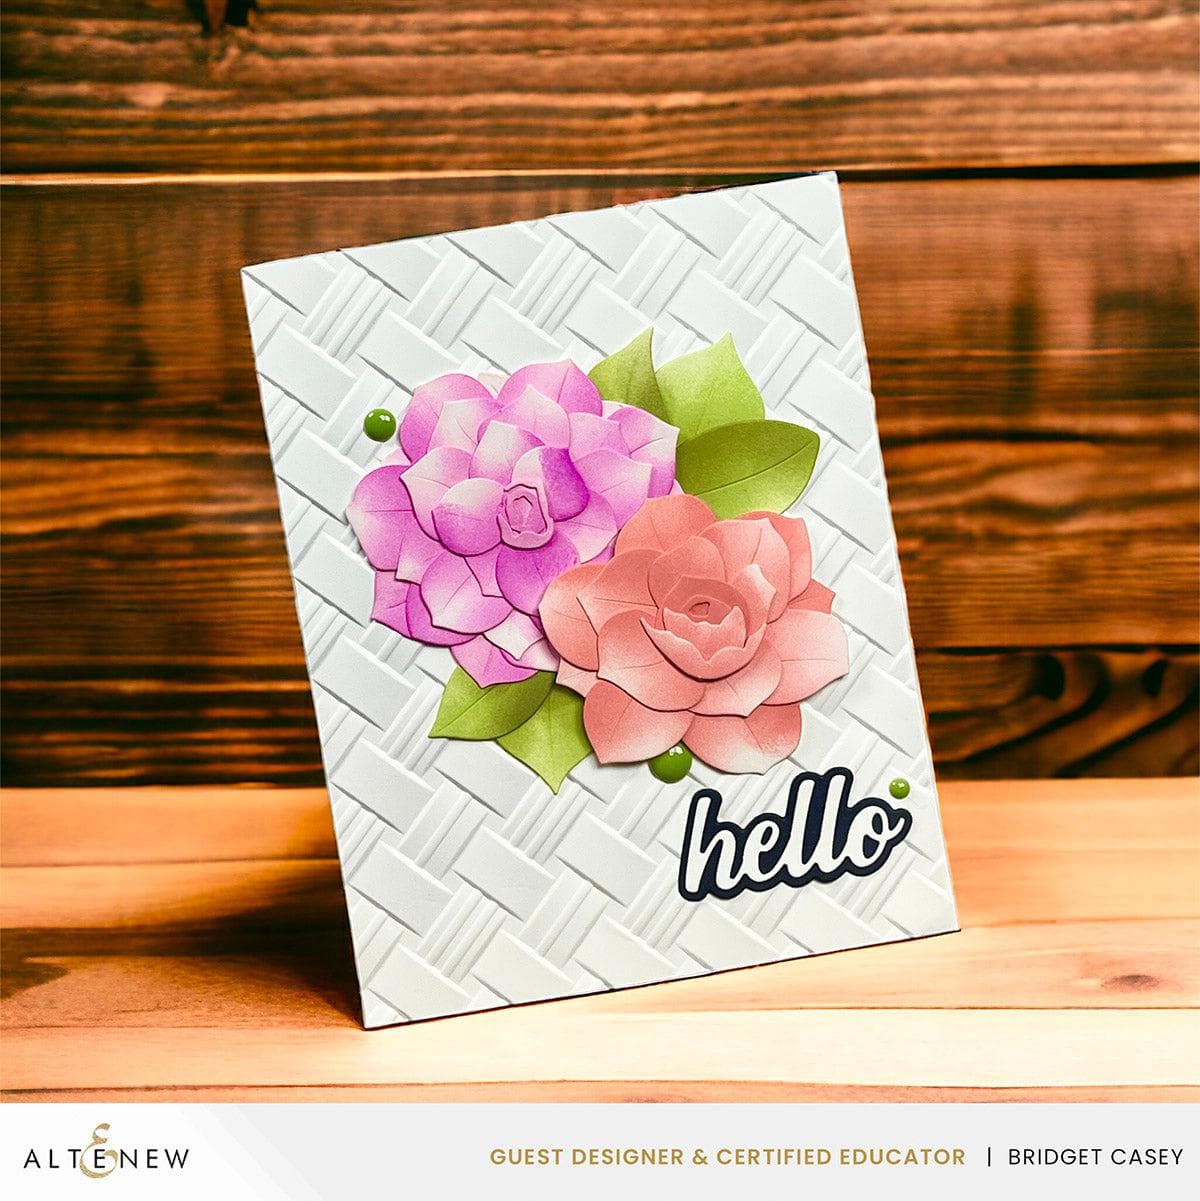
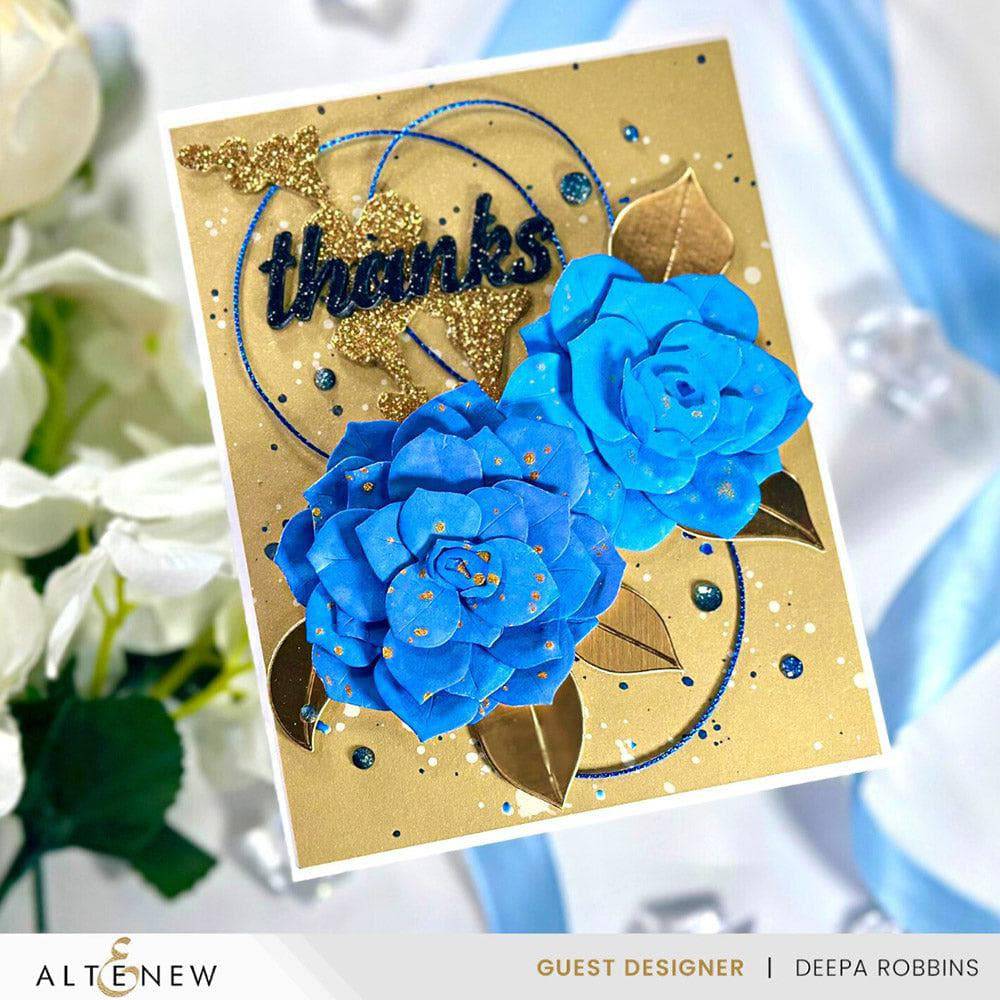
What do you think about the new Craft-A-Flower: April Kiss Camellia? Which project/s caught your eye? Comment below!
Do you have any creative requests you want to see in our next blog posts? Reach out to us HERE! We'd love to hear your feedback. Thanks for dropping by!
~Supply List~
