Creativity Unlocked feat. Bountiful Blooms | 1-Ink Stamp Layering

Welcome to Creativity Unlocked, where we highlight a new product from each month's collection or a fan favorite from past collections!
Hello there, Michelle here with Terrific Tags with Michelle and another episode of Creativity Unlocked, featuring the Mini Delight: Bountiful Blooms Stamp & Die Set.
Keep on reading for more tips and project ideas using this new stamp and die set!

Mini Delight: Bountiful Blooms
The 3″ x 4″ Mini Delight: Bountiful Blooms Stamp & Die Set features charming open-petal flowers and overlapping leaves with dual stamp layers for depth. Add vibrant color and texture to your projects with the included sentiments and a “hello” die.
1-Ink Stamp Layering with Bountiful Blooms
Mini Delight: Bountiful Blooms is a layering stamp set, but I wanted to use the Ocean Dreams Fresh Dye Inks for my stamping. Since the set has one shade of each color and not multiple, I am sharing an easy way to get depth using just one ink.

I started off by stamping the base layer of the leaves and stems from the Mini Delight: Bountiful Blooms Layering Stamp Set onto Classic Crest 110lb Solar White Cardstock.
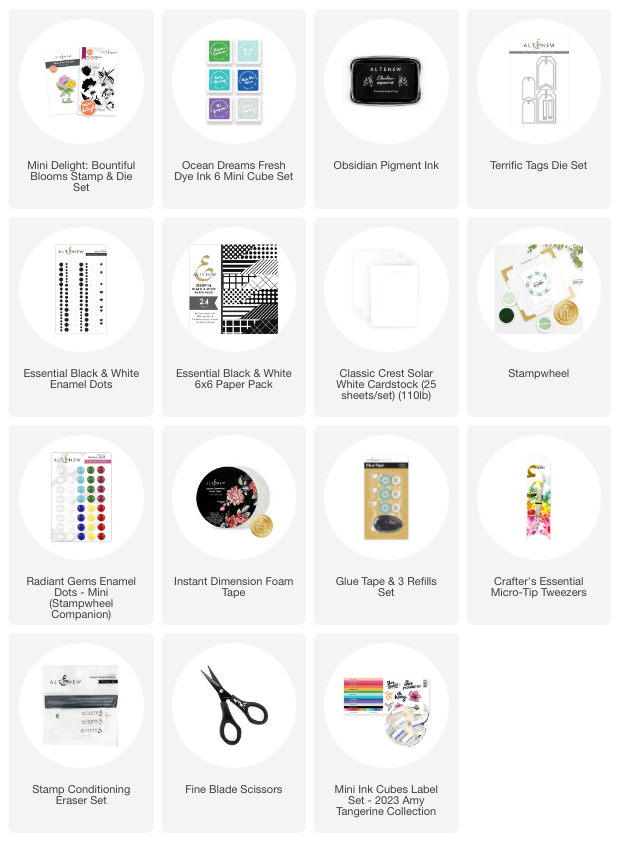
I inked up the stamp with Lettuce Celebrate ink from the Ocean Dreams Fresh Dye Ink 6 Mini Cube Set and stamped it onto the cardstock using the Stampwheel. I then stamped the flowers using Easy Breezy Ink. This layer of ink was then dried using a heat tool (but can be left to air dry, too).

I stamped the second layer of the image (leaves and stems, as well as the flowers) using the same Lettuce Celebrate and Easy Breezy Inks. Since I stamped on top of a layer of ink, this layer will automatically become darker. Just make sure to dry the layers in between stamping so that they do not blend together!
I used only one extra layer for the leaves and stems, but used two for the flowers, as I wanted a stronger contrast between layers.
TOP TIP: You can use multiple layers of the same ink shade/color to achieve depth by making sure that the layers are dry in between.

The image was then die cut using the Mini Delight: Bountiful Blooms Die Set.
Whilst die cutting, I also die cut three of the smaller tags from the Terrific Tags Die Set. I stacked them up one on top of another for dimension, adhering the layers with Glue Tape. Foam tape can be used here, but I wanted to create different levels of height on my card for some added interest.
I often see my teamie Tenia Nelson use tags as a layer on her cards, rather than the focal point itself, so I wanted to try that today! I love how it turned out!
Making the Card

I cut small strips of patterned paper from the Essential Black White Paper Pack and adhered them to the card first, using Glue Tape. I wanted these to just peek out from the sides of the tag! I added twine through the top of the tag and tied it in a bow at the front, before adhering it to the card with more Glue Tape.
I then adhered the flowers on top, offset from the tag, using Instant Dimension Foam Tape.
I stamped the sentiment from Mini Delight: Bountiful Blooms onto white cardstock using Obsidian Pigment Ink. It was cut into a strip and adhered to the card with more Instant Dimension Foam Tape.
To finish off, I added a few black dots from the Essential Black & White Enamel Dots.
I hope I have inspired you to try stamp layering with one shade of ink, as well as the Mini Delight: Bountiful Blooms! You can watch the full process video below or on YouTube.
What do you think about the new Mini Delight: Bountiful Blooms? Which project/s caught your eye? Comment below!
Thank you for stopping by!
~Supplies~