Creative Card Making - Design 3 Cozy Spaces with ONE Project Kit!
I'm telling you, this beautifully coordinated kit includes stamps, stencils, dies, and a 3D embossing folder, giving you everything you need to craft a variety of stylish and cozy interior-inspired scenes.
Hello Altenew friends! Hannelie here today to share three cards I created using the Craft Your Life Project Kit – Cozy Spaces.

The style of this kit is inspired by mid-century modern design, which I absolutely adore! Think clean lines, organic shapes, and a warm, retro color palette. It’s perfect for creating inviting indoor scenes with a stylish, vintage flair.
So let's get crafting!
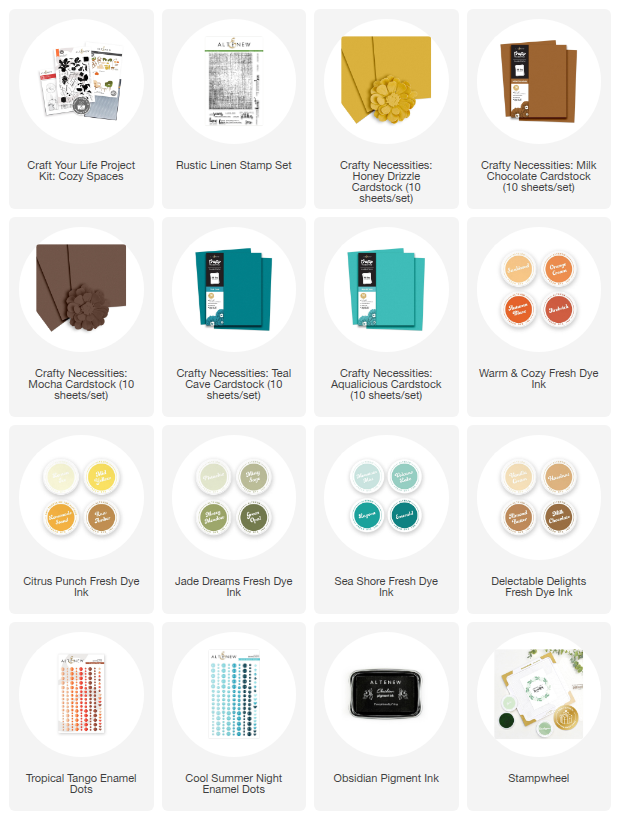
To make today’s cards you will need the following supplies:
- Craft Your Life Project Kit – Cozy Spaces
- White card stock
- Die-cutting machine
- Colored card stock: Honey Drizzle, Milk Chocolate, Mocha, Teal Cave, Aqualicious
- Fresh Dye Inks: Firebrick, Lemonade Stand, Raw Amber, Misty sage, Mossy Meadow, Green Opal, Lagoon, Milk Chocolate.
- Enamel Dots: Tropical Tango & Cool Summer Nights
- Obsidian Black ink
- Stampwheel
- Rustic Linen Stamp Set
- Adhesive of your choice
- Repositionable stencil adhesive (optional)
Step-by-Step Instructions to Make Card #1 (Just Because card)
- Trim and fold a piece of white cardstock to create an A2-sized card base. Cut an additional panel of white cardstock to layer on top.
- Die cut the pieces for the chair and lamp using colored card stock.
- Use the Rustic Linen stamp set to add subtle, tone-on-tone texture to the cushions of the chair. (I used Lemonade Stand ink on Honey Drizzle card stock)
- Assemble the chair and lamp following the key hole system.
- Secure the card panel from step 1 onto the sticky mat of the stampwheel.
- Begin building the background using the stencils included in the kit. I started by stenciling the arches to create a stylish backdrop for the chair and lamp.
- Complete the background by incorporating additional elements from the various stencils included in the kit. For visual reference, please see the photos below.
- Stamp the sentiment.
- Remove the card panel from the stampwheel and use your adhesive of choice to adhere the lamp and chair to the card panel.
- Embellish the card with enamel dots
- Adhere the completed card panel to the card base.

Step-by-Step Instructions to Make Card #2 (Sending tidings of comfort and joy)
- Trim and fold a piece of white cardstock to create an A2-sized card base.
- Cut two additional panels of white cardstock for layering: a smaller piece—about one-third of the width—to create the embossed edge on the left side, and a larger piece—approximately two-thirds—to serve as the main scene panel.
- Die cut the pieces for the chair and table using colored card stock.
- Use the Rustic Linen stamp set to add subtle, tone-on-tone texture to the cushions of the chair. (I used Lagoon ink on Aqualicious card stock)
- Assemble the chair and table following the key hole system.
- Secure the larger piece of white card stock from step 2 to the sticky mat of the stampwheel.
- Begin building the background using the stencils and stamps from the kit. I combined two stencil designs to create a 'carpet' and stamped the potted Fiddle Leaf Fig tree to complete the scene.
- Stamp the sentiment.
- Remove the card panel from the stampwheel.
- Use the Cozy Spaces 3D embossing folder to emboss the smaller panel cut in step 2.
- Adhere the embossed panel to the left side of the card base, then layer the larger stamped and stenciled background panel alongside it.
- Adhere the table and chair to the card panel.
- Embellish the card with enamel dots.

Step-by-Step Instructions to Make Card #3 (Season’s Greetings)
- Trim and fold a piece of white cardstock to create an A2-sized card base.
- Secure the folded card to the sticky mat of the stampwheel.
- Begin building the background using the stencils included in the kit. I started by stenciling the large arch. Complete the background by incorporating additional elements from the various stencils included in the kit. For visual reference, please see the photos below.
- Stamp the sentiment.
- Remove the completed card from the stampwheel.
- Embellish the card with enamel dots.

Card making with this project kit is so much fun... I still have so many ideas swirling in my head for creating with this kit, and I can’t wait to explore them all—especially the beautiful potted plants! In addition to the Fiddle Leaf Fig, the kit also includes a Bird of Paradise and a Rubber Tree, just waiting to be brought to life on more cozy, stylish cards.

Each of these cards was designed with careful attention to balance—whether through color, shape, or placement. By keeping the visual triangle in mind, I was able to guide the eye and create harmonious, inviting scenes.
Have you tried using design principles like the visual triangle in your card making? I’d love to hear how you approach balance in your designs!