Rich, Dimensional Florals with Simple Coloring Stencils
by Erum Tasneem August 8, 2026

Key Takeaways
Depth Without Extra Layers: Achieve dramatic shading by combining light base colors with targeted dark ink placement using micro blending brushes.
Warmth Through Color Harmony: Tying residual ink from petals onto the foliage creates a natural, cohesive color palette across the floral arrangement.
Waste-Free Composition: Trimming overhanging die-cut pieces and re-tucking them beneath open areas builds the illusion of a fuller, lush arrangement.
One of my favorite things about Altenew's Simple Coloring Stencils is that they make beautiful floral coloring incredibly approachable. Even though you're working with just a single stencil layer, you can achieve amazing depth simply by choosing the right ink shades and placing them thoughtfully.
For today's card, I used the Build-A-Garden: Blossoming Trio to create rich red florals with softly blended two-tone leaves, warm gold embossing, and subtle background details that let the flowers shine. I'll also share a few of my favorite finishing touches that make the arrangement look fuller and more natural without adding extra work.

VIDEO: Dimensional Florals with Simple Coloring Stencils
Watch the video tutorial below or CLICK HERE to learn more about this cardmaking technique! Or read step-by-step instructions after the video.

Stamp and Heat Emboss the Images
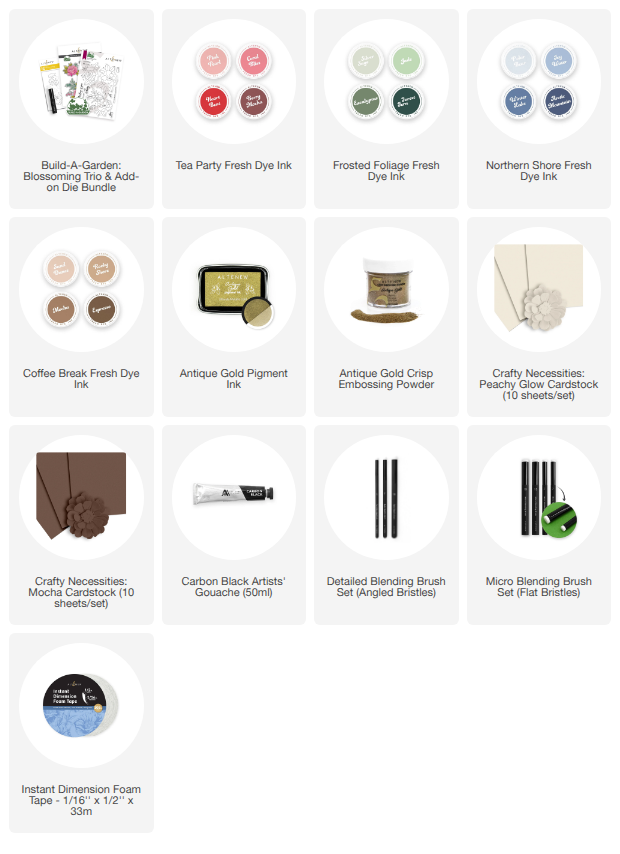
- Stamp all three floral images from the Build-A-Garden: Blossoming Trio onto Peachy Glow Cardstock using Antique Gold Pigment Ink.
- Cover the images with Antique Gold Embossing Powder and heat set them.
Blend the Flowers
- Position the coordinating Simple Coloring Stencil over the first image.
- Blend Heart Beat Fresh Dye Ink over each petal, beginning at the base and blending toward the tips while keeping the outer edges slightly lighter.
- Using a Detailed Blending Brush, apply Berry Mocha Fresh Dye Ink only near the base of each petal to create natural shadows and add depth.
- Repeat this process for all three floral images.
Tip: Since this is a Simple Coloring Stencil, the depth doesn't come from multiple stencil layers—it comes from choosing the right ink shades and where you place them.
Blend the Leaves
- Blend Forest Fern Fresh Dye Ink over each leaf, concentrating the color near the base before fading it toward the tips.
- Add Arctic Mountain Fresh Dye Ink to the base of the leaves using a Micro Blending Brush for extra depth.
- To warm the foliage and tie it in with the flowers, lightly blend a small amount of leftover Heart Beat Fresh Dye Ink onto portions of the leaves.
- Die cut all of the floral images using the coordinating dies.

Ink the Background
- Blend Mocha Fresh Dye Ink lightly around the edges of a panel of Peachy Glow Cardstock.
- This subtle shading frames the floral arrangement while keeping the center of the card bright.
- Create fine splatters using Carbon Black Artists' Gouache.
- Allow the splatters to dry completely before assembling the card.
Arrange the Floral Design
- Arrange the flowers and foliage until you're happy with the composition.
- Adhere the images using Instant Dimension Foam Tape to add depth.
- Trim any overhanging pieces.
- Instead of discarding the trimmed pieces, tuck them into open areas around the design to create the illusion of a larger floral arrangement.
- Heat emboss a sentiment onto Mocha Cardstock using Antique Gold Embossing Powder.
Blend Mocha Fresh Dye Ink over the die cut sentiment to deepen the cardstock color before adhering it to the card.
Finish the card with a few coordinating sequins for subtle sparkle and shine.
This card is a great reminder that creating depth doesn't always require multiple stencil layers or complicated coloring techniques. By combining a few thoughtfully chosen ink shades with intentional ink placement, you can create rich, dimensional florals that look beautifully detailed while keeping the process simple and enjoyable.
I hope today's project inspires you to experiment with your own Simple Coloring Stencils and discover how much depth you can create with just a few small changes.
Thank you so much for stopping by, and I'll see you again soon for another feature of Creative Coloring with Erum!

Free 2-in-1 Printable A2 Backgrounds & Stickers (Summer Edition) on orders over $65 within the new August 2026 collection from August 6 from 12:01 AM EDT until August 17th AT 11:59 PM EDT. Shop here: https://altenew.com/collections/august-2026
SUPPLY LIST