Crafting with Sparkle: Elevating Scrapbook Projects with Altenew Shimmer Relief Pastes

Hello, crafty friends!
Reiko here, and today I'm sharing some scrapbooking projects using Altenew's Shimmer Relief Paste, a revolutionary crafting tool designed to add stunning dimension and shimmer to your creation.

Welcome to Creativity Unlocked, where we highlight a new product from each month's collection or a fan favorite from past collections!
If you are looking for making a beautiful and unique scrapbooking project, this post is just for you! I made two 6 x 6 -inch layouts and one canvas project by using the Shimmer Relief Paste – Sea Beryl.
The Shimmer Relief Pastes create breathtaking 3D effects with high shimmer, metallic finishes, and glitter granules, making them perfect for elevating your scrapbooking projects with effortless elegance and texture.

Creating an Attractive Background for a Scrapbooking Page
An attractive background allows us to express our creativity and add a personal touch to your scrapbooking layouts. Often a background can draw attention to the focal points of a layout, such as photos and titles. Also, it helps to reinforce the theme or story of your scrapbook page, making it more cohesive and engaging.

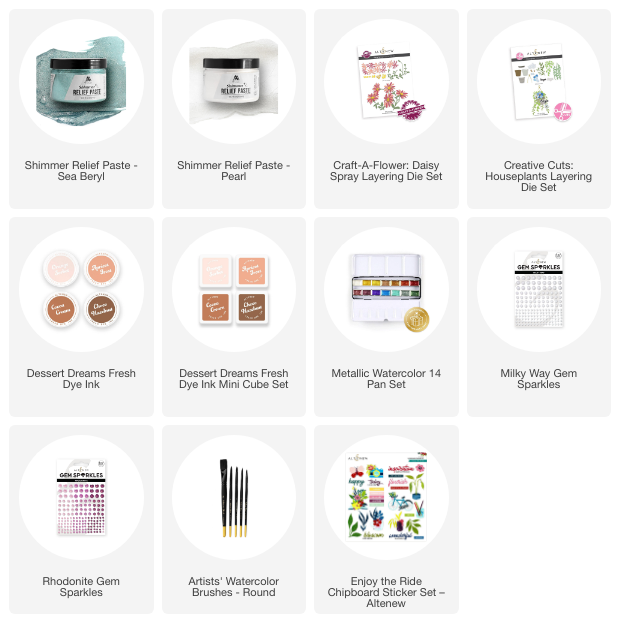
I used 6 x 6 -inch papers from the Exuberant 6×6 Paper Pack and a coloring sheet. I started by coloring the papers using white acrylic paint and the Dessert Dreams Fresh Dye Inks. Then I used the Artists' Watercolor Brushes – Round to apply the Shimmer Relief Paste – Sea Beryl, which is smooth and creamy, making it easy to spread evenly.

This simplest touch of the paste adds high shimmer and metallic finish, creating a beautiful look. Let the paste dry before handling the paper further. I usually wait for 5-10 minutes.

For the next layout, I added circles by using a lid after coloring the background. I placed the lid on the paper and carefully lift the lid to reveal the design.

You can repeat this process with different lid sizes or shapes to create a unique pattern.


Let's Play with Textures and Colors:
To add texture and uniqueness, I used dimensional elements like die-cut flowers, 3D embossed images, and lace paper on a 4 x 4 -inch canvas background. Let's have fun and combine different textures and your favorite colors of the Shimmer Relief Pastes to create a visually appealing and cohesive look.

I arranged the 3D embossed image, die-cut flowers, and other materials on the canvas and then colored it by using white acrylic paint before applying the paste.

Creating these scrapbooking projects using the Shimmer Relief Pastes were incredibly enjoyable! I hope you are inspired to try them on yours.
Thank you so much for stopping by!
SUPPLY LIST