Craft-A-Flower: Ink Blending vs. Colored Cardstock
by Erica Andersson July 22, 2026

Key Takeaways
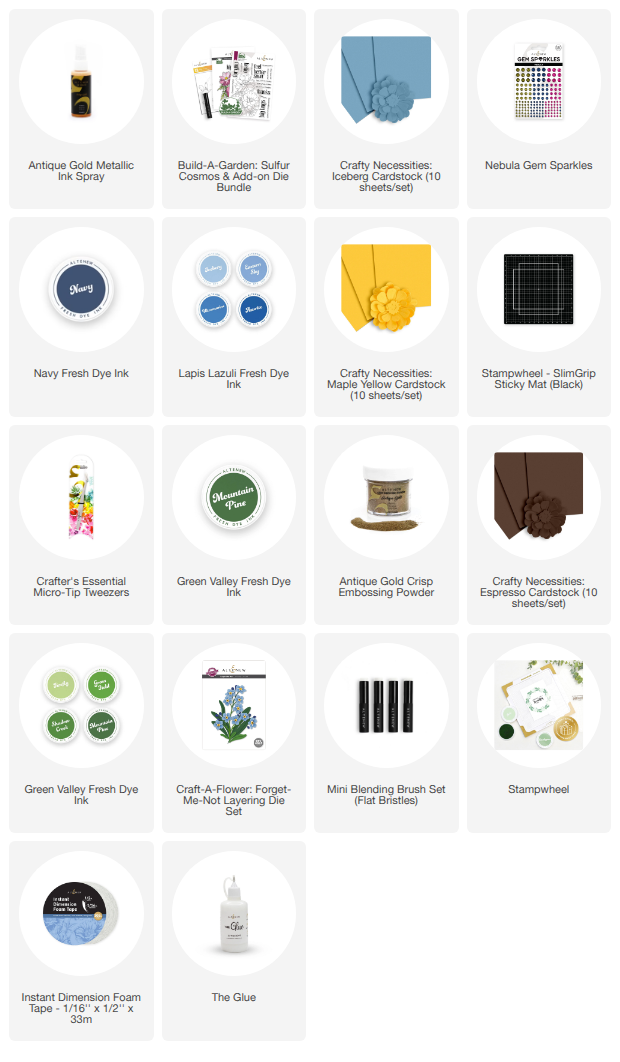
Combine Cardstock & Ink Blending: Save time on tiny die-cuts by using Crafty Necessities Colored Cardstock for small flower layers, then use ink blending on stems and leaves to add custom depth and contrast.
Master the Keyhole System: Easily assemble intricate floral layers by matching the built-in keyholes on the die cut to the corresponding flower pieces.
Add Texture & Dimension: Use Instant Dimension Foam Tape behind petals, spritz backgrounds with Antique Gold Metallic Ink Spray, and finish with coordinating gem sparkles for high-impact floral cards.
Hello, Altenew friends and fans! It's your girl Erica back on the blog and YouTube channel today. We are going to embrace those lovely summer vibes and create a handmade card using the gorgeous Craft-A-Flower: Forget-Me-Not Layering Die Set.
If you aren't familiar with it yet, CAF stands for Craft-A-Flower. If you love creating realistic 3D paper flowers for your cardmaking projects, this range is absolutely made for you. There are so many amazing floral die sets to choose from, and I rarely pass up an opportunity to add another CAF set to my craft hoard!
Before we jump into today’s floral card tutorial, I’ve linked a few of my absolute favorite Craft-A-Flower die sets below so you can check them out. Sharing is caring, after all!
Ink Blending vs. Colored Cardstock: Which Technique is Best for CAF Sets?
A common question crafters ask when working with detailed floral dies is: Should you use colored cardstock or ink blend white die-cuts?
Deciding between ink blending and colored cardstock is a personal choice, but it often comes down to time and detail level:
1. The Case for Ink Blending White Cardstock
If you have extra crafting time, die-cutting your layering floral pieces out of white cardstock and hand-ink blending each piece yields a completely custom, realistic result. Because no two ink blended passes are identical, every single card you create will be a unique work of art.
2. The Case for Crafty Necessities Colored Cardstock
When working with intricate or tiny dies—like the Forget-Me-Not flower parts—Altenew Crafty Necessities Colored Cardstock is a total game-changer.
Instant Vibrancy: You get beautiful gradient shades right away without extra blending time.
Best of Both Worlds: You can easily add extra shadows and edge depth by ink blending slightly darker shades directly over the colored cardstock.
Designing with the Craft-A-Flower: Forget-Me-Not Die Set
With this specific Forget-Me-Not set, the individual petals and flower parts are quite small, which means there is a little bit of fiddling during assembly (ask me how I know!).
However, Altenew’s smart design makes the die-cutting process effortless. Each die cuts out all the pieces for a single layer in one pass. You will get every piece for Layer 1 with one roll through your die-cutting machine, every piece for Layer 2 with the next, and so on. This intelligent layout prevents you from losing tiny metal dies in your craft room mayhem! It really shows that there are actual crafters designing these products behind the scenes.
Pro-Tip for Handling Small Die-Cuts: When assembling ultra-tiny flower petals, place your cardstock pieces on a Sticky Mat to keep them from sliding around your workspace!
Step-by-Step Floral Assembly Techniques
Mixing & Matching Techniques
For my card today, I decided to mix both techniques:
Flowers: Cut from various shades of blue Crafty Necessities Colored Cardstock to save my eye-strain.
Stems & Leaves: Cut from white cardstock and ink-blended with rich green inks and subtle pops of blue on the stem buds.
Note: If your ink blending looks a little wet or blotchy right after application, don't panic! Fresh Dye Inks settle smoothly into the paper fibers as they dry.
Inking over the debossed "veins" on the leaf die-cuts accents the realistic textures automatically. For color selection, check the back of your Altenew packaging! Altenew conveniently provides color guide suggestions listing matching Fresh Dye Inks and cardstock shades.

How to Use the Altenew Key Hole System for Easy Assembly
Once your flower pieces are prepped, it’s time to puzzle them together using Altenew’s genius Keyhole System:
Look for the small guide symbols debossed onto the stem piece and the back of each flower layer.
Simply match the symbol on the stem with the matching symbol on the back of the corresponding flower for perfect placement every time.
Optional Step: If you want to curve your petals before assembly, pass them through the Petal Shaper Tool Set for realistic dimension.
To give my Forget-Me-Nots maximum pop, I adhered each assembled blossom onto the stem using Instant Dimension Foam Tape.

Card Background and Finishing Touches
When choosing a background cardstock, I tested both bright white cardstock and a subtle neutral background using Morning Frost Cardstock.
While neutral backgrounds are a huge trend in cardmaking right now, the vivid blues of the Forget-Me-Nots popped much better against a crisp white cardstock panel.

With my stem ink blended and my cute CAF Forget Me Nots all, and then some, assembled, it was time to puzzle them together. Each one of the little flowers will have a symbol, thanks to the super clever Key Hole System, and all you have to do is match the symbol on the stem with the symbol on the back of the flower. Of course there is no CAF law that says you have to do it exactly the same way, but it is there if you need it.
On the back of almost every single flower I have added a little bit of Instant Dimension Foam Tape for a bit of height and to add some amazing texture and layers to the card. You can also use the Petal Shaper Tool Set if you really want to bring some life and dimension to your CAF flowers. Obviously, you will need to do that before assembly though.
Final Decorative Accents:
Metallic Splatter: Both background options were lightly spritzed with Antique Gold Metallic Ink Spray for a luxurious texture.
Sentiment: Gold heat-embossed a greeting from the Sulfur Cosmos Stamp Set.
Embellishments: Added coordinating blue Nebula Gem Sparkles onto the card front and directly over the small flower buds for extra shine.

Watch the Video Tutorial!

I hope this tutorial inspired you to pull out your floral layering dies and experiment with blending styles! Don't forget to check out the video on YouTube to see the full step-by-step assembly process in action.
Are you a team Ink Blending or team Colored Cardstock? Let me know in the comments below!