Controlled Ink Smooshing | Terrific Tags with Michelle (With Video Tutorial)
Hello there, Michelle here with another edition of Terrific Tags with Michelle. I really love the look of ink smooshing but I often find it difficult to control where the colors end up, especially on an image. Today I am sharing a way to control it.

Controlled Ink Smooshing
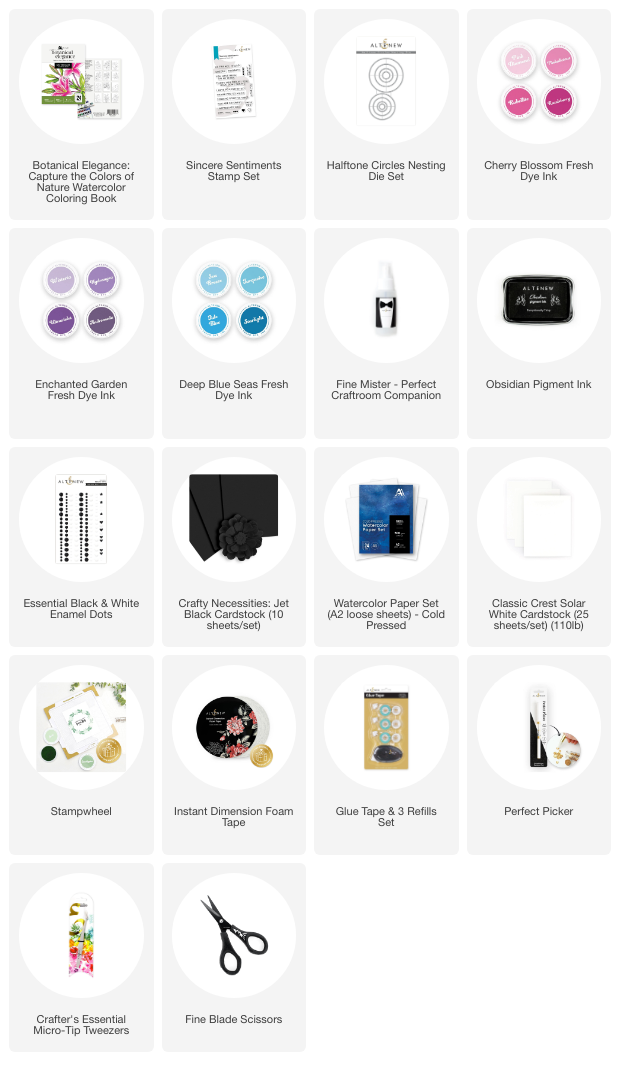
I am using the Botanical Elegance: Capture the Colors of Nature Watercolor Coloring Book for my image today, but this can be done with a stamped image (just make sure to use a waterproof ink like Obsidian Pigment Ink).
I took the lilies image from the book (with the dark black lines) and cut down so that it was slightly smaller in size.
I took a piece of acetate (this can be any material that is clear – old packaging, stamp pockets etc) and pressed the edge of the Pinkalicious Fresh Dye Ink Pad on to it. I spritzed it with water and then flipped it over and pressed it onto the image panel.

I heat set the ink and then repeated the process using Hydrangea Fresh Dye Ink, followed by Turquoise Fresh Dye Ink, letting some of the colors overlap.
I then wanted to add some more interest, so I took the slightly darker colors of Razzleberry, Ultraviolet and Tide Blue and added darker spots to the areas before setting aside to dry.
Using the acetate in this way means that you can see exactly where the ink is going. The benefit of the acetate, rather than using a brush, for example, means that you still get the organic look of ink smooshing, but in a much more controlled way.
I cut the panel down to 3.75″ x 5.5″. I created an A2 sized card base (4.25″ x 5.5″) made from Classic Crest 110lb Solar White Cardstock. I adhered a panel of Crafty Necessities: Jet Black Cardstock on top using Glue Tape. The image panel was then adhered on top with Instant Dimension Foam Tape.

Circle Tag Sentiment
I took the ‘happy birthday' sentiment from the Sincere Sentiment Stamp Set and using the Stampwheel, stamped it onto Cold Pressed Watercolor Paper (so that the paper would match the image panel) using Obsidian Pigment Ink.
I cut it into a circle using one of the smaller dies in the Halftone Circles Nesting Die Set. Using a hand-held punch, I punched a hole in the top to create the tag.

I threaded black twine through the hole and tied in a bow. It was adhered to the card using Instant Dimension Foam Tape.
To finish, I embellished with Black Enamel Dots, adhering them in place using the Perfect Picker.
Controlled Ink Smooshing Video Tutorial
I shared a variation on this technique in the past, using controlled ink smooshing, but with pens, rather than ink pads. You can see it HERE.
I hope I have inspired you to try using ink smooshing in a controlled way. It is a really fun way to add color to an image! You can watch the full process video below or on YouTube.

Thank you so much for stopping by today, I hope you have a wonderful day!
Supplies