Card Making Top Tips when you feel stuck! Quick and Easy ways to step up your card making game!
Hi Altenew fans and friends!
It's Erica back on the Altenew blog and YouTube channel today and I have a question for you: Do you find yourself stuck in a card making rut sometimes? Feeling like you are just doing the same thing over and over, and it doesn't spark the same amount of joy anymore? If you do, please know that you are not alone! It can be disheartening at times though, right? We buy all of the things, organize them and then we sit down at our craft table and things grind to a halt… what now?

Rather than giving up on this wonderful hobby of ours, let's reframe card making a little and one of the first things to do is to simply take the pressure of yourself. Card making is supposed to make us happy and give us a creative outlet, as well as a break from day-to-day life, rather than stress us out.

Usually I am all about textures, layers and going to bling town, so I'm going to try and lead by example here to show you what I mean about stepping back, and rethinking my approach to card making. The stamp set I am going to use is the Flourishing Bouquet, and the coordinating layering stencils, for the card bases themselves. This is a HUGE stamp set, and by positioning it properly (bear in mind, I did not do that) you can get four full panels out of one piece of 8.5″x11″ card stock!

I used the Stampwheel 2.0 to stamp the image up, and I used Silver Stone Fresh Dye Ink for a soft look. As the stamp set is so big, you will need to take off the removable side panel to fit both the card stock and the stamp in the Stampwheel 2.0. This is slightly above beginner card making skills, though, so bear that in mind. Hopefully a beginner card maker wouldn't get fed up right away, but that's not to say that these tips won't come in handy at some point.

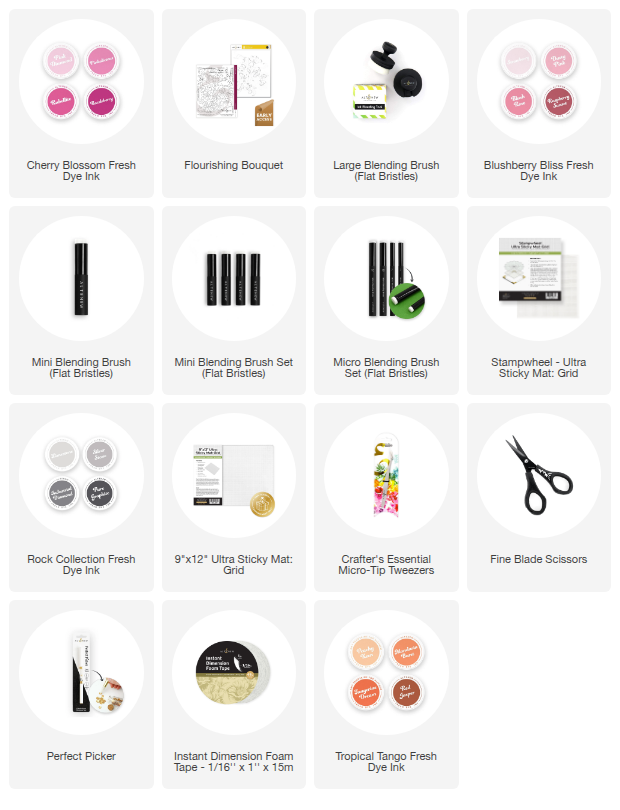
With the help of the layering stencils, I have added color to the flower bouquet. However, instead of doing my usual thing of going for greens for the leaves and foliage, I have used the same colors for the entire image. It's not monochrome as there is more than one color here, like orange, pink and peach, but by blending them together almost seamlessly, it gives a bit of a monochrome vibe. If you want to use the exact colors I have used, they are Strawberry, Pink Diamond, Pinkalicious, Peachy Keen and Mandarin Burst Fresh Dye Inks. They are also listed down below with LinkDeli links.

I normally do pops of colors for the flowers and greens, with a touch of blue sometimes for leaves, so this is not my go-to look at all. I had a few moments of ‘oh my, where is this going?' along the way but I'm glad I stuck with it because it really is very different from what I would normally have gone for. Remember, trust the process!
I think the softness of the Silver Stone Fresh Dye Ink was a good choice too, but if you like sharp and clear outlines, just use Permanent Black Hybrid Ink. OR if you are trying to step outside of your card making box, try a grey ink or maybe even heat emboss the stamp. I will also say that some shimmery splatter, with the help of the Metallic Watercolor 14 pan set, on top is always a good idea.

When it comes to finishing off my cards I am a bit of a card making one-trick-pony. I try and avoid that… or maybe that's just asking for far too much! Especially as there is New Bling On The Block!! Or at least it's coming very, very soon. Luckily for us on the DT we have had the opportunity to play with the new Stellar Sequins for months now, and my inner Sméagol is so happy.
Adding a generous smattering of Stellar Sequins, here I have used Sparkling Gold, with the help of the Crafter's Essentials Micro Tip Tweezers, the Perfect Picker and The Glue (also coming in June!!) Ok, so while I didn't do a good job of holding back on the bling, adding embellishment is a great way to elevate your designs. It only takes a few to take your project up a level or two. It is simple, quick and so much fun. If you have never tried adding some Gem Sparkles or Enamel Dots, this could be a great way for you to add some interest and try something new in your card making journey.

When it comes to embellishments, it's easy to overthink placements and the number of them, but I say throw all of that to the wind and just go for it! I think my number one tip when it comes to card making is ‘it's just paper, if you don't like it, start again'. There is no right or wrong thing when it comes to card making, you can almost always save a project that goes sideways too. Maybe not that day, but put it to the side and look at it with fresh eyes another day.
If this approach seem wild, and my advice doesn't convince you, what you can do is place a little sheet of acetate over your card and then play with placements on that. That way you will see how it will look on the card, while not committing to the spot you picked just yet. Bear in mind that the Gem Sparkles and Enamel Dots come with adhesive already so you might lose that if you try it this way, but it's not a problem, just add a little blob of glue before placing the embellishments of your choice onto the card itself.

If you still feel like you need a push to get out of your card making comfort zone, you could always pick a card by someone else that is completely the opposite of what you would make and then put your own spin on it. If you feel like you want to get back into your card making box, I'd say there is nothing wrong with that as long as it brings you joy. This is a really wonderful hobby and as long as you get something joyous out of it, I think that is more than ok.
Now, there is a video on the Altenew YouTube channel for these cards too, if you want to check it out.

Lots of love, creativity and sparkle from Erica