2 Stunning Cake Cards with Mini Delight Birthday Wishes | From Grunge to Elegance
by Erum Tasneem December 12, 2024

 Hello, crafty friends! Erum here. Today, I’ll show you how to create two completely different cake card designs using the same product—the Mini Delight Birthday Wishes Stamp and Die Set.

Welcome to Creativity Unlocked, where we highlight a new product from each month's collection or a fan favorite from past collections!
Two Takes on Celebration Cakes!

One card features a bold, grungy design perfect for birthdays, while the other takes on an elegant, floral look suitable for weddings or congratulations. Let’s dive into the details!
Cake Card Design 1: Grungy Birthday

Die-Cut Elements
- Die-cut the cake layers from Classic Crest Solar White Cardstock.
- Cut the icing and question mark candle from the Dazzling Diamond Glitter Cardstock.
- Create the cake dish using Morning Frost and Moon Rock Cardstock.
Ink Blend the Cake Layers
- Use Fresh Lemon, Rubellite, and Aqualicious Fresh Dye Inks to blend vibrant layers. Start with yellow, then pink, and finish with blue, allowing the colors to overlap for smooth transitions.
Create the Background
- Trim a cardstock panel slightly smaller than an A2 base.
- Lightly draw a guide with a pencil for stamping placement.
- Stamp numbers stamp using Jet Black Fresh Dye Ink for a grungy effect. Use partial inking and reposition the stamp to add variety.
- Add second or third-generation stamping for extra texture and randomness.
- Add black splatters using Jet Black Ink Spray.

Assemble the Card
- Adhere the cake layers and dish with liquid adhesive.
- Stamp the sentiment in Obsidian Pigment Ink and adhere the cake with foam tape.
- Mount the panel onto a black card base.
Cake Card Design 2: Elegant Florals

Die-Cut and Ink Elements
- Die-cut the cake and cake dish from cream cardstock.
- Use Mocha and Espresso Fresh Dye Inks for the cake dish.
- Ink the cake tiers with Buttercream Fresh Dye Ink to create subtle depth.
Add Gold Details
- Stamp the bottom tier with the confetti/sprinkles stamp using Embossing Ink.
- Stamp the stripes stamp to the top tier with embossing ink.
- Heat emboss both areas with Antique Gold Embossing Powder.
Prepare the Floral Decorations
- Die-cut flowers and leaves using the World in Bloom Layering Die Set.
- Ink the layers with Pinkalicious, Snapdragon, Hydrangea, and Parrot Fresh Dye Inks. Assemble using liquid adhesive.

Assemble the Card
- Add scorelines on a cream cardstock panel to add subtle texture.
- Mat this panel with Brushed Gold Metallic Cardstock.
- Heat emboss the sentiment and adhere it to the panel with foam tape.
- Arrange and adhere the cake and flowers. Mount onto an A2 card base.
You can watch the video on making these cake card designs on YouTube by clicking the photo below or THIS LINK.

With just one stamp and die set, you can create two distinct card designs for different occasions. Which one do you prefer—the grungy birthday card or the elegant floral one? Let me know in the comments, and don’t forget to check my Instagram for another idea featuring this set! Thanks so much for stopping by!
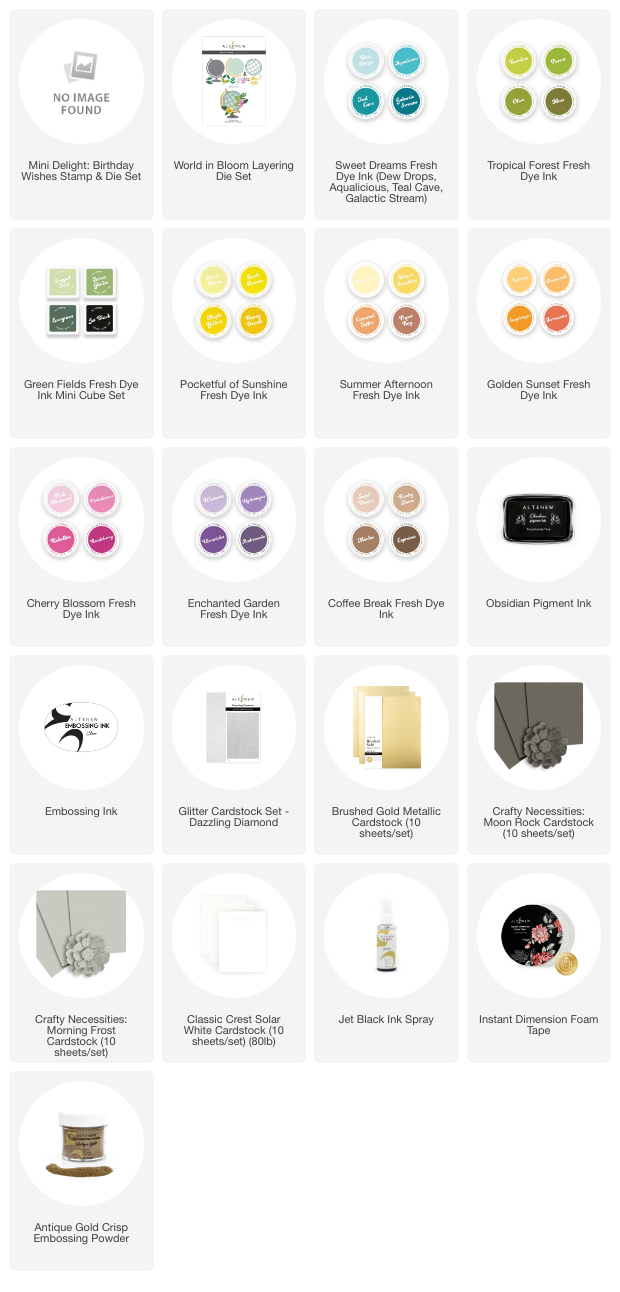
~SUPPLIES~