Hi Altenew fans and friends! Are you ready for a Layering Carnations love fest? Because that's what we have with it being a brand new year with a brand new release but, don't worry it's still the same old Erica here on the Altenew blog and YouTube channel. I'm not much for New Years Resolutions, I prefer to make small but sustainable changes to make the new habits stick, but that's me.
One thing that's still the same is my huge love for the Craft-A-Flower range. Oh my gosh, I love them so much and the newest kid on the block is the CAF Layering Carnations set. We are going to have some fun with it today and create a bunch of fluffy carnations for our two cards.
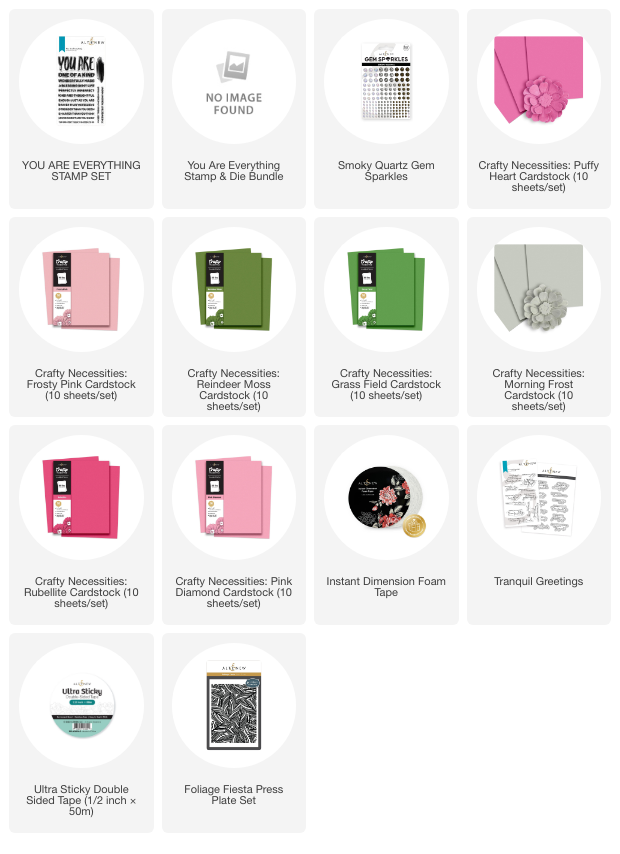
On the back of the packaging you can find ink options to make each layer of the carnations similar to the inspiration but I thought I'd go the Crafty Necessities Colored Card Stock route instead. Why not, right?
There are so many gorgeous colors to choose from so I grabbed my giant pile of it and went through them to pick out colors as close to the ink colors suggested. I picked out four shades of pinks and purples, but put the purple die cuts aside for another idea that popped up while I was pottering about.
Speaking of the back of the Layering Carnations packaging, and the colors inspiration, I decided to be a bit of a rebel and not use four colors for each carnation. Instead I have used two shades for two flowers and the other two shades for another two. Carnations in real life are usually very much the same colors , so I thought I'd stick to that look, rather than using four shades of colored cardstock.
I think it ended up giving them a really realistic look actually! I am a trained florist outside of crafting, even though I haven't worked in a florist shop in years, and while carnations have a bit of a funeral rep in the flower world, it's actually a really pretty flower.
The Key Hole System for the Craft A Flower die sets is brilliant. It really makes it super easy to line up your pieces perfectly and make quick work of putting them together, and of course the Layering Carnations set is no different. The biggest issue you might have is where to stop, because it really is so easy to puzzle these together.
When I had put together four of these pretty carnations, I set them aside and started thinking about what to do for a background to really make them pop. Now, the smart thing might have been to have a white background and let the carnations be the only pop of color, but if you know your girl Erica, that is not what happened… no.
I was itching to add some Tremendous Texture, it's my thing after all, to the backgrounds and I'm really making an effort to bring in some of my favorites from previous releases. It's nice to see some of these products again, isn't it?
I'm not going to lie, I do love the Press Plates as you can both letterpress, hot foil AND use them as embossing folders. Or embossing plate might be a better description actually. Full disclosure here: my die-cutting machine is old and half broken, so I didn't mind trying something that could potentially damage it. In THE VIDEO you can see the sandwich I used with my Platinum 6 to create all that gorgeous texture.
I'm going to break it down quickly here though, but please do be warned that this will not work with every single die cutting machine. You should refer to the instruction booklet for your particular machine if you want to make sure you do not damage your machine!!
I have stacked Platform A and Platform B, then placed the Fiesta Foliage Press Plate facing up on top. Next I added the card stock, and then the TAN colored soft mat, and finally on top the dark blue Embossing Plate. It was a bit of a workout to get it though the machine, but oh boy… was it worth it!! Deep groves of textures, so much detail and oh my gosh, the amazingness of it all!
With the backgrounds done it was time to puzzle together the leaves and the carnations on the two cards. It didn't take as long as I was expecting to be honest, with the flowers being so big that they need a lot of space to really shine the cards didn't need that much extra. One of of them I layered up some of the Morning Frost leaves with Reindeer Moss leaves for a bit of extra dimension and I think it was such a good decision.
Sentiment wise I have gone for two of my favorite sets, You Are Everything and Tranquil Greetings. These both have so many amazing sentiments to make someone special smile or just know that you are thinking very highly of them. I use both of these sets all the time, along with the Timeless Sentiments 2 Die Set. Those are probably my top three sentiments set, for now at least. Who knows what else is coming in 2025?
To make things easier for myself when it came to gluing things down and adhering to the backgrounds, I have used Press'n'Seal. This is such a great invention and I re-use my pieces until they no longer seal a single thing.
On the back of the card with the Morning Mist background I have used plenty of Instant Dimension Foam Tape, for even more texture and layers. For the You Are card I used Ultra Sticky Double Sided Tape (1/2 inch) as well as liquid glue, but to make things even levels I added a bit of Instant Dimension Foam Tape to the back of the sentiment banner.
Now, a normal person would probably have stopped here but did I? No, of course not. It was time to bring out the bling, and I will not be bling-shamed, I absolutely LOVE what a bit of bling can bring to a card! I'm nearly out of the Smoky Quarts Sparkle Gems but I have used what I had left to add some glorious sparkle to the cards, and then I was done.
I hope you have enjoyed this post and get a chance to check out the video! Experimenting with layers and dimensions is so fun and I hope this has inspired you to try and top my many, many layers!
Lots of love and positivity as we head into this new year! Crafty hugs from Erica
Get the latest from Altenew, new releases, exclusive offers, subscription updates, and inspiring paper crafting ideas delivered straight to your inbox.