Bold Dots or Fine Lines: Two Striking Pen Techniques with Fine Liner & Calligraphy Pens

Hi there! Erum here. In today’s Creative Coloring with Erum, I’m showing you how to take a single stamped floral image and give it two completely different looks — all by changing your pen technique. Whether you prefer bold dot shading or fine line work, these methods will instantly elevate your stamped images.

Bold Dots or Fine Lines — Transform Your Stamps with Pen Detailing

1. Stamp the Images
Stamp the floral image from the Build-a-Garden Rose Reverie Stamp Set on two panels of Classic Crest Solar White Cardstock using Obsidian Pigment Ink.
Set one aside for dot detailing and the other for line detailing.
VIDEO: Bold Dots or Fine Lines? Two Striking Pen Techniques for Stamped Images
Watch the video tutorial below or CLICK HERE to learn more about this cardmaking technique! Or read step-by-step instructions after the video.
2. Add Dot Detail (Blue Card)

Using a 05 Fine Liner Pen, add larger dots along the base of the petal. Concentrate the dots for depth.
Switch to a 005 Fine Liner Pen to diffuse the dots, making them look more organic.
Optionally, add smaller clusters of dots to petal tips where you see divots.
For leaves, use a Medium Flex Calligraphy Pen to vary the outline thickness, then add veining.
Layer additional fine lines from midrib outward with a 03 Fine Liner Pen and shading with a 005 Pen.

3. Add Line Detail (Pink Card)

Using a 03 Fine Liner Pen, draw lines from the petal base outward, turning the cardstock instead of your hand.
Include both solid and dashed lines for variation, especially at petal tips.
Use the 005 Fine Liner Pen to deepen shading.
Add extra leaf veining if desired.
With a Large Flex Calligraphy Pen, add bold strokes at petal bases and clusters of dots on leaves.

Tip: When working on the base of the petal, make sure to use the pen at an angle or press it slightly to make the stroke broader and add variation rather than maintaining a consistent stroke. The variation will give the image a more professionally-drawn look and add more depth.
4. Prepare Backgrounds

Pink Card (Line Detail): Blend Cotton Candy Fresh Dye Ink from bottom to top for an ombre effect.
Blue Card (Dot Detail): Blend Cloudy Sky Fresh Dye Ink from the bottom right corner diagonally to the top left, overlapping with Pool Fresh Dye Ink.
Add fine splatters of Carbon Black Gouache to both panels.
5. Die-Cut and Layer Elements

Blue Card (Dots): Die cut a tag using Nimbus Cardstock from Best Wishes Tags Die Set, and blend Pool Fresh Dye Ink to adjust the tone.
Blue Card (Dots): Include a strip from Essential Black & White Paper Pack, a fishtail-cut glitter banner, Silky Lilac Thread, and Stellar Sequins: Dazzling Diamond.
Die cut from Piped Waffle for the Blue Card and Circle Quilt Cover Die for the Pink Card in Jet Black Cardstock. Trim pieces to tuck behind floral arrangements.
Add touches of Dazzling Diamond Glitter Cardstock for sparkle.
Pink Card (Lines): Add sentiment stamped in Cosmic Berry Fresh Dye Ink from an upcoming Press Plate, plus Stellar Sequins: Dazzling Diamond for sparkle.
Thanks so much for stopping by! Happy crafting!

Can't get enough of line art and all things drawing, outlining, or calligraphy? We've got a treat for you! We're presenting Altenew's FREE Printable Line Art Worksheets and FREE Printable Calligraphy Worksheets, the perfect companion to Fine Liner Pens and the Flex Calligraphy Pen Set Erum used in her tutorial today. Download these freebies today and unleash your creativity!

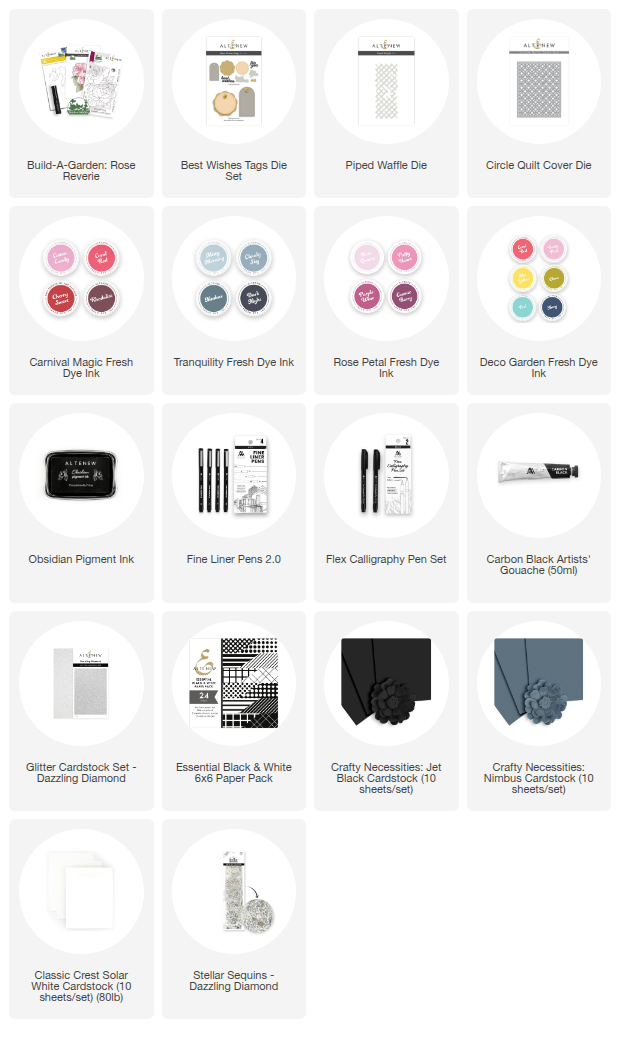
SUPPLY LIST
Leave a Reply