White Cloud Ink Coloring Twist


Welcome to Creativity Unlocked, where we highlight a new product from each month's collection or a fan favorite from past collections!

Hello from Scotland! This is Bibi Cameron, and I’m excited to share some easy and quick cardmaking ideas using the new Craft-A-Flower: Cherry Blossom Branch Layering Die Set and Altenew Inks.
This set creates a stunning floral design that will fill the front panel of a 6×6-inch card.
As I make my own card bases using A4 sheets of cardstock, the largest size I can create is a 5-1/2″ square. Personally, I love rectangular cards, so I cut 5″ x 5-1/2″ card bases for the cards today.
You can mix and match supplies to create different scenes, but the Craft-A-Flower: Cherry Blossom Branch Layering Die Set on its own is more than enough to craft a simple, yet delicate, and stunning front panel for any occasion cards.
I also want to share with you a super easy technique to add texture and interest to your die-cuts using Cloud White Pigment Ink. It’s difficult to capture in photos, but this technique will add beautiful texture to your die-cuts.
All you have to do is apply a contrasting ink to the area where you want the effect, then use a “sea sponge” to dab Altenew Cloud White Pigment Ink over it. After that, spray with water and let it air dry.
Note: Regular sponges won't do the trick.
Watch the simple process in the video here.
Pink Cherry Blossoms Card

Card Recipe
This card measures 5 x 5-1/2 inches.
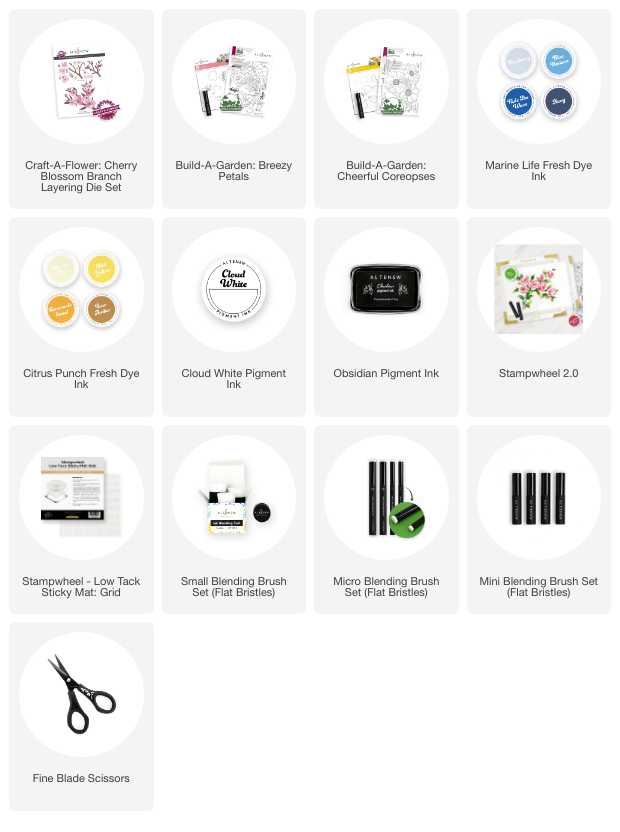
- Craft-A-Flower: Cherry Blossom Branch Layering Die Set
- Sentiment from the Build-A-Garden: Breezy Petals
- Inks used to add color to the flowers: Roze Quartz, Berrylicious, Navy, Cloud White
- Inks used to add color to the branch: Acai Berry, Choco Hazelnut, Navy, Cloud White

Here’s a step-by-step breakdown of the process:
- First, I die-cut all the pieces out of White Cardstock.
- Then, I placed the die cuts on a Gelly Plate to add color.
- I started by applying Rose Quartz over all the die cuts, including the branches.
- Next, I added Berrylicious and Navy inks on the centers of the flowers.
- For the branches, I used a mix of Acai Berry and Choco Hazelnut.
- Once all the die cuts were colored, here comes the twist! using a Sea Sponge, I daubed Cloud White Pigment Ink over all the die cuts and lightly sprayed them with water.
*This step distresses the inks, blending them together to create an unexpected texture. The result is a beautiful finish that's hard to capture in photos but truly stunning in flesh.

The sentiment for this card was made using a stamp from the Build-A-Garden: Breezy Petals.
I used, the Stampwheel and Obsidian Ink to stamp it after adding the branch on the front panel.
Blue Blossoms

I made a blue version of the Cherry Blossoms using my creative allowance and I followed the same coloring steps as I did for the previous card, and while these aren’t the natural colors of the flowers, I absolutely love how they turned out.
The beauty of cardmaking is that you can make these flowers in any color you like!

Card Recipe
- White Cardstock
- Craft-A-Flower: Cherry Blossom Branch Layering Die Set
- The sentiment: ” Smile” is from the Build-A-Garden: Cheerful Coreopses
- Inks used to add color to the flowers: Blueberry, Ride the Wave, Cloud White
- Inks used to add color to the branch: Choco Hazelnut, Raw Amber, Berrylicious, Navy, Hunter Green, Pure Graphite.
- To add shimmer and shine to the leaves, I used Metallic Cardstock

That's all for today.
Thanks for stopping by
-Bibi Cameron
Supplies