Pigment Ink Blog Hop + Giveaway ($200 in total prizes)

Hello there! It's Michelle here, joining you to kick off today's blog hop showcasing Pigment Inks. I'm going to show you how they work beautifully with a technique I use a lot with embossing folders. Be sure to stay tuned for the GIVEAWAY details – you might be one of the lucky ones to win a gift voucher for shopping with Altenew.
Enhancing Embossing with Pigment Inks | Terrific Tags with Michelle

Creating a Base Layer
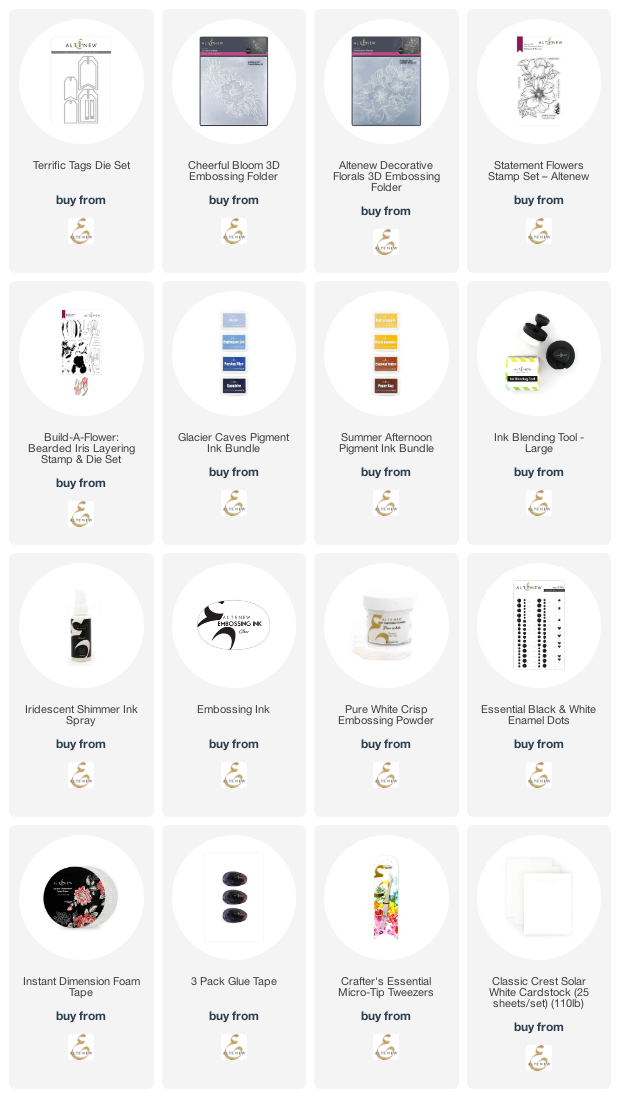
Today we are going to use pigment ink properties to our advantage by layering light colors over dark colors. I started off by adding ink blending to my Terrific Tags cut from Classic Crest Solar White 110lb Cardstock. I used Persian Blue and Sapphire from the Glacier Caves Pigment Ink Bundle for the blue tag. For the yellow tag, I used Warm Sunshine and Caramel Toffee from the Summer Afternoon Pigment Ink Bundle.

Enhancing the Embossing
I ran them through my die cutting machine using the Decorative Florals 3D Embossing Folder for the blue tag and Cheerful Bloom 3D Embossing Folder for the yellow one. Using the lightest shades in the pigment ink bundles, I lightly swiped and pressed the ink pads onto the tags to add the color to the most raised parts of the embossing. This really does enhance the embossing and make it pop off the tags!

To add a little sparkle to the tags, I sprayed them with Iridescent Shimmer Ink Spray. This melds with the pigment ink and as a result, creates a really soft look, almost like velvet! I then added another tag cut from white cardstock to the back so that it would look finished, and therefore, would have space to write a personal message.

For the yellow tag, I took the sentiment stamp from the Statement Flowers Stamp Set and stamped it onto black cardstock with Embossing Ink. I applied Pure White Crisp Embossing Powder and heat set. I did the same thing for the blue tag with the sentiment from the Build-A-Flower: Bearded Iris Layering Stamp & Die Set. They were both cut into strips and added to the tags with Instant Dimension Foam Tape.

To finish off the tags, I added Essential Black & White Enamel Dots and then added twine through the tops and tied in a bow. You can watch the full process video below or on YouTube.
Giveaway Prizes
$200 in total prizes! To celebrate this occasion, Altenew is giving away a $100 gift certificate to 1 lucky winner and a $20 gift certificate to 5 winners! Please leave a comment on the Altenew Card Blog and/or each designer’s blog post on the blog hop list below by 10/21/2012 for a chance to win. Altenew will draw 6 random winners from the comments left on each stop of this blog hop and announce the winners on the Altenew Winners Page on 10/23/2021.

Blog Hop
Your next stop on the hop is Nathalie DeSousa. Here's the full hop list:
Supplies