Add Drama To Your Cards With These 6 Easy Tips!
Hello, crafty friends! Bibi Cameron here. When it comes to crafting beautiful, dimensional cards, it's all about the art of layering and those little details that truly make a big statement.
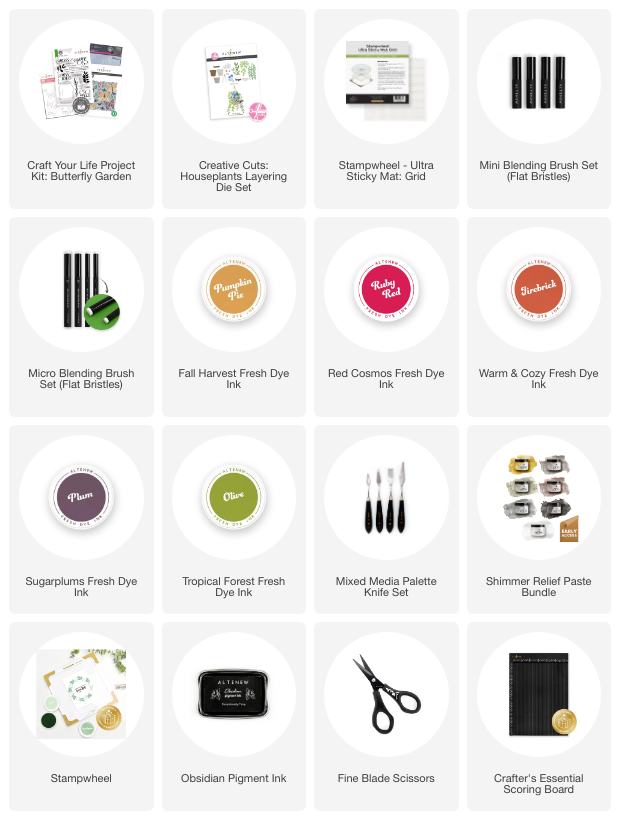
Today, we will explore how to easily add value to your card designs using Altenew’s Craft Your Life Project Kit: Butterfly Garden and the Creative Cuts: Houseplants Layering Die Set.

I’ll walk you through some of my favorite tips and techniques for adding drama and dimension to cards, transforming them from lovely to absolutely eye-catching.
Watch The Process Of Adding Drama To Your Cards
Check out this YouTube Short I created to learn more!
1. Stenciling & Die-Cutting
Start by stenciling the images using the Butterfly Garden stencils and then die-cutting them with the matching dies. Use the stencils in numeric order and start by using light inks. Then build up the color as you continue this step.
This will create basic toppers for a wide variety of projects but don’t just leave your images flat—add extra layers to give them depth!
2. Alter Shapes with Altenew’s Fine Blade Scissors
One of the most fun ways to add dimension to your images is to snip and alter their shapes. I always keep my Altenew Fine Blade Scissors handy for this.
For the butterflies in the Butterfly Garden set, I like to cut the wings in half. This adds a beautiful dimensional look, as if the butterfly is fluttering right off the card. You can also trim around the edges of stamped/ stenciled flowers or leaves to create a more dynamic, layered effect.

3. Textured Details with Relief Paste
Texture is another way to add depth and drama to your designs. Apply Relief Paste through one of the layers of your stencils. I used the Smoky Quartz paste for the butterfly’s body, which created a subtle, but gorgeous texture. It adds an extra element of surprise when the light catches it, giving your cards a more sophisticated, tactile quality.
4. Dark Ink Around the Edges
Now, let's talk about creating some contrast. Use very dark ink around the edges of your images. This is a quick way to make your elements pop and give your card a more dramatic look.
For today's card, I used Plum, which is a deep, rich purple. This dark ink really makes the edges stand out against the softer, lighter colors of the rest of the design, creating a stunning contrast.

5. Add Dots for Extra Detail
Sometimes, it's the little details that make all the difference. Grab your gel pens in white and black and add some fun dots over the images. I like to add a few random white and black dots to the butterflies and the flowers to make them stand out more. These accents will bring a whimsical feel to your card and make the images pop.
6. Sparkle and Shine with Metallic Cardstock & Sequins
What’s a dramatic card without a little sparkle? Metallic cardstock is perfect for adding some shine to your die-cut details or for a backing layer. Metallic cardstock catches the light and creates a beautiful contrast with the other matte finishes on the card. To take it even further, I added some sequins and splatters of gold metallic paint.
Using these techniques, you can easily take your card designs to a whole new level. Don’t be afraid to play with texture, ink, and embellishments to create a card that truly stands out.
I hope this post helps you add that wow factor to your cards. If you’ve tried these tips or have any other techniques you love, share them with me in the comments! I'd love to hear how you add your personal touch to your designs.
Happy crafting!
Bibi Cameron
Supplies