


4 Quick Floral Cards with the Stampwheel 2.0 | Perfect Pairings with Jaycee
Last Updated: June 24, 2025

Hey there Altenew friends, welcome back to another Perfect Pairings with Jaycee. Today, I’m excited to share how the innovative Stampwheel 2.0 can revolutionize your card-making process, especially if you love creating multiple cards at once! Using the Build-A-Garden: Breezy Petals and Billowing Peonies bundle, I’ll show you how to easily whip up four gorgeous and quick floral cards in no time.
4 Quick Floral Cards with the Stampwheel 2.0
Watch the video HERE.

Why the Stampwheel 2.0?
If you haven’t heard of the Stampwheel 2.0 yet, let me just say—it’s a game changer! This clever tool allows you to create perfect, versatile card designs and helps streamline your workflow. You can take the hassle out of stamping by allowing for easy alignment, repositioning, and layering of stamps. Plus, its removable right guide enables to you fit a full 8.5×11 sheet of cardstock!

Prepare Your Stampwheel 2.0
Set up your Stampwheel 2.0 on a flat surface. Load the Build-A-Garden: Breezy Petals and Billowing Peonies into the flip plate. The best part about the Stampwheel 2.0 is that it allows you can fit a full US letter size sheet by removing the right guide.
Stamping the Floral Clusters
Choose your first ink color and stamp the floral cluster onto the cardstock sheet. The precision of the Stampwheel means you can apply an even amount of pressure, ensuring perfect impressions every time.

Layering with Stencils
Once your floral designs are stamped and dried, it's time to use the coordinating layering stencils! Position the stencil over the stamped image (the 9X12 Sticky Mat Grid allows you to easily line them up), and use blending brushes to add color. You can layer multiple colors to create depth and dimension.
Add Your Final Touches
After blending the colors with your stencils, let the panels dry if you’ve used any water-based products. You can then embellish further with things like glitter, sequins, or my favorite–splatter.

Assemble Your Cards
Finally, once your panels have dried and you’ve enhanced them as you like, fold your card bases and adhere the panels. Don't forget to add a sentiment. I used a mix of sentiments from Build-A-Garden: Breezy Petals for a variety of occasions. Now you have four stunning and quick floral cards ready to be sent to friends or family!
Why Create Multiple Cards?
Creating multiple cards at once allows you to save time and use your materials efficiently. It’s perfect for all those occasions where you need cards ready to go or for bulk gifting!

Using the Stampwheel 2.0 in combination with a floral cluster stamp set and layering stencils can take your card-making process from tedious to enjoyable! Whether you're making cards for birthdays, thank-yous, or just because, this method is both fun and efficient.
Happy crafting!
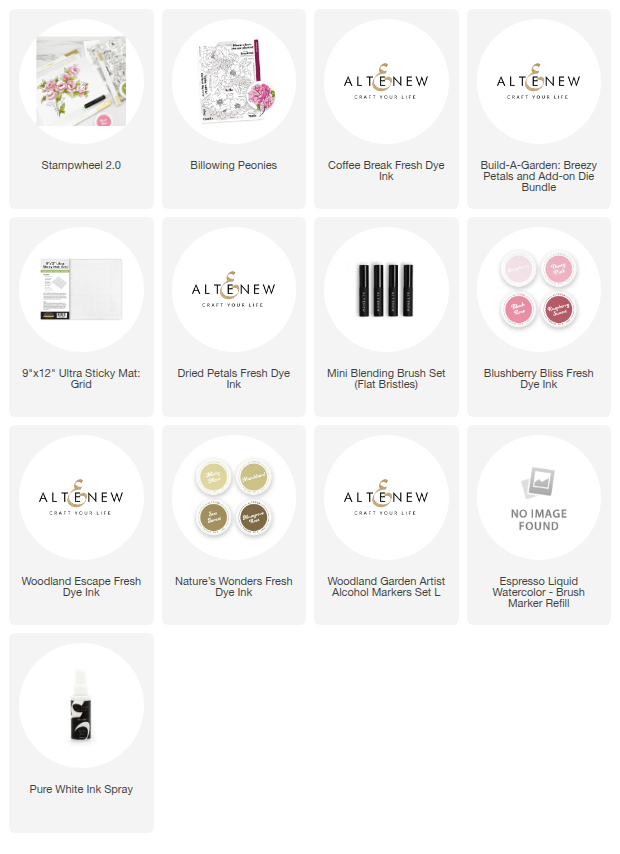
~Supply List~

In This Article


More Crafty Reads & Inspirations
-
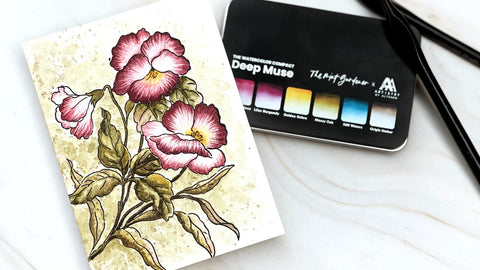
Pansies in Watercolor with the Deep Muse Compact
-

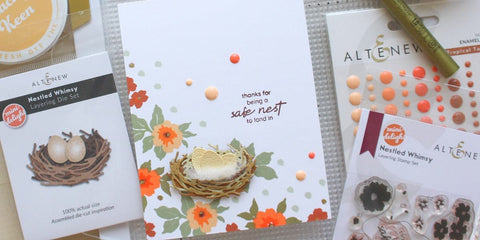
Clean and Simple Cardmaking with the Mini Delight - Nestled Whimsy Set
-
Bring Class and Elegance to Your Projects (+With Video Tutorial)
-
Pairing Die Cutting with Stenciling for Scene Building (With Video Tutorial)
-

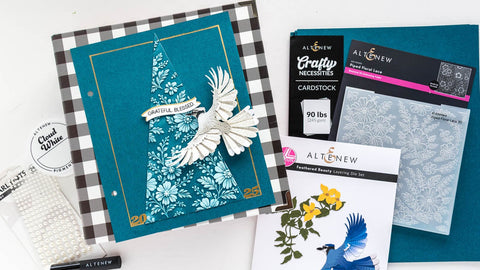
Festive Decorative Lantern Holiday Card Design Idea


