Pairing Die Cutting with Stenciling for Scene Building (With Video Tutorial)

Hello there, Michelle here with another edition of Terrific Tags with Michelle. Today I am pairing die cutting with stenciling. I really love combing different techniques on projects, but it is especially great for scene building.
For my scene I am using:
- Craft Your Life Project Kit: Whispers in the Canopy for the die cutting
- Branching Out Stencil for the stenciling

Die Cutting
I started off my card with the die cutting portion. I took the die set from Craft Your Life Project Kit: Whispers in the Canopy and die cut the bird house from Crafty Necessities Sand Dunes, Milk Chocolate and Espresso Cardstock. I adhered the pieces together using the keyhole system and liquid glue.
For the birds, I die cut them from Crafty Necessities: Dew Drops, Aqualicious and Teal Cave Cardstock. I again adhered the pieces tother using liquid glue.
I then set them aside while I worked on the stenciling.

Stenciling
I am using the stenciling portion for the background. I thought that the Branching Out Stencil would be great to hang the bird house from. There is a branch in Craft Your Life Project Kit: Whispers in the Canopy, but by using stenciling, I can add extra branches and create more of a larger scene for the birds to be in.
I placed the stencil onto a panel of white cardstock and added ink blending to the top, larger branch. Using a Mini Blending Brush, I blended on Coffee Break Fresh Dye Inks. I used Rocky Shore, Mocha and Espresso and randomly placed the shades to give the branches a more realistic look.

Bringing Stenciling and Die Cutting Togther
The stenciled panel was adhered to an A2 sized white card base with Glue Tape. The bird house was then adhered on top with Instant Dimension Foam Tape.
I die cut two extra layers for the base of the birds and adhered them behind the ones I already created. This gave some extra dimension without using extra layers of foam tape. I then adhered them to the bird house with liquid glue.

I stamped a sentiment from Build-A-Garden: Hellebore Haven onto white cardstock using Obsidian Pigment Ink. It was cut into a circle using the Nesting Circles Die Set.
I punched a hole through the top to create a tag and tied silver thread through. It was adhered to the card using more Instant Dimension Foam Tape.
To finish, I embellished with Stellar Sequins - Clear Iridescent. These are great because they:
- Add some sparkle to the card.
- Do not distract from the focal point because they are clear.
- Add something extra to the card and finish off the design.
Video Tutorial:
I hope I have inspired you to try scene building with die cutting and stenciling. You can watch the video tutorial below or over on YouTube.
Thank you so much for stopping by today, I hope you have a wonderful day!

We are celebrating our community with the A Year in Review: Crafters' Edition Instagram Hop! We are giving away a total of $450 in prizes, and we want you to have a chance to win. Head over to the Altenew Instagram account right now to start hopping and get inspired by even more incredible projects!
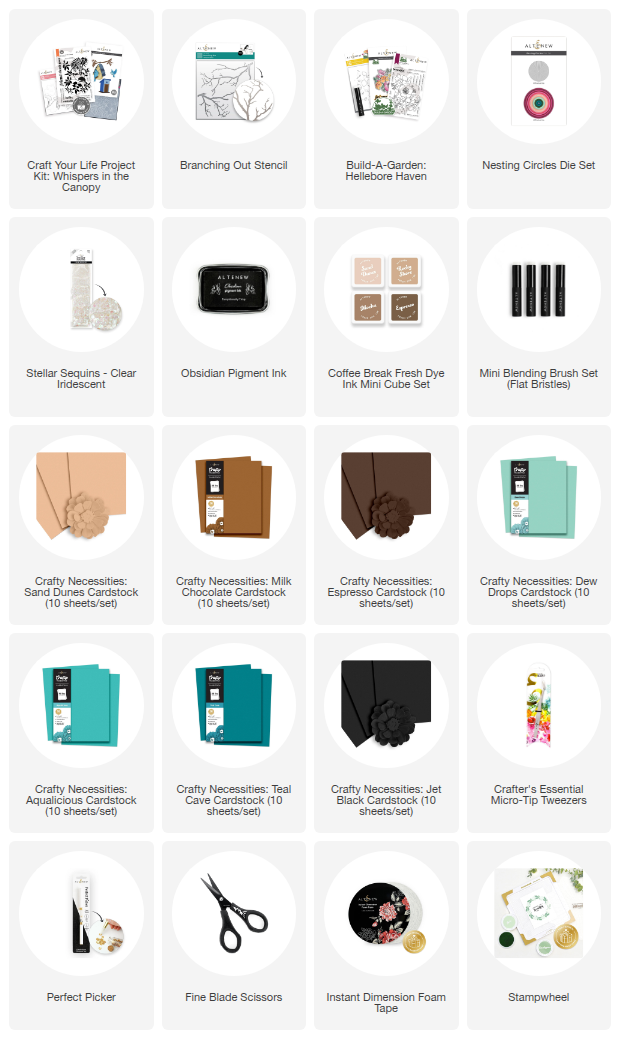
SUPPLY LIST
Leave a Reply