2 Stunning Ways to Make Your Sentiment the Star of Your Card | Take 2 With Therese
by Therese Calvird June 18, 2025

Hi there, it's Therese, and I'm back with another edition of Take 2 with Therese! Today, I'm sharing two very different card projects, using various sentiment options from the Versatile Greetings 3 Comfort Edition!

Meet the newest addition to the Versatile Greetings collection, packed with the perfect words to create a multitude of meaningful sentiments. Today, I'm excited to share two ‘think outside the box' techniques that will help make your sentiment the star of your design.
With some thoughtful design choices and a bit of creativity, let's make your sentiments truly shine.
Technique #1: Bringing Depth & Focus
When it comes to making a sentiment the focal point of a card, one of the most effective methods is to use a soft, detailed background that contrasts with a bold, dimensional sentiment. This creates a sense of hierarchy in your design and ensures the sentiment grabs attention.

This creates a contrast in texture, which draws the eye directly to the words, giving them prominence. As well as visual flow, by drawing the eye to the words and a sense of balance.

How to Apply:
-
Start with a soft, floral background, I used the Peony& Lilac Swag, but any stamps, stencils, or die cuts could work. Use colors that complement each other but don’t overwhelm the focal area.
-
Choose a bold, long set of words of phrases. By using foam tape or layering multiple die cuts, you can create physical depth that adds dimension and draws attention.
-
Place the sentiment at the center or slightly off-center, depending on the look you want to achieve.

Technique #2: Sentiment Inlay Blocks
Another great way to make your sentiment the star is through the inlay technique. This is perfect for a more modern and clean design. It is physically part of the card but inlaid into the surface, which gives it a unique, seamless look.

BONUS IDEA: Don't want to fuss with inlaying small pieces, simply adhere the die cut sentiments directly to the block instead.

How to Apply:
-
Begin by choosing your cardstock color combinations and die cutting your sentiments. This could be a single word or multiple blocks of text, depending on your design.
-
Use the negative space and inlay your sentiment pieces back into the cut-out areas, either with coordinating colors or a contrasting tone to make the sentiment stand out.
-
You can mix and match textures—perhaps a smooth cardstock for the background with a patterned or glittery finish for the sentiment.
-
Try popping up just one word or phrase in the design, this contrast will make the sentiment become the focal point.
PRO TIP: For a really striking effect, try using bold, contrasting colors or a monochromatic color scheme. This ensures the sentiment blocks are not only noticeable but also add visual interest to your card.

I hope you are inspired to create with the new Versatile Greetings on your next project! If you do, don't forget to share them on social media with me, I'd love to see what you make! If you'd like to watch the instructions for this project in-depth, take a look at the video on YouTube.
Have fun crafting!

Supply List ~
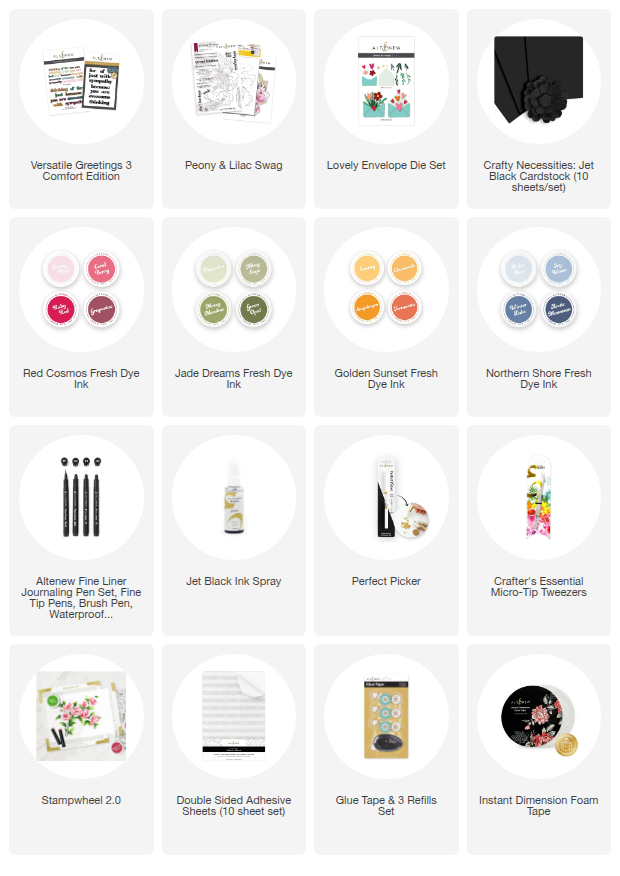
Fresh Dye Inks: Silver Stone | Frosty Pink | Coral Berry | Sunray | Icy Water | Misty Sage | Mossy Meadow | Green Opal
Essential Cardstock: Parrot | Frayed Leaf | Coral Berry | Frosty Pink | Iceberg | Starlight | Fresh Lemon | Buttercream