2 Quick and Stunning CAS Thank You Cards with Alcohol Inks
Hello Altenew friends! Welcome to Creativity Unlocked, where we highlight a new product from this month’s new collection! Discover the endless creative possibilities each product offers and get inspired to create the paper crafting ideas we’re sharing here. Keep on reading for exclusive tips from our designers, handy tips and tricks, and stunning project inspiration from talented crafters.
This is Virginia here. I am delighted to share two CAS thank you cards highlighting the new Outlined Thank You Die. This die set is utterly sophisticated. You can simply use the outline die with neutral or various colors of cardstock.
Keep on reading for more tips and project ideas using this new die!

Outlined Thank You Die
Enhance your papercrafts with this bold and modern die! This die features the words “thank you” in overlapping outlined characters and is large enough to make a major statement on your project. Cut once from your favorite cardstock or multiple times from various shades to reassemble into an inlaid look!
Thanks to its brilliant design, you can create at least two cards in one go. My two examples will also show you how to maximize the use of Alcohol Inks.
How to Make Stunning CAS Thank You Cards With Alcohol Inks
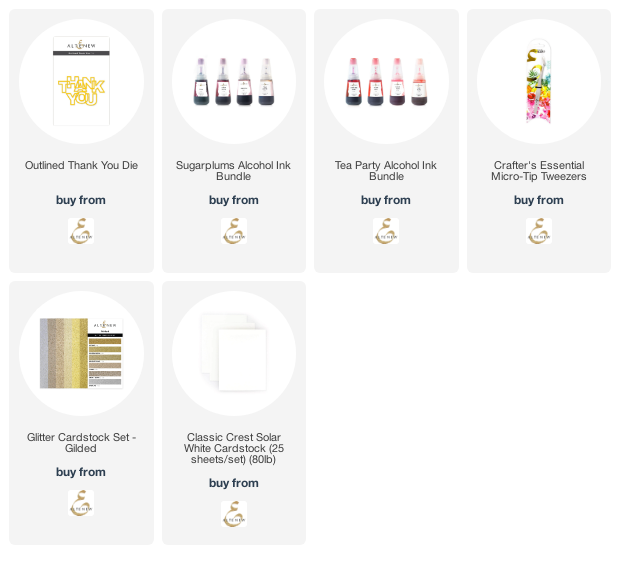
To start, you can create a colorful alcohol-inked paper. I created a striking colored paper with Sugarplums Alcohol Ink Bundle and Tea Party Alcohol Ink Bundle. Do not worry if the alcohol-inked paper is not perfect. Next, die cut the alcohol ink paper and Classic Crest Solar White Cardstock with the Outlined Thank You Die set. To save every little piece of the die, you can use a dryer sheet underneath the paper to catch them all.
  After lifting out the white outline, I inlaid the alcohol-inked pieces back inside the outline. Since each piece has its distinctive shape, it is not hard to assemble at all.

One tip I have for doing the assembly is to use Altenew Crafter's Essential Micro-Tip Tweezers. You will find the tweezers really handy when picking up the tiniest pieces.
Use Alcohol Ink Outlines for CAS Thank You Cards
With the 2nd card, I did the opposite technique that I did on the first CAS thank you card. Instead of using the alcohol ink to fill the sentiment, I inserted the white pieces into the alcohol-inked outline instead. For both of the CAS thank you cards, I adhered a piece of Glitter Cardstock (Gilded) to the card base – putting it underneath the sentiment.
  I kept the design super simple because the die and color really speak volumes. Another material you can use for this idea is patterned paper (such as Mesmerizing Pours, Enchanting Washes, and Poured Acrylic) instead of DIY Alcohol ink paper.
Designer's Tips!
Try inlaid die-cutting! Start by cutting the sentiment in your main cardstock – try black, white, or even metallic! Then, cut it once more in multiple colors of cardstock. Make sure to save the fallout pieces! Then, adhere the sentiment to your project. Fit the fallout pieces into the negative spaces in the sentiment and adhere. The final look will be smooth and colorful!
Perfect Pairings
We've curated a few items that will go well with this new product! Check them out:
- A Love for Stripes Set A 6×6 Paper Pack
- Ink Blending Brushes – Small (Set of 4)
- Altenew Blends 6×6 Paper Pack
1 Product, Multiple Ways!
Here are a few more project ideas that you can try with this new die.

- Die-cut it out of vellum and black cardstock! Rosie also re-used a piece of packaging from our Watercolor Paper Pad for a quick background. How awesome is that? Read more here.

- Kinjal went big and bold with her thank you card! We love how she used some paper scraps to create the colorful Tesselation Puzzle background and opted for a black and white “thank you” sentiment. Read more here.

- Did somebody say texture? The clean and simple look of Virginia's card was elevated by the yummy texture from the Timeless Tulips 3D Embossing Folder in the background! Read more here.

- The shiny black “thank you” sentiment definitely pops off the page – especially with that beautifully ink-blended background! Don't you just adore Terri's card?!

- Simple and elegant – that's what Mindy was going for! Here, she simply stamped the Gracious Peonies Stamp Set in the background and added a gold “thank you” die-cut. This is definitely a must-try!
What do you think about the new Outlined Thank You Die? Which project/s caught your eye? Comment below! Thank you for stopping by!