Make 2 Quick One Layer Cards with a Fresh, Modern Feeling!
Hello friends! Hannelie here and I’m so glad you stopped by today!
I love mixing old and new products and exploring creative ways to add color to my designs. Today’s cards bring both of these elements together, and to make things even more interesting, I challenged myself to create two one layer cards!

Most sources agree that one layer cards, are card designs where all elements—stamping, stenciling, embossing, or inking—are created directly on the card base without adding extra layers of cardstock. Adding embellishments may be controversial, but I decided to add some to today’s cards!
One layer cards often have a minimalist and modern feel, making them perfect for clean and simple designs. White space plays a big role in keeping the design balanced and uncluttered.
My cards feature floral and butterfly elements from the Bouquet of Poppies stamp set and a bold sentiment from the Mega Greetings 2 stamp set. The combination of these elements came together beautifully, resulting in a fresh, modern look with plenty of visual interest!
So, let’s get started!
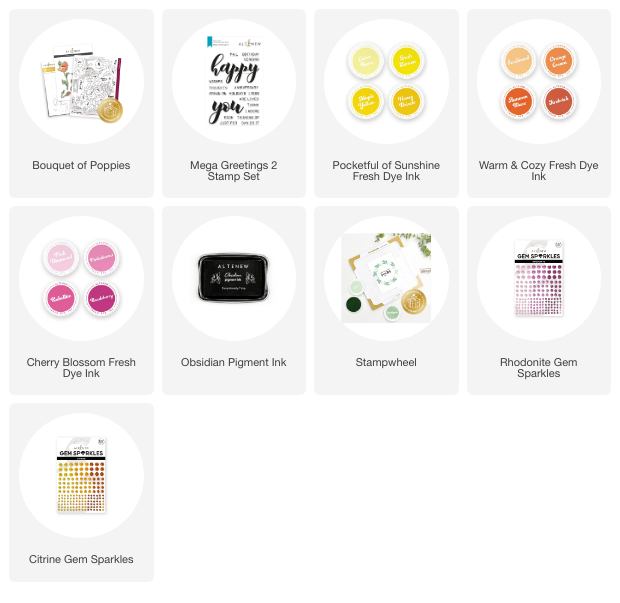
To make today’s one layer cards you will need:
- White card stock
- Stampwheel
- Bouquet of Poppies stamp set
- Mega Greetings 2 stamp set
- Pocketful of Sunshine Fresh Dye Ink and Warm & Cozy Fresh Dye Ink for the “You are loved” card
- Cherry Blossom Fresh Dye Ink for the “You amaze me” card.
- Obsidian black ink
- Citrine gem Sparkles
- Rhodonite Gem Sparkles
Step by step instructions to make the one layer “You are loved” card:
- Trim and fold the white card stock to create an A2 card.
- Secure the card onto the sticky mat of the Stampwheel.
- Position the “you” stamp on the card and use the flip plate to pick up the stamp.
- Apply ink to stamp the sentiment, starting with the lightest shade of yellow—Citrus Burst—to cover the entire surface of the stamp. To achieve an ombré effect, layer Fresh Lemon and Maple Yellow in the middle section, then finish with a touch of Orange Cream and Autumn Blaze at the bottom of the “y.” **TIP** Let the sentiment dry for a minute or two before the next round of stamping. This ensures a crisp black outline for a polished finish.
- Position the poppy stamp and the “are loved” part of the sentiment on the card and use the flip plate to pick up the stamps.
- Use Obsidian black ink to stamp the poppy and the remaining part of the sentiment
- Remove the card from the Stampwheel and embellish with Gem Sparkles for a touch of shimmer and elegance.

Step by step instructions to make the one layer “You amaze me” card:
- Trim and fold the white card stock to create an A2 card.
- Secure the card onto the sticky mat of the Stampwheel.
- Position the “you” stamp on the card and use the flip plate to pick up the stamp.
- Apply ink to stamp the sentiment, starting with the lightest shade of pink—Pink Diamond—to cover the entire surface of the stamp. To achieve an ombré effect, layer Pinkalicious in the middle section, then finish with a touch Rubellite and Razzleberry at the bottom of the “y.” **TIP** Let the sentiment dry for a minute or two before the next round of stamping. This ensures a crisp black outline for a polished finish.
- Position the poppy stamp on the card and use the flip plate to pick up the stamp.
- Use Obsidian black ink to stamp the poppy.
- Repeat the process with the two butterflies and “amaze me” part of the sentiment.
- Remove the card from the Stampwheel and embellish with Gem Sparkles for a touch of shimmer and elegance.

One layer cards don't have to be boring! It provides the opportunity to use techniques like inking, masking, stenciling, and embossing to add depth and dimension. Ombré blending or stamping, spotlight stamping, and shadow effects can help create visual interest to one layer cards.

Make Your Own One Layer Masterpieces!
I hope you feel inspired to experiment and create something amazing!
Happy crafting!
SUPPLY LIST :