Shimmer Relief Paste Top Tips and Lots of Backgrounds! Tremendous Textures with Erica + Video
Hi Altenew fans and friends! How excited are we about the new Shimmer Relief Paste? Oh, I am for sure and I have had so much fun trying them out! Hi, it's Erica back on the Altenew blog and YouTube channel with a bit of an ode to these gorgeous new products. If you are new to the world of Shimmer Relief Paste, this is for you.

In the video I'm not sharing the swatching part itself, but you can see the shimmer on the backgrounds in the photos . The paste itself is even more shimmery in real life, but you get the idea of the level of shimmer and shine you get from these. I think my favorite is a toss-up between Enchanted Gold and Pearl… I don't know if I can pick just one.

This is Rose Gold Shimmer Relief Paste spread very thin, and evenly on white cardstock. Doesn't it look fantastic?
If you like texture on your backgrounds you can have some really fun creative time by just spreading your choice of paste on card stock, white or colored both work.

For DIY shimmer cardstock you can spread the paste really thin, and then use that for word die cuts, accents on your cards or projects, or just as a background.
For some fun and interesting backgrounds, mix and match a few colors of the Shimmer Relief Paste!

Let’s Make Stunning Shimmer Relief Paste Designs!
I have two cards to show you today too, and in the video you can see how I use the Shimmer Relief Paste two ways. First I have made a really, and I mean REALLY, textured background by mixing two colors of paste but not smoothing it out too much. The idea was to get as much texture and interest as possible.
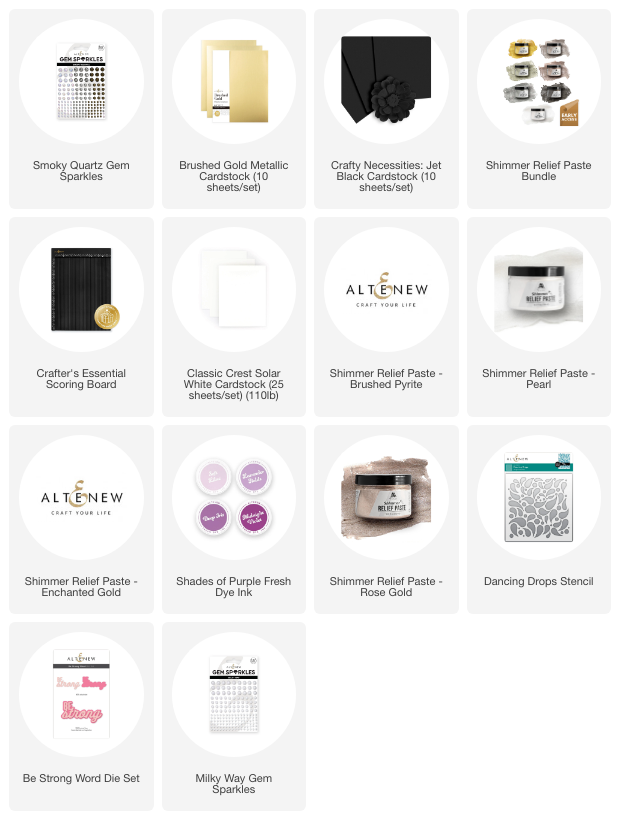
First I put down a generous helping of Smoky Quarts Shimmer Relief Paste, and I really did just kind of put it down on the paper and left it like that. To add some depth to this, I also added a bit of Enchanted Gold Shimmer Relief Paste. This also went on kind of willy-nilly. We are not aiming for control here.

The second background is almost the opposite, as the Brushed Pyrite Shimmer Relief Paste went on smooth first. Then I pressed the Dancing Drops Stencil on top of the paste to create a bit of pattern. It's subtle but it's just enough to make you stop and look again.

Because the backgrounds are so wow on their own, it seemed a shame to cover them up too much and as I am in a bit of an empowering era at the moment, I had an idea: the Be Strong Word Die would be perfect!
On the really textured background I have used Jet Black Crafty Necessities Colored Cardstock as well as Brushed Gold Metallic cardstock. The shadow part of the Be Strong was cut out of the black card stock and the actual word part out of the gold card stock.

With the second panel I didn't have any card stock that was close enough to the paste I had used on the background so I decided to use the Be Strong die cut directly onto it. The background was adhered to a card base, and then I layered up quite a few of the shadow parts to give it some height and dimension. The word part was cut out of Classic Crest white card stock and adhered to it.

With such dramatic backgrounds and powerful sentiments the cards didn't really need much else, to be honest. Yes, even I am able to stop myself at times. It is quite the surprise, yes, but the Shimmer Relief Paste really is the star of these cards, so it felt quite organic to stop here.
Having said all of that, I did still add some sparkle gems to both cards. I know, I know… but the Smoky Quartz Gem Sparkles and Milky Way Gem Sparkles were perfect for these cards.

The Milky Way Gem Sparkles bring in the white around the edges of the background and the word diecut. The Smoky Quartz Gem Sparkles work with the black card stock and the dark paste on the background.

Unfortunately I lost the footage of the actual placement of all the embellishments but I'm hoping the fact I made a point of filming extra close ups of the cards after will make up for that. You can find the video HERE.
That's it from me for today, but I hope I have inspired you to get creative and think outside of the Shimmer Relief Paste box, pun intended. There are so many ways to use these pastes, and these are just a few. I can't wait to see what you will come up with and how you will use the paste of your choice, or pastes if you can't stick to just one.
With lots of love and creativity,
from Erica
Supply List