Combining Two Different Dies to Create a Flowering Foliage Background
Hello, everyone! It’s Aga here, and today I would like to share with you a quick and fun idea of combining two different dies to create a flowering foliage background.
Adding some unexpected elements to your projects can enhance any stamp or die and add a fun touch to the design.
How to Create a Flowering Foliage Background by Combining Two Dies
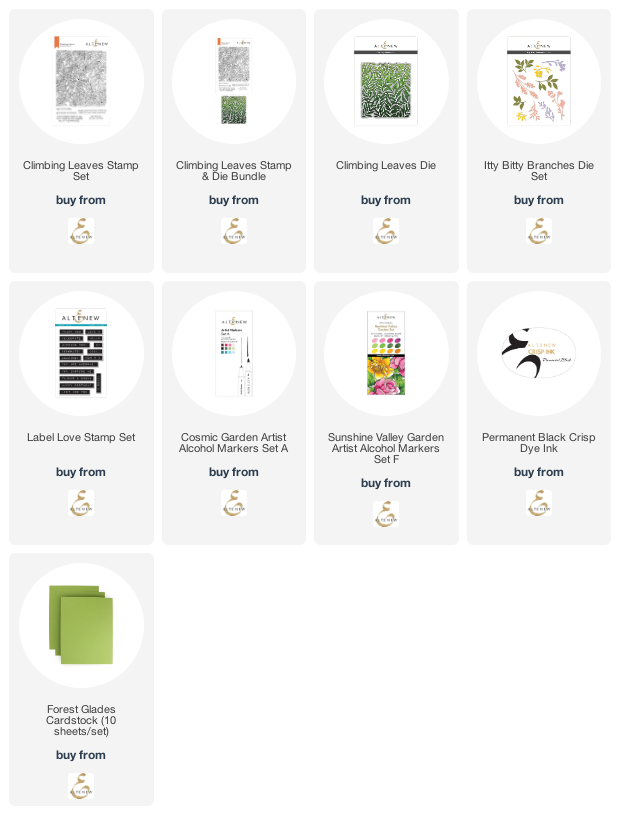
I started by creating my card base and used Forest Glades Cardstock as a background. Next, I stamped my background stamp from Climbing Leaves Stamp Set with Permanent Black Crisp Dye Ink onto white cardstock, used a coordinating die to cut it out and green markers from Cosmic Garden Artist Alcohol Markers Set A to color the leaves in.
I added them to the background and lifted up the edges for extra dimension.

To add a fun element to my leafy background, I combined it with small flowers from Itty Bitty Branches Die Set.
I die cut a few branches and cut the flowers out. This time, I used pink markers from Sunshine Valley Garden Artist Alcohol Markers Set F to color the elements.
To finish my card off, I added a sentiment from the Label Love Stamp Set.

Thank you for stopping by today! I hope this inspires you to combine different dies in your stash for the wow factor in your card projects!