Why Micro Ink Blending Brushes Are Essential Additions to Your Crafting Tools
Last Updated: April 22, 2024
Are you wondering about our new Micro Blending Brush Set and how it compares to the Large, Small, Mini, and Detailed Blending Brushes? Today, we are doing an in-depth look at Altenew’s ink blending brushes and sharing more information about which ones suit your different crafting needs!
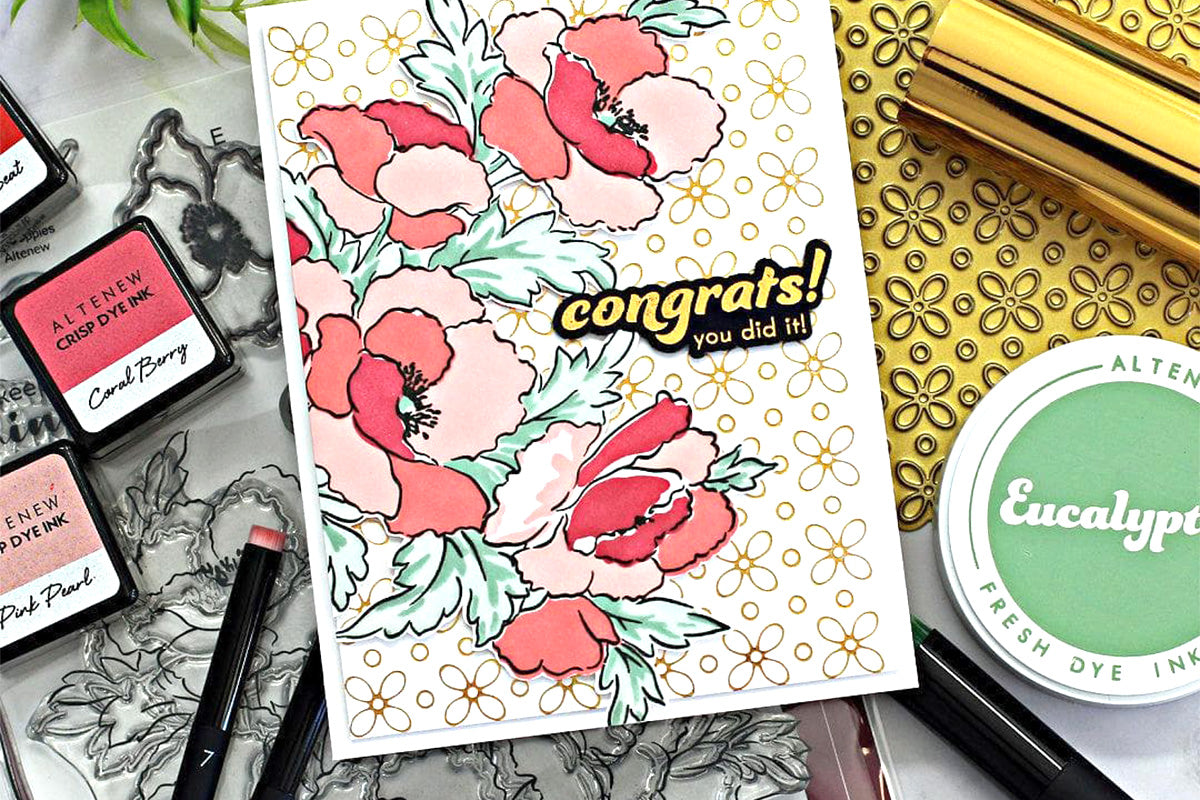
Important note: don't miss our FAQs below – we’ll answer some of your common questions about ink blending!

Micro Ink Blending Brush Set
First off, we introduce this exciting new addition to our ink blending tool lineup – our micro blending brushes!
This new tool allows crafters like you to ink-blend in tiny sections of your projects. These are perfect for ink blending in hard-to-reach areas and they're going to help you create stunning details.
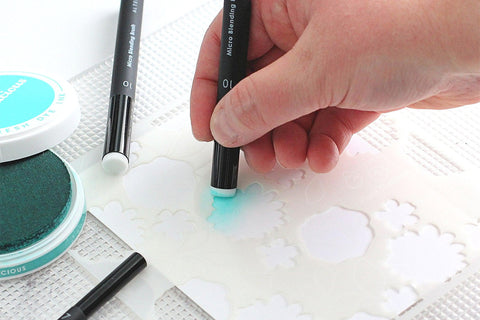
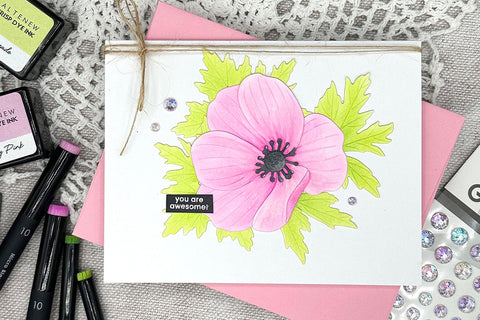
They have shorter flat bristles to allow for more control when blending, as well. The long handle is also more ergonomic to hold, and you can use it like how you would a pencil. Our Micro Blending Brushes come in a pack of four, with two different sizes. It also has white bristles like our other blending tools, which makes it easy for you to see the ink color that you are using.

However, since these are specialized for small areas of your projects, we would recommend not using these to blend colors in larger areas.
Why? Because it would take up a lot of your valuable crafting time. Instead, we would suggest using large or small blending tools as this would cut down on the ink blending time.
Which brings us to our next point — how does this new blending tool compare to our existing ones, like the Large, Small, Mini, and Detailed Blending Brushes?
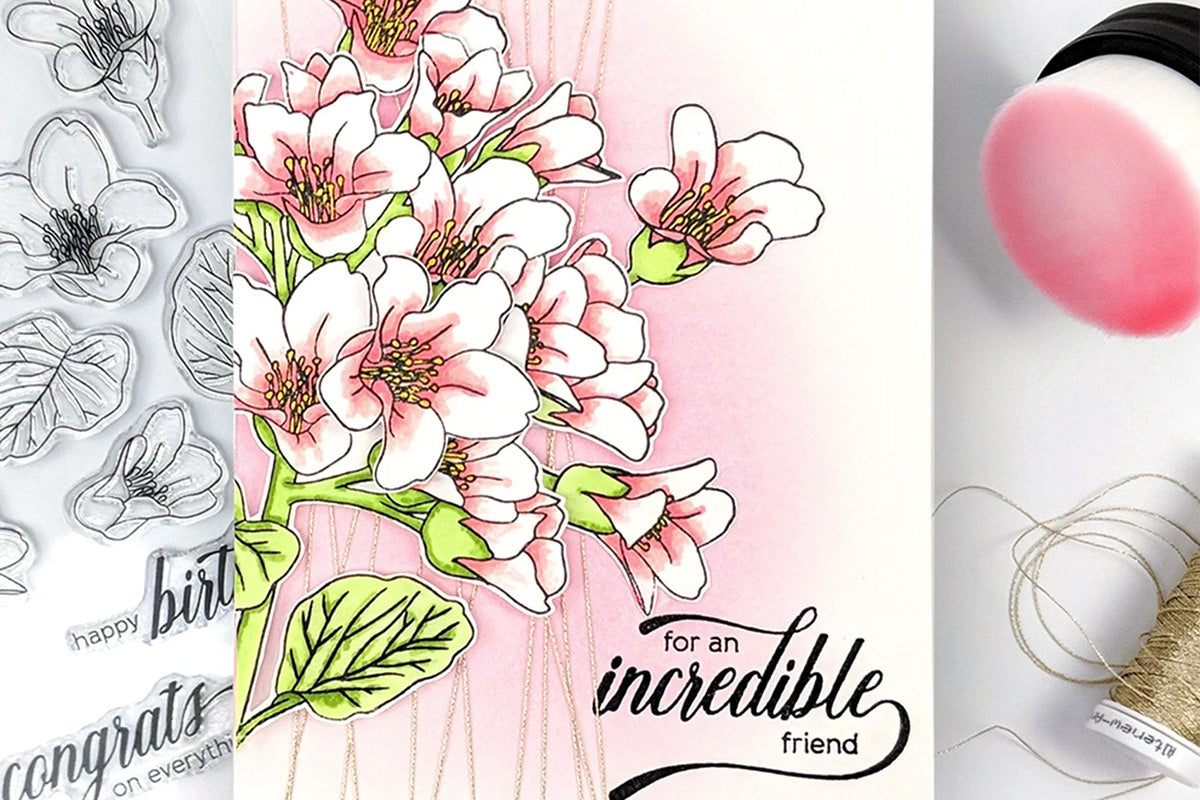
The New Micro Blending Brush vs Other Altenew Blending Brushes
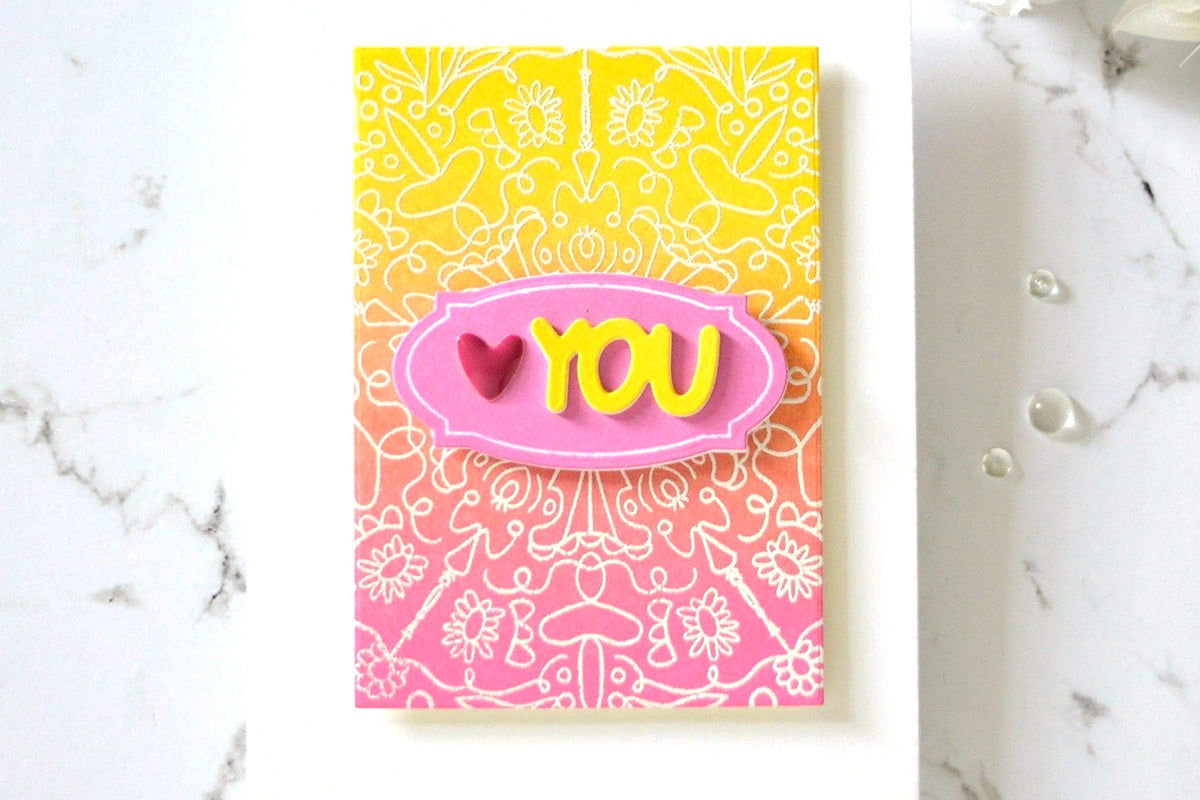
Large Blending Brush

Altenew’s Large Blending Brushes were the first released of its kind, and they remain a favorite to this day!
Pros:
- Perfect for blending large backgrounds or batch blending.
- Has an ergonomic handle which is easy and comfortable to hold.
- White bristles make it easy to see the ink color that you are using.
- Has a built-in storage case, so no more ink spots on your work surface.
- Not good for blending in small areas
- Not good for adding details to your card projects.
- Takes up a bit of storage space, too.
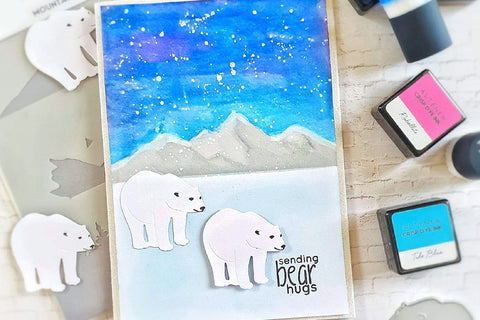
Small Blending Brush

Another fan favorite is our Small Blending Brushes, and these are also frequently used among crafters.

Pros:
- Great for both large and smaller areas.
- Ergonomic and easy to hold, as well.
- White bristles make it easy to see the ink color that you are using.
- Very easy to store
- Altenew has a storage solution for these, and it comes in a set of four brushes so you can dedicate one for various colors.
Con:
- You can use it to blend large areas, but it takes a bit longer to accomplish.
Mini Blending Brush
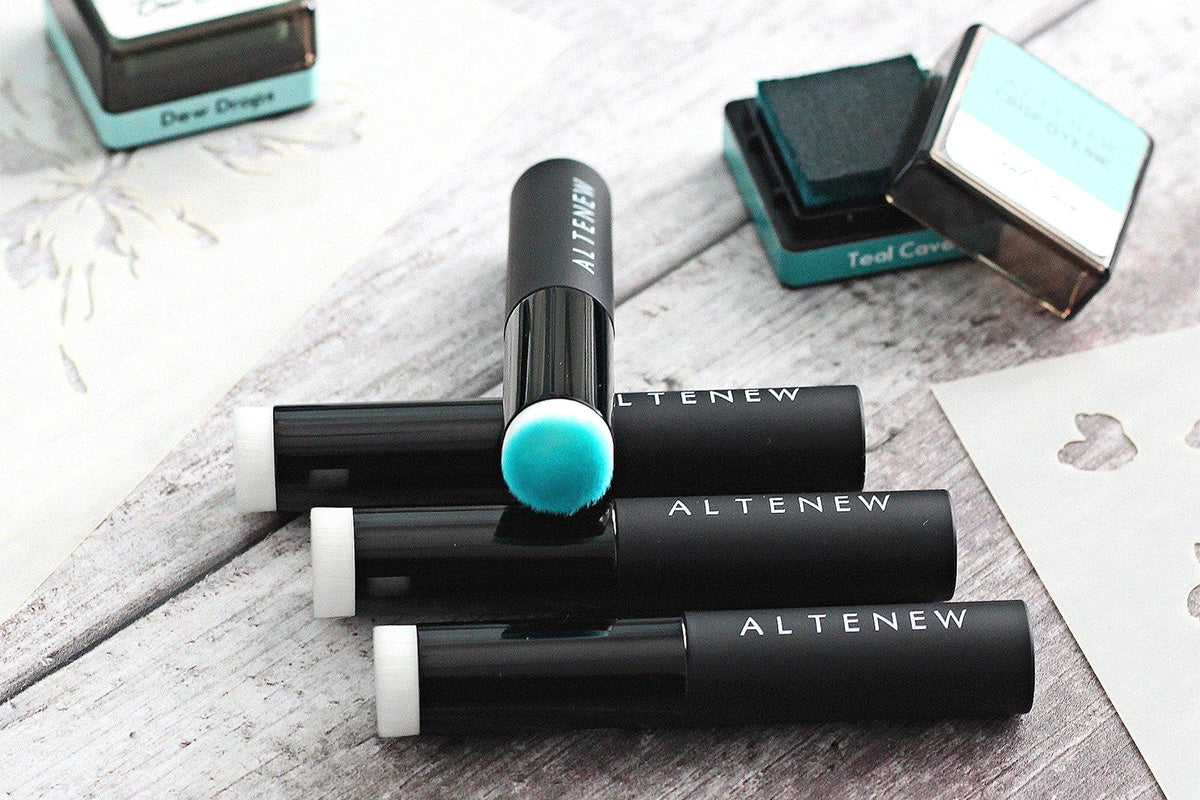
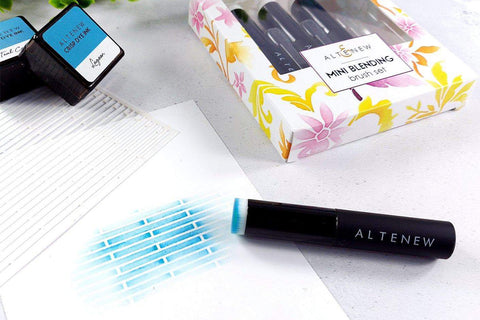
Next up are our Mini Blending Brushes, which are great for those smaller ink blending sections. One of these is included in our "Build-A-Garden" series, so subscribers can collect them each month!

Pros:
- Shorter bristles allow more control when blending
- Perfect for blending small areas and adding details to small surfaces so you don't need to mask off a lot of sections when blending on your stencils.
- Very easy to hold
- White bristles make it easy to see the ink color that you are using
- Very easy to store – you could pop those in a little tub and keep them off to the side!
Cons:
- Shorter bristles mean they hold less ink, so you will need to re-ink these a little bit more
- Not great for blending large areas.
Detailed Blending Brush
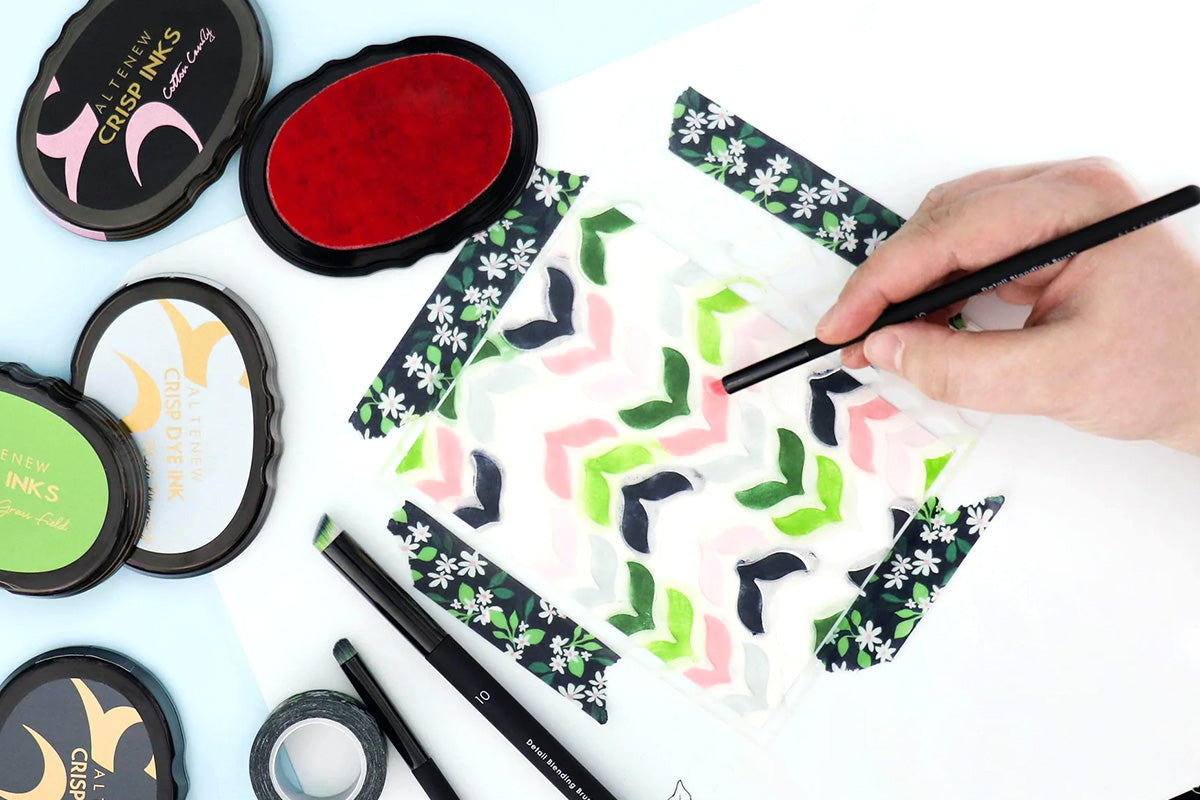
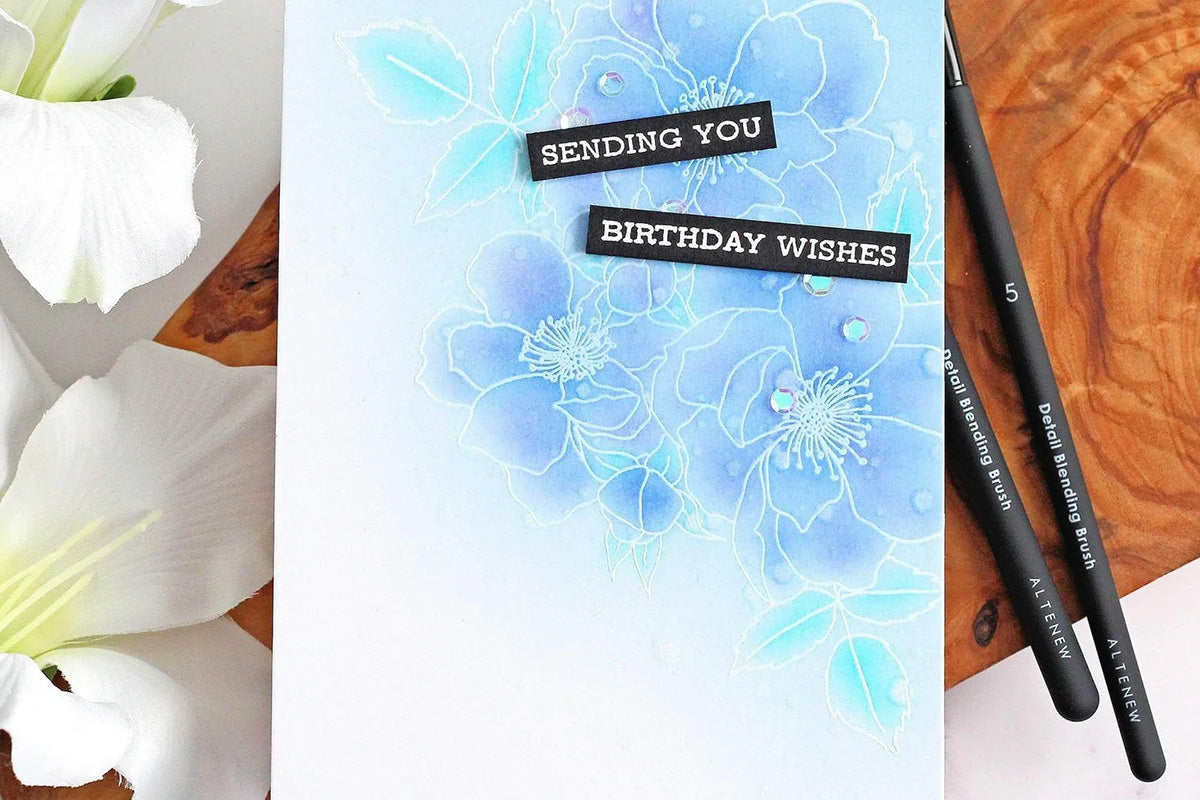
And finally, we have our detailed blending brushes, which are perfect for artists who want to level up their ink blending techniques!
Pros:
- These brushes have angled bristles, allowing you to do advanced ink blending techniques such as shading, highlighting, and adding small details like dots of color to your stencil images
- Longer handle makes it more ergonomic to hold.
- Great for adding streaks of color to add some fun effects and details.
- Comes in a pack of three with different sizes.
Cons:
- Not great for blending large areas.
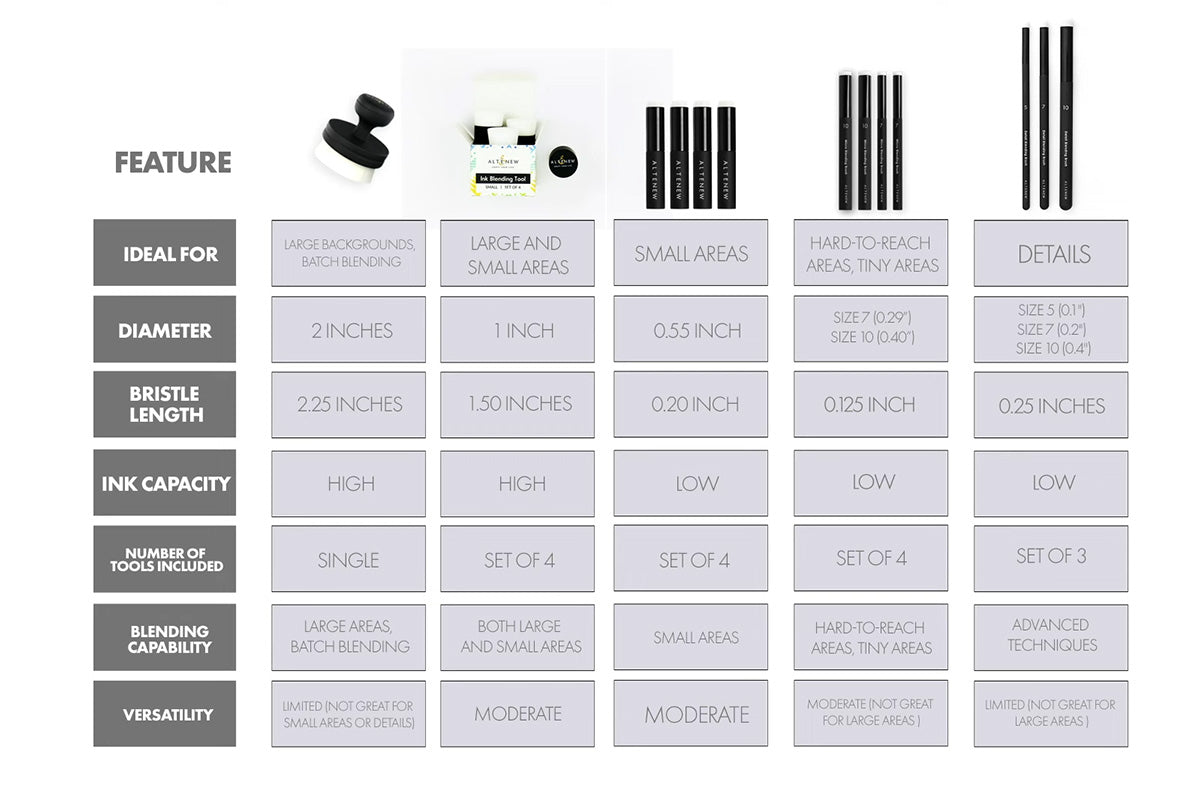
Check out this tabular comparison if you want to understand more about the differences between these tools:
Common FAQs About Altenew’s Blending Brushes
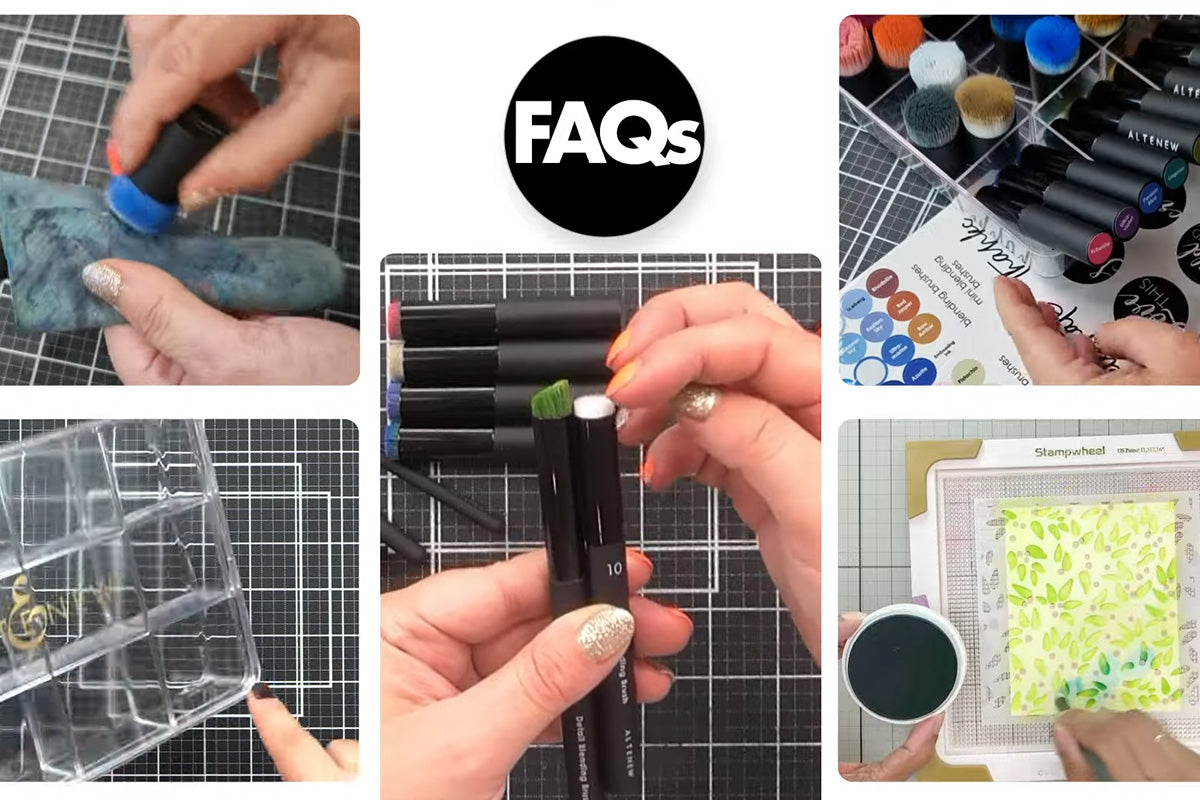
Now that we have shared the comparison of all our ink blending brushes, it’s time to answer some of your frequently asked questions about these fan-favorite crafting essentials.
1. What is the best way to clean them? Can they be washed or do you need one for each color family?
There are a couple of different ways to clean the blending brushes.
- You can use a damp microfiber cloth or a chamois – apply a little bit of pressure when rubbing the brush onto the cloth to remove the ink.
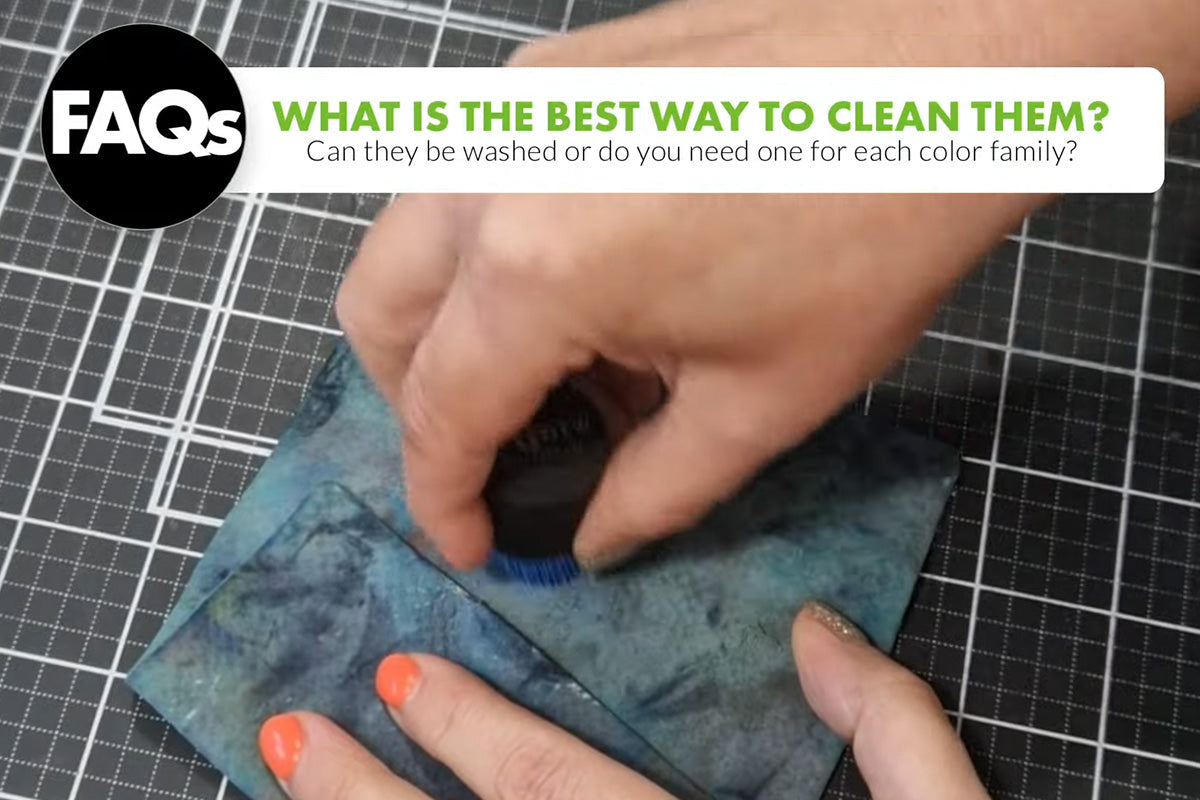
- You can also run these through some clean, clear water until the colors are washed off – again, apply a little bit of pressure when agitating the bristles or rubbing the brush onto the bottom of the sink to get rid of all the ink.

As for the second question, no, you don't need one for each color family. Most crafters dedicate one for lighter shades and another for darker colors or get one for each color
2. Is there a storage container for these brushes?
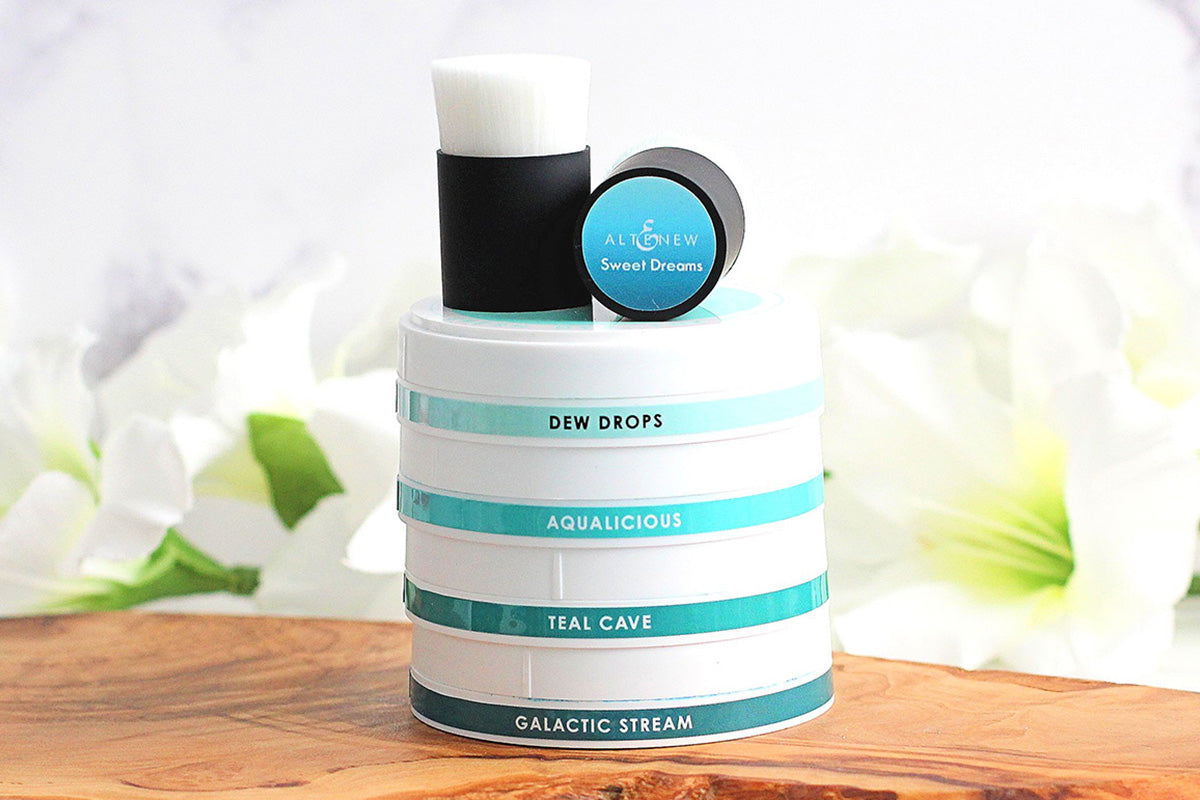
Yes! As we referenced in a previous section, we have specially designed the Crafter’s Showcase, a stackable storage for our Small Ink Blending tools.

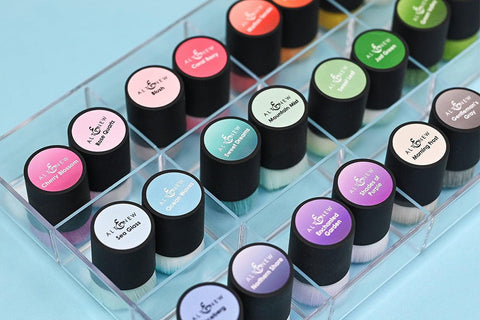
The case is clear so you can easily see through and find your blending brushes and the color that you need. Meanwhile, our Micro and Detailed Blending Brushes can easily be stored in your pencil holder, along with your paint brushes and pens!
3. What is the best way to organize your blending brushes?
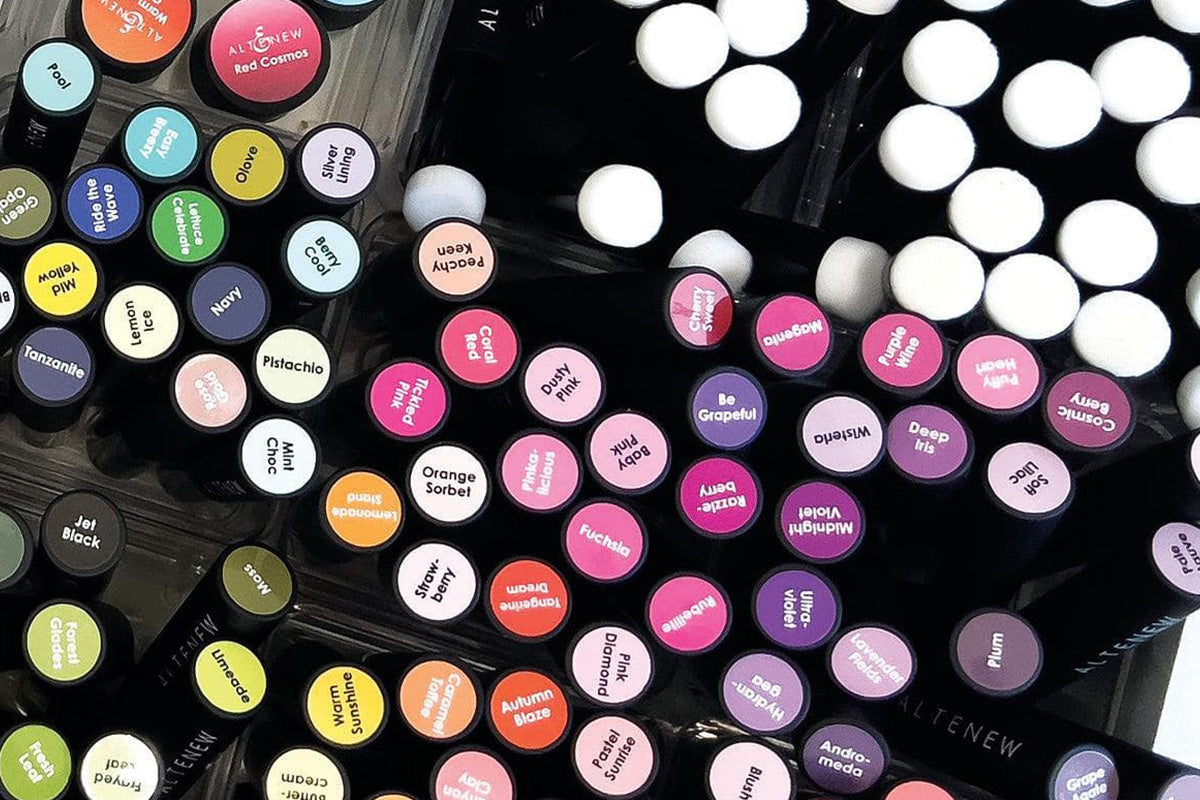
This goes along the same lines as the previous question. Altenew has designed sticker labels for our color families, and we also have specific labels designed just for our blending brushes so you can dedicate each brush to a different color family if you want to!
4. Which ink is best to use for ink blending?
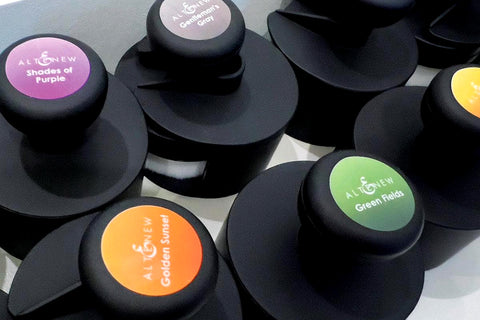
You could use any ink that you want to, but we recommend using dye inks because they blend best with these brushes. But you can use these for pigment inks, too.
One important note, though: If you are using them for different types of ink – like dye ink and also pigment ink – we recommend having a separate ink blending tool for each type of ink. For example, if you have one for blue dye ink, use a separate one for blue pigment ink. This is because they don't tend to work well on the same brush.
5. How does the Micro Blending Brush differ from the Detailed Blending Brushes already in the Altenew store?

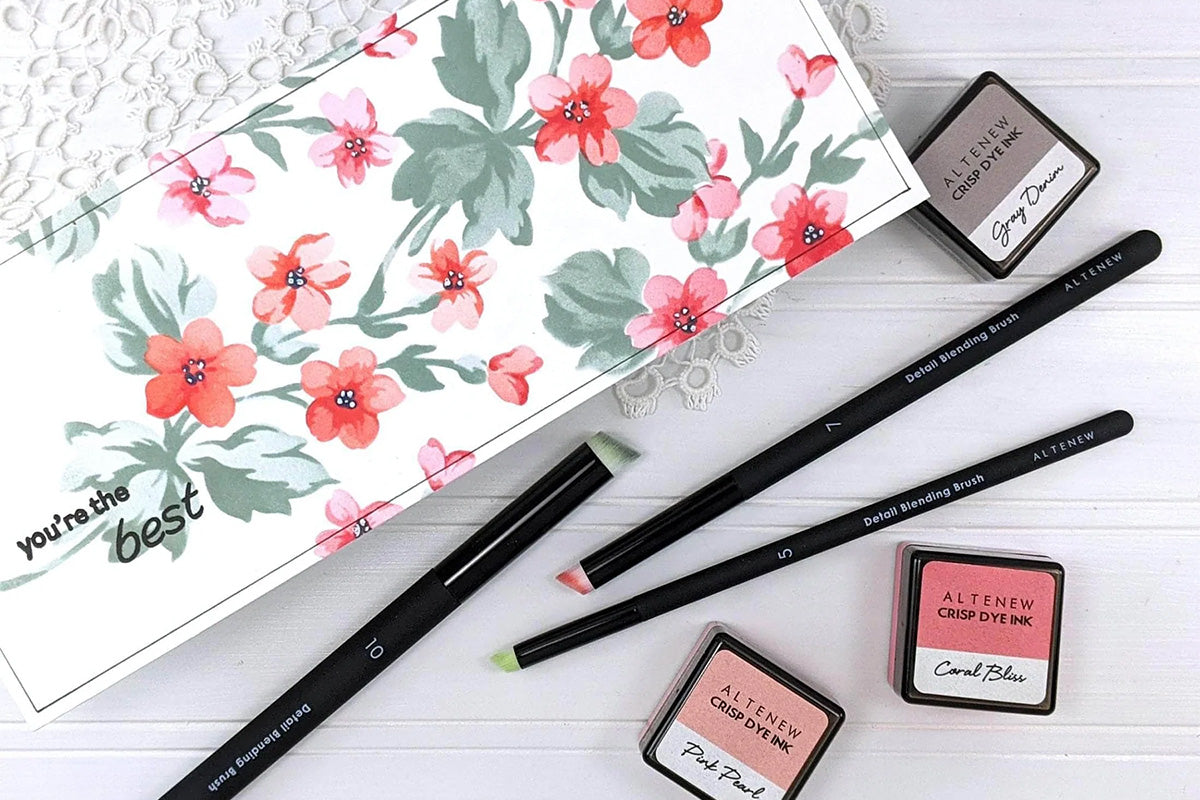
These two blending brushes have very different uses. If you look at the brushes side by side, you will see the difference in the shape of each brush.
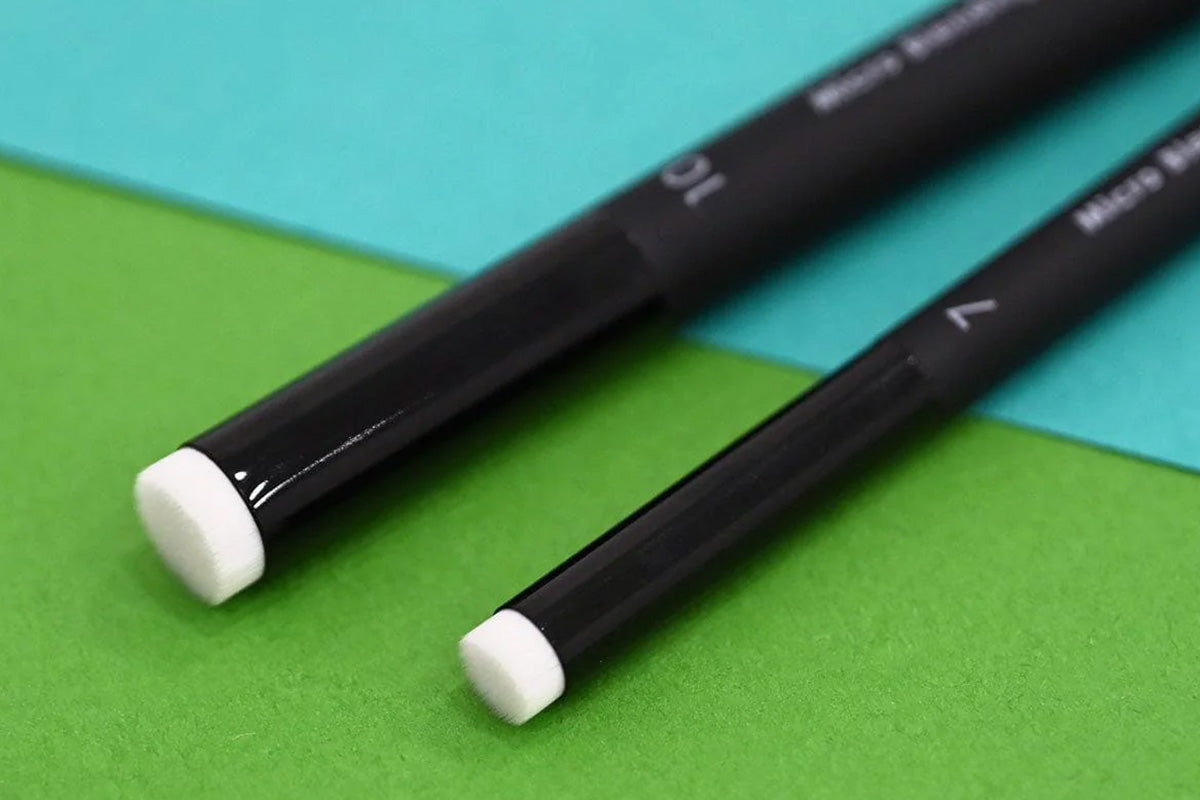
The detailed brushes have an angle while the micro brushes are flat with shorter bristles. Compared to our Micro Blending brushes, our detailed blending brushes were designed differently so they can assist with advanced ink blending techniques such as shading and highlighting.
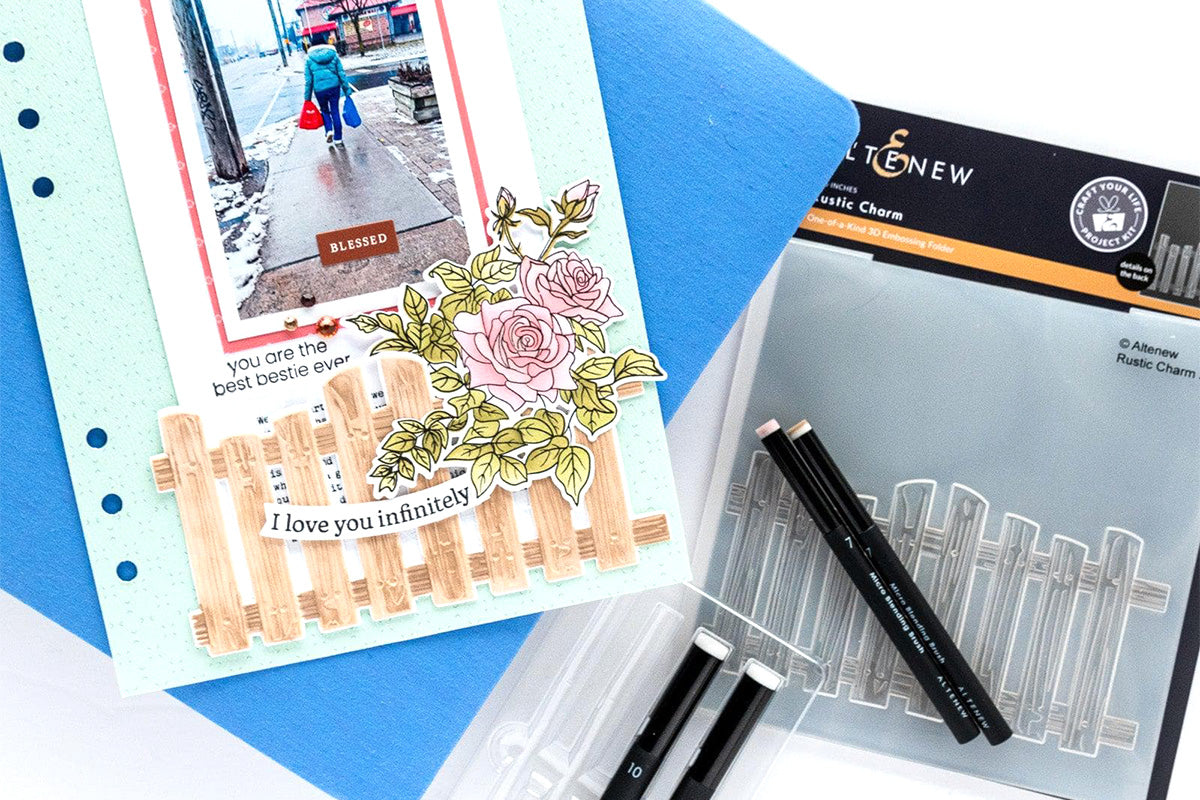
However, they do have two of the same sizes – we have the #10 and #7 size brushes in both the Micro and the Detailed sets. But in the Detailed one, you can also get a #5 brush, which is perfect for adding minuscule details!

Want to see this blog post in video form? Check out this comparison video we made here!
Our new micro blending brushes join our existing series of round blending brushes from our Large brushes down to the Detailed one. Feel free to check out the Creative Coloring with Erum playlist to see how Erum has been using different blending brushes for different uses!
Also, if you want more cardmaking and ink blending ideas, feel free to drop by In the Craft Room to get your daily dose of inspiration. Happy ink blending!
In This Article
More Crafty Reads & Inspirations
-
Starting 2026 With a Clean Slate and Using Up Leftovers
-
January 2026 Inspiration Challenge
-
Simple Tips To Bring Your Die Cut Florals To Life - A Touch of Sparkle With Carissa Wiley
-
3 Secrets for No-Outline Watercoloring: The Art of the Disappearing Line | Perfect Pairings with Jaycee
-
Card Ideas that Symbolize New Beginnings


