Using Water to Create Interest on Die-Cuts in an Easy Way (With Video Tutorial)
Are you looking for a new way to add a little something extra to your handmade cards? This technique is going to knock your socks off, and all you need is your favorite crafting supplies and some water!
Hello there, Michelle here with another edition of Terrific Tags with Michelle. Today, I have a fun technique to share using water to add interest to die cuts! This is such an easy way to add interest to clean and simple cards!

Create the Focal Point
I started off my card by creating the focal point - the flowers. I die cut three of the flowers, plus the flower centers and leaves, from Craft-A-Flower: Asters Layering Die Set from Classic Crest 110lb Solar White Cardstock.
I then placed them on my Sticky Mat to add color to them with ink blending. I used the three lightest shades from the Enchanted Garden Fresh Dye Ink Collection (Wisteria, Hydrangea, and Ultraviolet) for the petals, adding in a little Midnight Violet (from the Shades of Purple Fresh Dye Ink Collection) for some added warmth.

For the flower centers, I used Golden Sunset Fresh Dye Ink Collection (Sunray and Chamomile). For the leaves, I used Green Valley Fresh Dye Ink Collection (Firefly, Grass Field and Shadow Creek).
I then assembled and adhered the flower layers together using liquid glue.
Add Water Splatters
For some added interest to the flowers and leaves, I added water splatters on top. This is a really easy technique to add interest to die cuts! As the water hits the ink, it reacts and it lightens it, kind of like bleaching it. The more water you add, the more of a reaction you will get!
I sprayed some water onto my mat and picked it up with a size 2 Fine Watercolor Brush. I then tapped the brush to splatter the water onto the leaves. If you wanted the water spots to be lighter, you can dab off the excess water with a paper towel, but I just set mine aside to dry.

I then repeated the process adding water splatter to the flowers. I then thought it would be nice to add some shimmer onto the flowers too. So I grabbed the Iridescent Shimmer Ink Spray and sprayed some onto my mat. I picked it up with the same brush and splattered it onto the flowers.
Like the water, this also reacts with the inks, but also adds shimmer too. I didn't add a huge amount, but it adds some sparkle to the flowers, which I think is really pretty!
Card Assembly
I die cut one of the smaller tags from the Terrific Tags Die Set from Classic Crest 110lb Solar White Cardstock. I threaded black twine through the top and tied in a bow. I then adhered the two larger flowers on top, using liquid glue, followed by the leaves.
I took a white A2 sized (4.25" x 5.5") card base and using the tag as a guide, adhered the third flower on top, so that it is peeking out from behind the top right of the tag.

The tag was then adhered on top with Instant Dimension Foam Tape.
I stamped a sentiment from Soft Blossoms Stamp Set onto Crafty Necessities: Jet Black Cardstock using Embossing Ink. I applied Pure White Crisp Embossing Powder and heat set. It was cut into a strip and adhered to the card with Instant Dimension Foam Tape.
To finish, I embellsihed with Stellar Sequins - Clear Iridescent for some added sparkle and shine!
Video Tutorial:
I hope I have inspired you to try adding water to die cuts. It is such a fun and easy technique! You can watch the video tutorial below or over on YouTube.
Thank you so much for stopping by today, I hope you have a wonderful day!
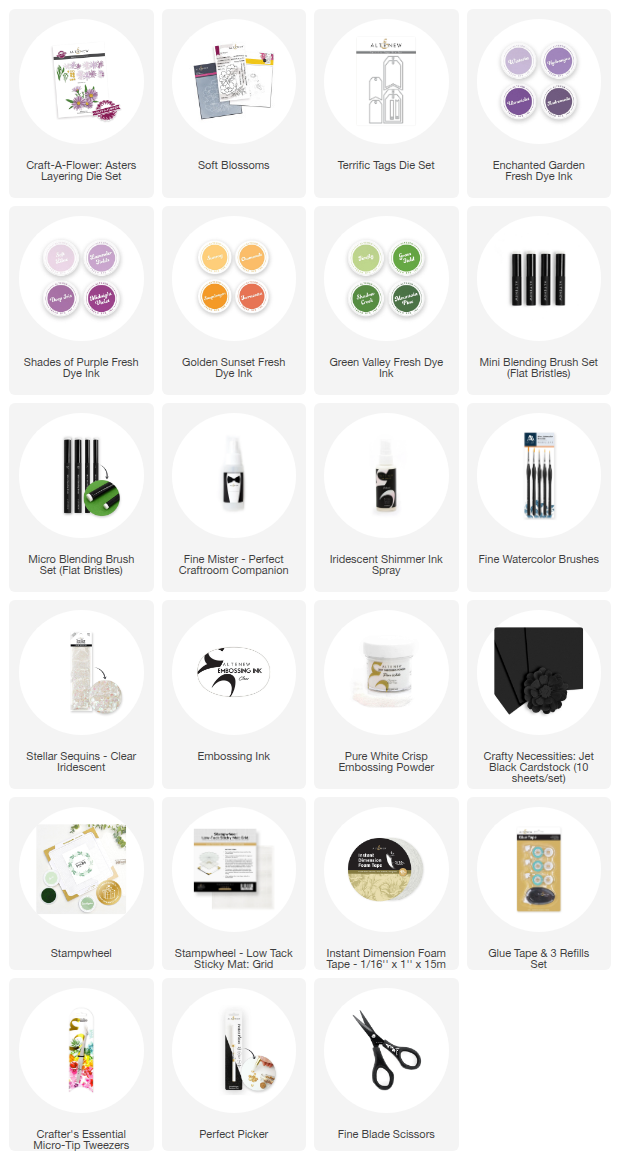
SUPPLY LIST