Stylish Bookmarks with Mini Delights: Stylish Shades

Hello crafty friends! It's Nathalie with you to share a new idea for stylish bookmarks featuring Mini Delights: Stylish Shade. This new subscription is just the right combination of a beautiful layering stamp set and a fun layering die set which allows for some fun crafty projects. Well, and since I fell in love with the frames, the idea of using them to mark your pages in a book was just the way to go. Let's take a look at the stylish bookmarks that I have created with this new Mini Delights set.

Using One Stamp Set for Multiple Stylish Bookmarks
First I want to focus on the layering stamp set included in the Mini Delight: Stylish Shades to create the bases for my stylish bookmarks. The delicate floral design made it so easy to create different looks for each bookmark with the help of Obsidian Pigment ink and Masking Paper.

Creating stylish bookmarks is made easy with simple stamping to either create a cluster at opposite corners diagonally, or a elongated cluster at one of its borders, or a repetitive stamped image on the entire surface.

Here is how I created the fist base of the stylish bookmarks:
- Use Nesting Slim Rectangles Die set to trim white cardstock into a bookmark base,
- Use Labels & Tags 2 die set to create the bookmark top and perforation on the bookmark base.
- Use the Mini Delights: Stylish Shades and Obsidian Pigment Ink to stamp repeated images all over the bookmark.
- Use Frosted Sea Glass Fresh Dye ink and Coastal Glaze Fresh Dye Ink with the layering stamps in Mini Delights: Stylish Shades to add color to the images, alternatively.
- Use Pistachio Fresh Dye Ink with the layering stamps in Mini Delights: Stylish Shades to add color to the center of the images.

Here is how I created the second base of the stylish bookmarks:
- Use Nesting Slim Rectangles Die set to trim white cardstock into a bookmark base,
- Use Labels & Tags 2 die set to create the bookmark top and perforation on the bookmark base.
- Use the Mini Delights: Stylish Shades and Obsidian Pigment Ink to stamp a full image at the bottom right corner and top left corner of the bookmark. Some of the image will sit outside of the bookmark.
- Use Frosted Sea Glass Fresh Dye ink, and Coastal Glaze Fresh Dye Ink with the layering stamps in Mini Delights: Stylish Shades to add color to the images, alternatively.
- Use Pistachio Fresh Dye Ink with the layering stamps in Mini Delights: Stylish Shades to add color to the center of the images.
- Use Obsidian Pigment ink and To My Future Self to stamp a sentiment to the center of the bookmark base.

Here is how I created the third base of the stylish bookmarks:
- Use Nesting Slim Rectangles Die set to trim white cardstock into a bookmark base,
- Use Labels & Tags 2 die set to create the bookmark top and perforation on the bookmark base.
- Use the Mini Delights: Stylish Shades to stamp the outline image onto Masking Paper, and fussy cut out the image.
- Use the Mini Delights: Stylish Shades and Obsidian Pigment Ink to stamp a full image at the bottom right corner, then use mask to cover the image, and repeat the stamping going up the right edge of the bookmark. Some of the image will sit outside of the bookmark.
- Use Frosted Sea Glass Fresh Dye ink, and Coastal Glaze Fresh Dye Ink with the layering stamps in Mini Delights: Stylish Shades to add color to the images, alternatively.
- Use Pistachio Fresh Dye Ink with the layering stamps in Mini Delights: Stylish Shades to add color to the center of the images.
- Use Obsidian Pigment ink and To My Future Self to stamp a sentiment along the left side of the bookmark base.
Using a Die Set to Customize Your Stylish Bookmarks

The fun design in the layering die set in the MIni Delights: Stylish Shades make it so easy to customize in your projects. So, I am using it to add the final touches to my stylish bookmarks, I just love the idea of glasses hanging from a book cover. Here is how I created the glass frames for the bookmarks
- Use the frame piece from the Mini Delights: Stylish Shades to cut six (6) pieces from Crafty Necessities: Evening Gray Cardstock. Stack and glue two of the frames together to create.
- Use the frames legs piece from the die set to cut six (6) pieces from Crafty Necessities Cardstock Pure Graphite. Stack and glue together, then using keyhole system attach legs to the back of frame die cuts.
- Using Brushed Gold Metallic Cardstock to cut the frame's bridge and decor using the smallest die in the set.
- Use the frame edge die from the layering die set to cut pieces from Dioptase Glitter Cardstock, Black Diamond Glitter Cardstock, and Sapphire Glitter Cardstock. Adhere each to one of the frames and finish the die cut with the small gold cardstock details.
- These are attached to twine that hangs from the perforations in the bookmarks.

I hope this has inspired you to use this new idea to create stylish bookmarks featuring Mini Delights: Stylish Shades for a project of your own. There is so much you can create with this new set. I cannot wait to see your projects.
XO!

If you'd like to get this Mini Delight set and create your own stylish bookmarks, don't forget to take advantage of this ongoing deal! Get FREE U.S. shipping on orders over $49 from March 15 to March 17, 2026. SHOP HERE!!!
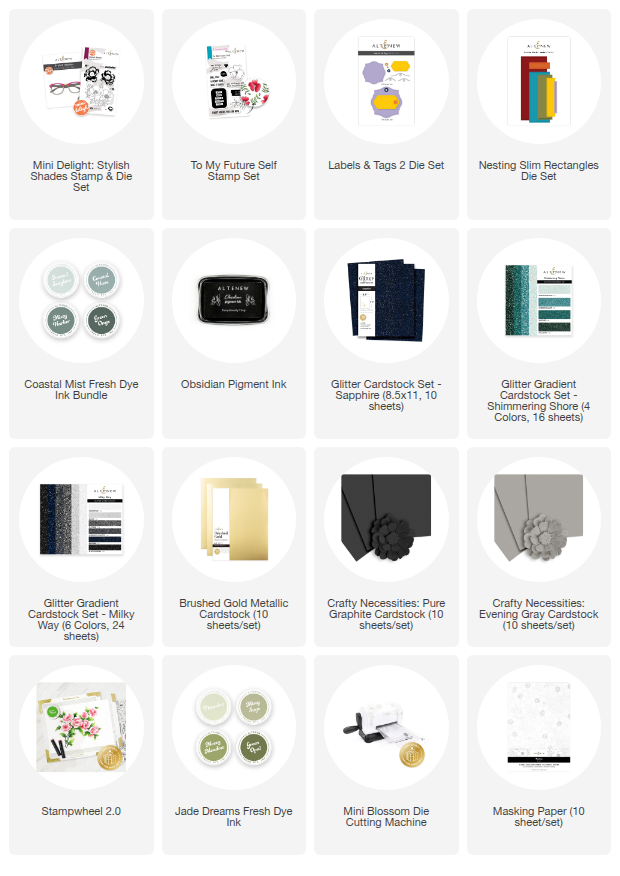
Stylish Bookmarks Project Supply List
Leave a Reply