Rustic Spring Watercolor Floral Card with Dimension


Hello crafty friends!
Today’s project combines texture, watercolor, and layered florals to create a rustic spring card filled with beautiful dimension. Instead of watercoloring stamped images, I decided to use the Bold Ember Watercolor Compact to color die-cut flowers from the Darling Dahlia Layering Die Set. This technique is simple, relaxing, and adds wonderful variation to your die-cuts.
To complement the flowers, I added texture to the background using embossing paste through the Vintage Motifs Stencil. When watercolor is applied over the textured surface, it creates a gorgeous effect that really elevates the card.
Let’s walk through the process!

VIDEO: Rustic Spring Watercolor Floral Card
Watch the video tutorial below or CLICK HERE to learn more about this cardmaking technique! Or read step-by-step instructions after the video.

Add Texture to the Background
- Prepare an A2 panel from Cold Pressed Watercolor Cardstock.
- Place the Vintage Motifs Stencil over the panel and apply Embossing Paste through the stencil using a Palette Knife. Focus the stencil pattern mostly in the center.
- Scrape a small amount of paste toward the edges of the panel to create additional organic texture. Clean the edges of the panel with the palette knife if necessary.
- Set the panel aside to dry completely.
Prepare the Die-Cuts
- Die cut several flowers and leaves from Darling Dahlia Layering Die Set using Cold Pressed Watercolor Cardstock.
- Each flower consists of three layers, along with two dies for leaves and a separate flower center die.

Prepare the Watercolors
Using the Bold Ember Watercolor Compact, place the following pigments on your palette:
• Golden Saffron
• Cherry Tomato
• A mix of both colors in the middle
These three shades will be used to color the flowers.
Watercolor the Flower Layers
- Paint the flower petals using the three prepared shades.
- There is no strict pattern for coloring. Some petals can lean more toward yellow, others toward coral or orange, and some can be a mixture of both.
- Start with light layers of color. These watercolor compacts are quite pigmented and do not lighten significantly when diluted, so beginning with a lighter application works best.
- Allow the petals to dry slightly before moving on.
- Use the leftover watercolor paint to add splatters to the flowers. This step adds subtle texture and contributes to the rustic feel of the card.
- If you prefer a cleaner look, you can skip this step.

Create the Leaf Colors
- Mix Golden Saffron with Indigo Sky from the watercolor compact to create green.
- To achieve darker shades for shading, add more Indigo Sky to the mixture.
- Paint the leaves with variations in pigment concentration so each leaf looks slightly different.

Shape the Flowers
- Use the Petal Shaper Tool to shape each flower layer.
- For the first layer, run the tool along the petal from the top toward yourself (or away from yourself) to create cupped petals.
- For the second layer, flip the petal over and repeat the motion. Turn it back to the front, then gently press the center with the tool.
- For the top layer, repeat the same motion used for the first layer to create dimensional petals.
- Adhere the three layers together.
- Paint the flower centers using the leftover yellow pigment and adhere it to the center.

Add Watercolor to the Background
- Lightly apply water to the textured background panel.
- Drop in the remaining pigments (Golden Saffron, Cherry Tomato, and the coral mix) and allow the color to spread naturally. Leave some areas white for balance.
- After the panel dries, swipe Cloud White Pigment Ink lightly across the raised texture to soften the colors.
- Add black splatters using Carbon Black Gouache. Let it dry.
- Arrange the flowers and leaves on the card front.
- Adhere most pieces with glue and a couple with foam tape to create additional dimension.
Tip: Allow the textured background to dry completely before adding watercolor.
Create the Sentiment Strip
- Cut a strip measuring 4" × ½".
- Stamp the sentiment, leaving about ¾" from the right side.
- Score the strip at 1⅜" and 3¾".
- Trim the left side into a fishtail shape.
- Apply double-sided tape to the folded tabs on both ends.
- Gently curve the strip with your fingers and tuck it into the floral arrangement, pressing the adhesive tabs to secure it.
Finishing Details
- Mask the sentiment and add white splatters using Titanium White Gouache to enhance the rustic texture of the card.
- Add sparkle using Twinkling Pink Stellar Sequins.
- To complete the design, I added a couple of butterflies from the Meadow Reflections Stamp Set.
Tip: Adding splatters helps tie the flowers and background together visually.

I love how the watercolor variation and textured background work together to create rustic spring florals full of movement and dimension. Coloring die-cut flowers with watercolor is such a fun and relaxing technique, and the Bold Ember Watercolor Compact makes it easy to achieve vibrant blends.
I hope this inspires you to try watercoloring your die-cuts and experimenting with textured backgrounds in your next card project!
Happy crafting!
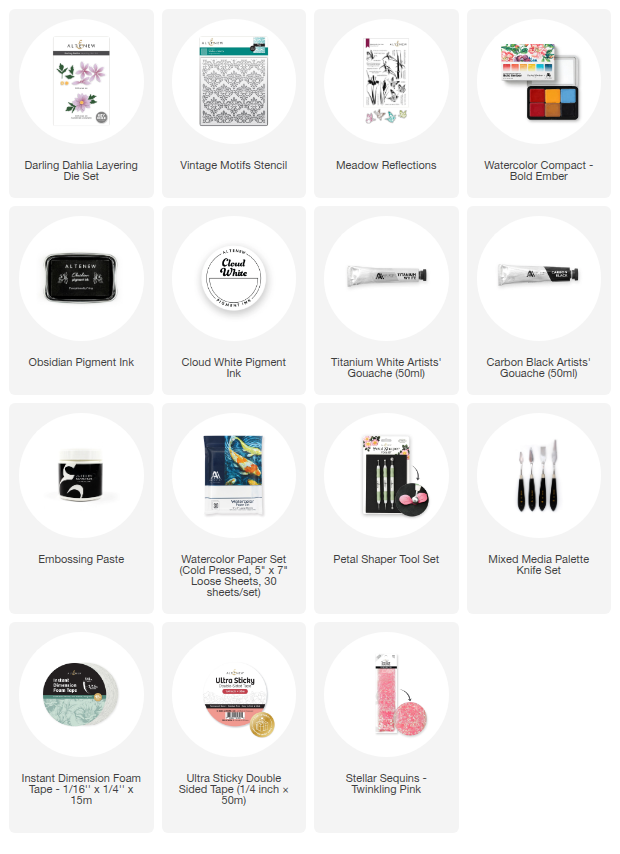
SUPPLY LIST
1 Comment
Wow – now THIS is an eye-poppingly gorgeous card!
Leave a Reply