Rainbow Floral Card Ideas with an Embossing Folder Hack | Take 2 with Therese
by Therese Calvird January 21, 2026
Looking for new ways to use your layered stencils and coordinating supplies? Today I’m sharing two rainbow floral card ideas using the same products, but with two very different design approaches. Each card shows how a simple rainbow color palette can be used to create unique looks, while stretching your supplies and adding creative detail to your cards.
Hi there, it's Therese, and I'm back with another edition of Take 2 with Therese!

Rainbow Floral Cards | Take 2 with Therese
Looking for new ways to use your layering stencils? Today I’m sharing two rainbow floral card ideas using the Stencil Art: Majestic Roses layering stencil set.
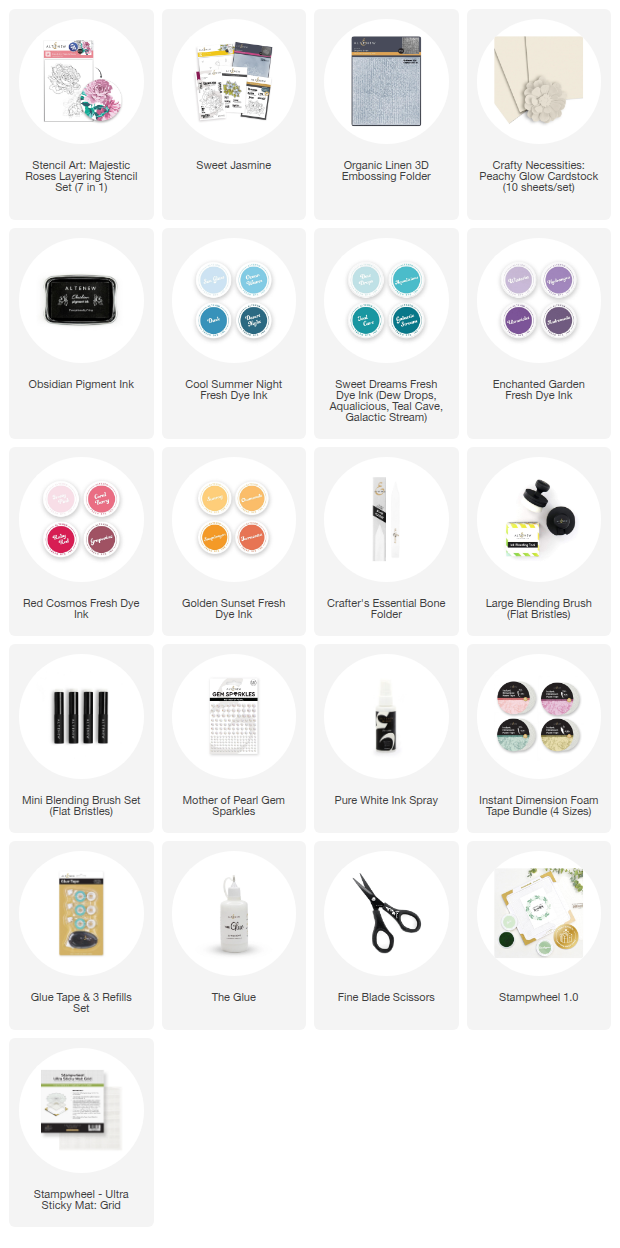
Shop the supplies used to make this card:
Card #1: Rainbow Ink Blended Blooms
I ink blended the Majestic Roses layered stencils using a soft rainbow color palette, then fussy cut the blooms to give me more flexibility with the design.
By trimming the bouquet in half, I was able to arrange the two large blooms in a fresh layout and add dimension by popping them up on a simple panel.

I finished the card with a premade “sweet” sentiment from the Sweet Jasmine Bundle, which pairs beautifully with the rainbow color palette.

And some Mother of Pearl Gem Sparkles!

Shop the supplies used to make this card:
- Stencil Art: Majestic Roses
- Sweet Jamine Bundle
- Organic Linen 3D Embossing Folder
- Cardstock - Peachy Glow
- Red Cosmos Fresh Dye Ink
- Golden Sunset Fresh Dye Ink
- Enchanted Garden Fresh Dye Ink
- Sweet Dreams Fresh Dye Ink
- Cool Summer Night Fresh Dye Ink
- Gem Sparkles: Mother of Pearl
- Crafter's Essential Bone Folder
Card #2: Rainbow Ink Blended Blooms - Step it Up!
For my second design, I used the same Stencil Art: Majestic Roses layering stencil set to create a softly stepped-up rainbow floral card. I began by ink blending the layered stencils on a Peachy Glow cardstock base to subtly change the look of the rainbow palette, then added gentle texture by embossing the panel and softening the raised areas.

BONUS IDEA: I added subtle texture by embossing and Organic Linen 3D background panel, then gently softening the raised areas with a teflon bone folder. This keeps the detail while preventing the texture from competing with the florals.

And why not step it up just one more time... with some Pure White Ink Spray splatter.

If you'd like to watch the instructions for this project in-depth, take a look at the video on YouTube.
Which Rainbow Floral Design Will You Try First?
It’s amazing how the same Stencil Art: Majestic Roses layering stencil set can produce two very different rainbow floral card designs with just a few small changes. From clean and simple to softly stepped up, layered stencils offer endless ways to stretch your creativity and make the most of your supplies.
SUPPLY LIST