One small Die Set, So Many Ways To Use It!
by Erica Andersson January 23, 2026
Earthenware Die Set - It's Small, But Mighty!
Hi Altenew friends and fans!
I hope there are a fair few die cut fans here today, as we are going to have some fun with a super duper cute little plant pot die cut set. Oh hi, it's your recently turned Crazy Plant Lady Erica, by the way. I have always loved beautiful pots but haven't had the greatest of success with actually growing things in them, until something switched on in me the last year or two. I have been on a bit of a wellness quest, but not just about what I eat and how I move, but how I treat my space and the energy I bring into my home. I read an article about how it's beneficial to have plants in your home, as it's calming and rewires your brain to care for them. In past years I would have scoffed at that as it was crushing when I ultimately killed them, even supposedly "un-killable" cacti and succulents. Yep, yep, I was branded a very efficient and ruthless plant killer for a long time.
When you really want something but it's not working out, i.e. growing lush and beautiful plants for your mental health and for a lush living space, it can be quite detrimental, as opposed to beneficial, to your wellbeing. If you identify as a plant-killer too, I have a small solution for you: the Earthenware Vases Die Set. It contains four different vases die cuts, as well as some greenery you can decorate your pots with. If you really don't want to waste more money on real plants you think you will just end up throwing away, this is obviously not the same as real ones, but you can create some beautiful decor for your home with it.
Die Cutting Fun!
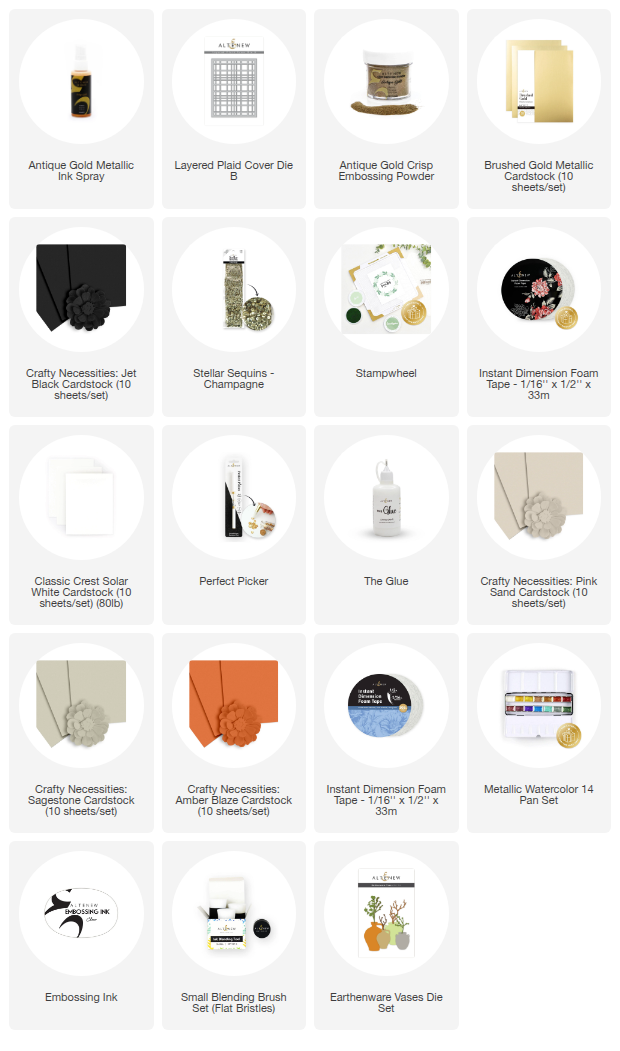
I have die cut these vases and the greenery out of lots of different Crafty Necessities Colored Cardstock, as well as Brushed Gold Metallic cardstock, and plain white.
I could have kept die cutting until the cows come home, because once I get on a roll with all that lush colored cardstock and some die cuts. Oh, it's HARD to slow the roll!

Accents of Gold - Yay or Nay?
As I love little accents of gold (and sometimes LOTS of them) I of course had to get my old time favorite metallic card stock out and die cut everything from that too. Honestly, if you like gold accents and haven't got this Brushed Gold Metallic cardstock in your stash, this is a total must have, in my opinion. It's not too shiny, it's not too matte, it's just perfection.

If you aren't into pops of color, it's so easy to add interest with die cuts out of white, black and a metallic color of your choice. Sometimes less is more, and I know full well how ironic that sounds coming from me, who loves colors, layers and texture. This is not a secret cry for help, I promise, LOL!

Backgrounds and Details
I already had a few backgrounds made in my leftover-box, which seem to get restocked no matter how often I try to work through what I have in there first before making new ones. I swear I have some kind of crafting gremlins in my house that add to it while I'm not in my craft room!
Anyway, the first one was a background I made for a release YouTube hop actually. I ended up using all the negative pieces from the die cut itself, rather than the piece you get from the Layered Plaid Cover Die Cut B. That was super fiddly work but totally worth it!

For this first card we are going to use the card base that has the actual Layered Plaid Cover die cut glued down to it though. I cut it out of Jet Black card stock, and it gives a really strong look against a white card base. Perfect for some pops of color, but equally brilliant for just white and gold die cuts if that's your jam.
Sentiment wise I have used some heat embossed sentiments from the Tranquil Greetings Stamp & Die Set. It's a really beautiful and encouraging stamp set, it quickly became one of my go-to's for those cards that need encouragement or a gentle reminder to a friend having a hard time.

Even though this card has little accents of gold already, I thought a few Stellar Sequins in Mystic Black would look really cool. I know it can be scary to add black to a card, but we already had some on there and it coordinates so well, plus you get that lovely texture and interest too.

Card no. 2 is the total opposite of the first card. No gloriously textured background, just soft metallic splatters from the Antique Gold Metallic Ink Spray and a bold gold vase die cut. Well, ok, so that's not all, obviously we have a sentiment and some greenery die cuts, and I couldn't resist adding some Champagne Stellar Sequins because I was clearly channeling my inner Goldmember. Remember him? From the Austin Powers movies? Obsessed with gold and shiny things.

This card is also sporting a sentiment from the Tranquil Greetings and thanks to the coordinating die cut it looks flawless. I could never fuzzy cut a sentiment as perfectly as the results you get from a perfectly fitted die cut. I'm 100% onboard with always getting the coordinating die cut to my stamps, rather than getting more stamps without them.

The final card was a bit of an experiment. I started out by ink blending a very soft pastel background, with mostly leftover ink on my ink blending tools. On top of this I spritzed a little bit of that stunning Antique Gold Metallic Ink Spray, which is very quickly becoming a new obsession as I love metallic splatters!

Here I have not held back in the slightest with the layers, texture and I don't think I can call these vase and greenery die cuts 'accents' anymore. They became the star of the show, and quite rightly so. These are added to the card with Instant Dimension Foam Tape to create height and layers, the greenery is tucked in generously in the vases and then I sprinkled... fine, added LOTS of Champagne Stellar Sequins around the arrangements.

The sentiment is again from Tranquil Greetings, and this one is a little bit bigger so it stretches almost over all three of the vase die cuts. This one is a birthday greeting so I felt the extra sparkle and shine was a good choice!

That is it from me for today, I really hope you have enjoyed this post and will get a chance to watch the YouTube video as well. There is a bonus card in the video! Thank you for spending some time with me and I will see you soon again!
With lots of love and sparkle, from your girl Erica

Get 45% OFF Stencil Art: Playful Watercolor Flowers Layering Stencil Set (6 in 1) from January 23, 2026 at 12:01 AM EDT until January 25, 2026 at 11:59 PM EST. Shop here: https://altenew.com/products/stencil-art-playful-watercolor-flowers-layering-stencil-set-6-in-1?variant=41535940067385