One-Layer Wonder: FAUX Mixed Media Made EASY!
by Erum Tasneem January 6, 2025

Hi there! Welcome to Creative Coloring with Erum. Today, I’m excited to share a step-by-step guide to creating a stunning one-layer card featuring Altenew’s Build-A-Garden: Dreamy Dahlias stamp set. This card combines layered inking, stencil techniques, and subtle texture to achieve a faux mixed-media look. Let’s dive in!

Step 1: Stamping the Base Images
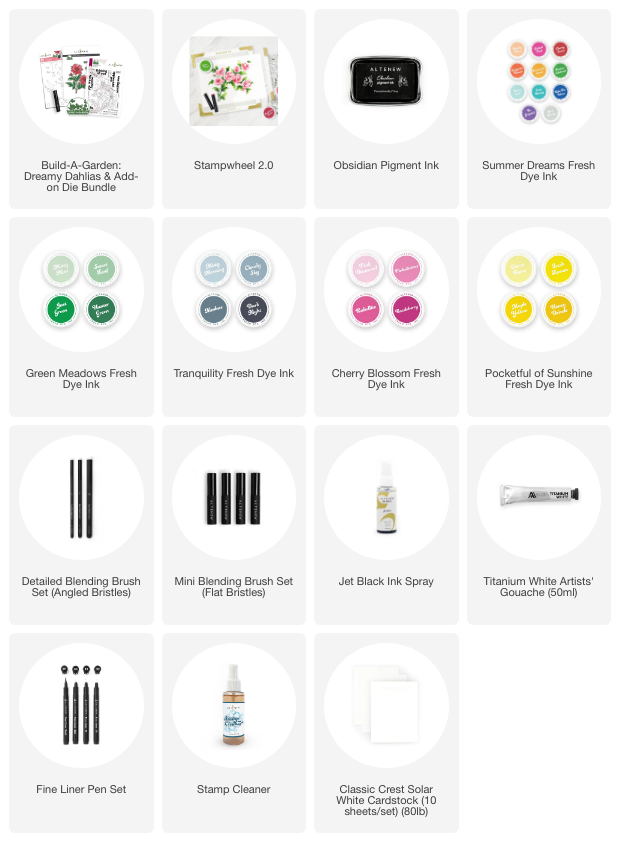
Start by cutting your Classic Crest Solar White Cardstock to fit your card front. Using the Stampwheel 2.0, stamp the gorgeous images from the Build-A-Garden: Dreamy Dahlias set around the edges of the panel with Obsidian Pigment Ink. Stamp multiple times for a bold impression.
Pro Tip: If you prefer dimension, stamp the images on a separate piece of cardstock, die-cut them, and adhere them to your card base.
After stamping, clean your sticky mat with Altenew’s amazing Stamp Cleaner—it’s perfect for removing Obsidian Pigment Ink!
Step 2: Inking the Background
Instead of inking the background last, start with it. This method makes it easier to ink over details without worrying about precision. Use a light touch with a Mini Blending Brush to layer Be Grapeful Ink lightly across the background. Add Just Green Ink over some areas, followed by Dark Night Ink for contrast.
Pro Tip: If you're heavy handed with ink blending, start with lighter ink shades for better control

Step 3: Stenciling the Flowers
- Stencil 1: Use Rubellite Ink with moderate pressure for the petals and Be Grapeful Ink for the remaining areas.
- Stencil 2: Repeat the same inks to cover all the petals petals.
- Stencil 3: For the detailed layer, apply the inks with more pressure and mix up the placement for an organic look. Add Dark Night Ink to the centers for depth.
Step 4: Adding Depth to the Background
After stenciling, darken the background further using a Detailed Blending Brush. Add hints of pink to tie it together with the florals. Use Maple Yellow Ink for the flower centers and blend leftover pink ink for shading along one edge. For the leaves, blend Just Green Ink, starting heavily at the base and lightly at the tips. Then, add Dark Night Ink to the base and other areas for shadow details.
Step 5: Layering Extra Details
Enhance the faux mixed-media effect with these steps:
- Stamp the XOXO sentiment repeatedly in the background using second or third-generation stamping. Use Be Grapeful Ink and add occasional pops of Rubellite Ink.
- Add inking to the periphery of the panel if needed.
- Use a Fine Liner Pen (2.0) to trace over the stamped outlines (of the image) for a bold, crisp look.
- Add fine splatters of Jet Black Ink Spray and follow up with splatters of Titanium White Gouache for texture.

Step 6: Adding the Sentiment
Align your sentiment using alignment guides. Use the edge of your Stampwheel or the card panel to align this perfectly. Stamp the sentiment using Obsidian Pigment Ink for a clean and crisp finish.
Video: One-Layer Faux Mixed Media Card
You can watch the process video on YouTube by clicking the photo below or THIS LINK.

This one-layer card combines layered inks, stencils, and repetitive stamping to create a faux mixed-media look with minimal effort. It’s a technique-packed project that’s perfect for both beginners and experienced crafters. I hope you give it a try! Don’t forget to share your creations with me—I’d love to see them. Thanks so much for stopping by, and happy crafting!
~SUPPLIES~