Stop Using Your Card Kits Only One Way! 4 Techniques!
by Erica Andersson December 26, 2025
Hello Altenew friends and fans! I hope everyone has had a lovely holiday time, and are recovering/gearing up for New Years!
I am popping in with one last post, and YouTube video, for 2025 and I thought we'd use the gorgeous Craft Your Life Project Kit: Whispers in the Canopy. It's a beautiful kit, with lots of beautiful coordinating products. It has a big silhouette stamp set with sentiments, a 3D embossing folder and coordinating layering stencils, a layering die cut set as well as an add-on word die set. This kit is packed with amazing products, and I thought we'd use ALL of the products for some different looks.
Craft Your Life Project Kit: Whispers in the Canopy
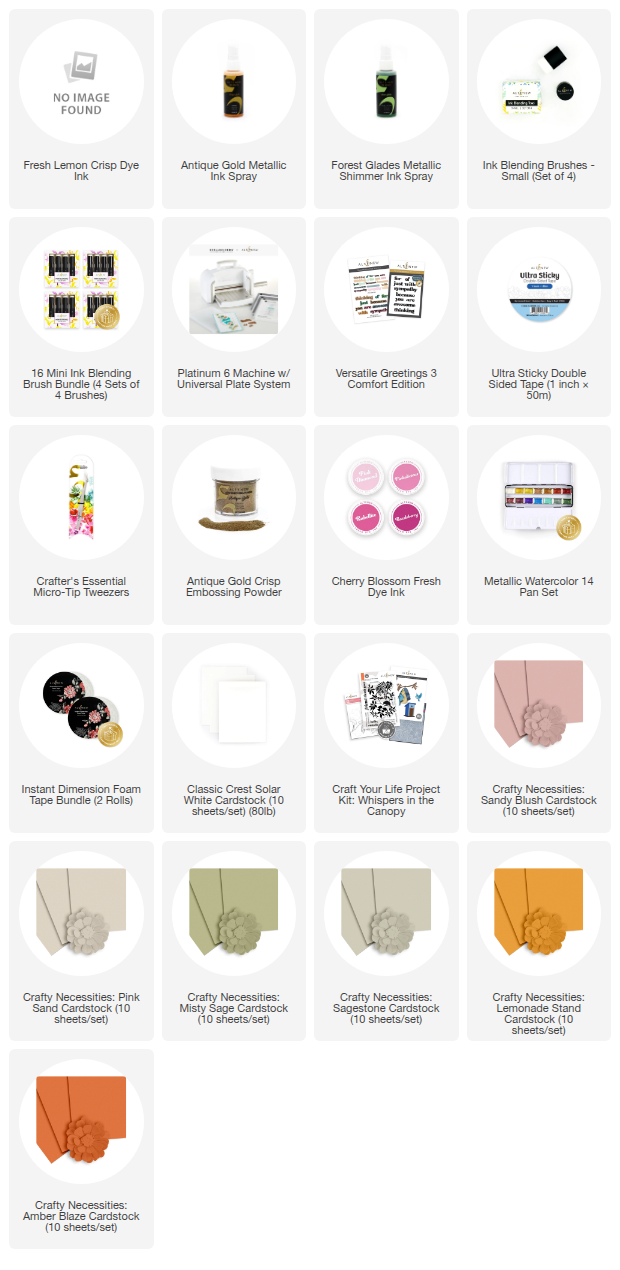
If you haven't seen this kit, you are missing out. It works with so many different color combinations too. Down below you can see some of the products that come in the kit, and it arrives in a handy storage pocket too, which is so lovely.
The first two cards are done using the 3D embossing folder and the layering stencils, and lots of inks in luscious colors.
Embossing folders and Ink blending
I absolutely love the blues in the Tranquility Fresh Dye Ink, so I had to use them for one of the cards. I know it's not a usual color for leaves but that's the brilliant thing about layering stencils and creativity, you can just do whatever you want and have some fun with it. Which is exactly what I did!

Ok, so the flowers themselves were done in reds, but the shades of blue and this red go so well together. The blues make the reds pop!
I did do another one with greens just to show that I can do traditional colors too.

Between the two panels I still think the blue one looks more amazing than the green one. I can't help it; I just love blues! The brilliant thing about these coordinating products is that you can make ALL of the color combinations, you don't have to stick to one or even two. This kit has so many possibilities and we are only at card 1 and 2.
Between the two of us, which one do you like the most? Please do tell me in the comments and let me know.

Sentiments
The stamp set that comes with the kit has some really lovely sentiments in it, both big ones and small ones to compliment it. If you want to make the most of this kit, I highly recommend getting the add-on die cut kit, so you can cut out the big sentiments too. It's such a lovely little touch and if like me, you detest fussy cutting, this add-on kit is a total must.

Obviously, one needs options, so I have stamped up a few... ok, more than a few. Some with solid ink, one with an ombré look, some are heat embossed and then lots and lots of extra pieces to layer them up.
I also stamped up some of the smaller sentiments from the kit stamp set, on white card stock with Permanent Black Ink. These have all been cut down to skinny banners.
Finishing touches
So, the first two cards are finished off reasonably similar. Both panels have been trimmed down a little bit so that there will be a white frame around them when they have been adhered to a card base. They have both been added to the card bases with Ultra Sticky Double Sided Tape, and then the sentiments have been added on top.

Both cards have a big word die cut and a skinny banner sentiment, all from the kit itself, to make the full sentiment. I did have some trouble settling on which one was going on which card, which you will know if you check out the YouTube video, but it's important to go through the 'puzzling session' to see what you like or not. The absolutely brilliant thing about this kit is that you won't need anything else at all (apart from inks and tools) because it covers everything.

Of course, both cards needed a little bit of sparkle and bling too. I settled on Stellar Sequins in Champagne for the blue card, to coordinate with the platinum heat embossed sentiment.

For the green card I settled on Emerald City Gem Sparkles, to match the leaves, and I used all three colors and all three sizes.

Card number 3
For the third card I decided to heat emboss the silhouette stamp in gold, and then ink blend the same colors I used for the blue card, to create a sunrise look. Very different look from the first two, but I wanted to show how versatile this kit is.

Once I had finished ink blending the colors, I decided to splatter some metallic watercolors on top of it, because obviously the heat embossing wasn't sparkly and shimmery enough, LOL.

For this one I settled on another heat embossed sentiment, as well as a bird made with the Craft Your Life Project Kit: Whispers in the Canopy layering die set. I used some gorgeous Crafty Necessities Colored Cardstock in Andromeda, Deep Iris and a smidge of black.

Final kit card
For the final card I wanted to completely pivot and create a totally different look, again to show the versatility of the kit. I decided to use the 3D embossing folder in the kit, but rather than using the layering stencils I used it on Crafty Necessities: Lavender Fields Cardstock instead of white card stock.

To highlight the patter of the embossing folder, I decided to use a little bit of leftover Dark Night Fresh Dye Ink around the corners. To create a vignette look. On this I splattered a little bit of Silver metallic watercolor, because why not, right?
While that was drying, I cut out a circle of shimmery vellum, using the Nesting Circles Die Set.
This I placed in the middle of the card, as well as a sentiment heat embossed in Platinum, a skinny banner sentiment and another bird made with the layering die cuts from the kit. This one is done in opposite colors as the last bird. Another fun thing about layering die cuts, you can create so many different looks!

On this one I decided to use quite a few Iridescent Crystal Gem Sparkles for a very sparkly look! So, what do you think? Is this a versatile kit or what?

I really hope you have enjoyed this post and seeing how one kit can create quite a few different looks, by simply switching up a few elements and techniques. Of course, if you don't like birds, there are so many other Craft Your Life Project kits to choose from, you are spoilt for choice!

That is it from me for 2025, thank you so much for spending time with me, reading my blog posts and watching my YouTube videos! I really appreciate the support and encouragement!
Lots of love, sparkle and creativity!
From your girl, Erica.