Masculine Cards Made Simple: 2 Abstract Mountain Scenes
Masculine cards don’t need to feel complicated or intimidating. In fact, with just a few geometric dies, some well-chosen cardstock colors, and a touch of creative layering, you can craft cards that are modern, striking, and perfectly suited for the men in your life!
Hello Altenew friends, Hannelie here, and today I’ll show you how I used simple triangle shapes from the Nesting Triangles Die Set, to build abstract mountain scenes — one in warm earthy tones under a golden sun, and another in cool neutrals beneath a pale crescent moon.
These designs are quick to assemble, yet they carry a bold, graphic style that makes them ideal for masculine card designs. To complete my designs, I added a simple oval frame, circles for the sun and moon, and a small rectangle for the sentiment.
Geometric shapes are wonderfully versatile in card design. Their clean lines work beautifully for masculine themes, but their real power comes from repetition, balance, and variation. By arranging simple triangles in layers, you can create the illusion of mountains or trees, create movement and depth — all from one basic shape. It’s a reminder that sometimes the most creative designs start with the simplest elements.

So, let’s start creating!
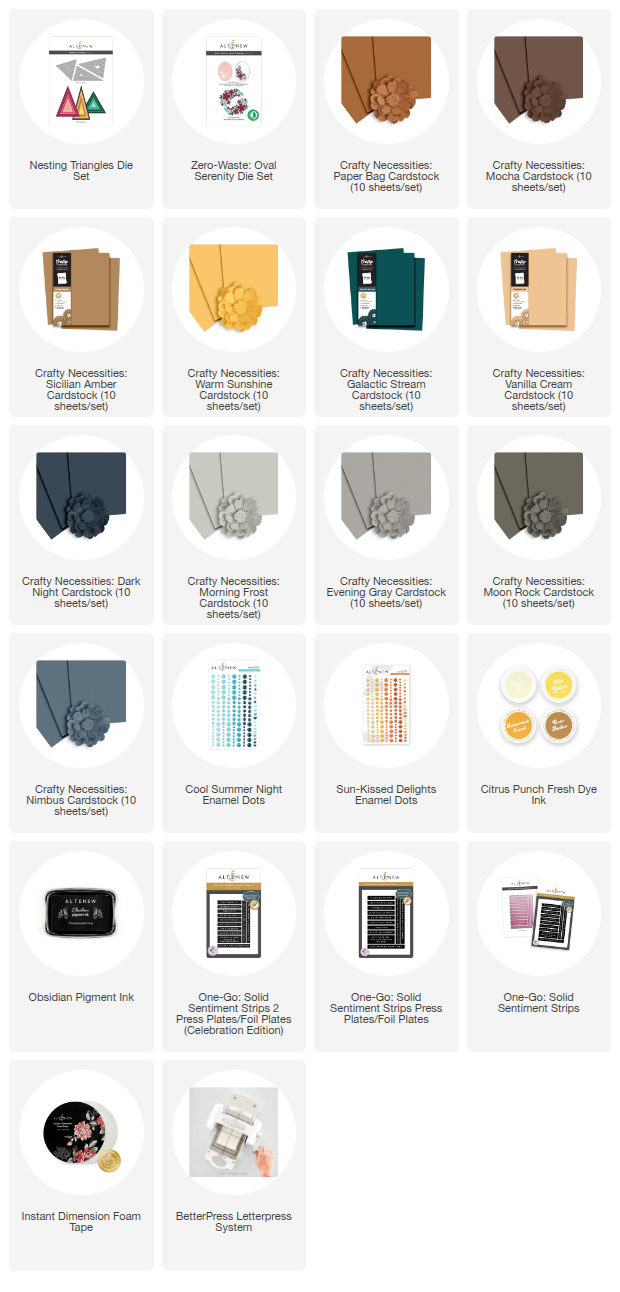
To make today's cards you will need:
- Die cutting machine
- Betterpress System
- Nesting Triangles Die Set
- Circle dies (Nesting Circle dies coming soon to the Altenew Store!)
- Oval die, I used the one from the Zero Waste Oval Serenity Die Set
- White card stock
- Colored card stock:
For the day version – Paper Bag, Sicilian Amber, Mocha, Galactic Stream, Warm Sunshine.
For the night version – Vanilla Cream, Dark Night, Morning Frost, Evening Gray, Moon Rock, Nimbus - Enamel Dots:
For the day version – Cool Summer Night
For the night version – Sunkissed Delights - Lemonade Stand Fresh Dye Ink
- Obsidian Black Ink
- One-Go Solid Sentiment Strips Press Plate & One-Go Solid Sentiment Strips 2 press plate with coordinating die
- Instant Dimension Foam Tape
Step by step instructions to make the day version of the cards:
-
Prepare the Card Base
Trim and fold white cardstock to create an A2-size card (4.25" × 5.5)
-
Create the Front Panel
Trim another piece of white cardstock to the same size as the card front.
Use an oval die and a die-cutting machine to cut an aperture—this will serve as the frame for your scene.
-
Die Cut the Scene Elements: Mountains: Select triangle dies of your choice and cut from Paper Bag, Mocha, and Sicilian Amber cardstock, Sun: Use a circle die to cut the sun from Warm Sunshine cardstock, Water: Trim a small strip from Galactic Stream cardstock for the water element.
-
Plan the Layout
Place the oval-cut out front panel over the card base to determine the placement of the scene elements.
(Tip: Lightly trace the inside of the oval with a pencil to guide positioning.)
-
Assemble the Scene
Once satisfied with the arrangement, adhere the mountains, sun, and water to the card base using your preferred adhesive.
-
Attach the Front Panel
Use Instant Dimension Foam Tape to adhere the oval-cut out panel onto the card base, creating depth and dimension.
-
Create and Add the Sentiment
Use the BetterPress System with the One-Go Solid Sentiment Strips press plate and Lemonade Stand Fresh Dye Ink to create sentiments.
Die cut them with the coordinating die—this will also give you extra sentiments for future projects.
Select your preferred sentiment and adhere it to the card.
- Finishing Touches : Complete the design by adding enamel dots from the Cool Summer Nights set

Step by step instructions to make the night version of the cards:
-
Prepare the Card Base
Trim and fold white cardstock to create an A2-size card (4.25" × 5.5) Trim a piece of Dark Night cardstock slightly smaller than the card base, and adhere it in place to create a rich night sky backdrop.
-
Create the Front Panel
Trim another piece of white cardstock to the same size as the card front.
Use an oval die and a die-cutting machine to cut an aperture—this will serve as the frame for your scene.
-
Die Cut the Scene Elements: Mountains: Use triangle dies of your choice and cut from Morning Frost, Evening Gray, and Moon Rock cardstock, Moon: Create a crescent moon from Vanilla Cream cardstock. (Tip: First cut a full circle, then use the same circle die to make a second partial cut—almost like taking a “bite” from the circle, Water: Trim a small strip from Nimbus cardstock for the water element.
-
Plan the Layout : Place the oval-cut out front panel over the card base to determine the placement of the scene elements.
(Tip: Lightly trace the inside of the oval with a pencil to guide positioning.)
-
Assemble the Scene
Once you are happy with the arrangement, adhere the mountains, moon, and water to the card base with your preferred adhesive.
-
Attach the Front Panel
Use Instant Dimension Foam Tape to attach the oval-cut panel to the card base, creating depth and dimension.
-
Create and Add the Sentiment
Use the BetterPress System with the One-Go Solid Sentiment Strips press plate and Obsidian Black Ink to create your sentiments.
Die cut them with the coordinating die—this will also give you extra sentiments for future projects.
Select your preferred sentiment and adhere it to the card.
-
Finishing Touches
Complete the design by adding enamel dots from the Sunkissed Delights set.

By starting with just a few simple geometric shapes, I created two cards that have a clean, graphic, and abstract style — perfectly suited for the men in our lives. The beauty of these designs is their flexibility: simply swap out the sentiments, and they can work for birthdays, congratulations, thank-you cards, or almost any occasion.

I hope these examples will inspire you to explore the geometric shape dies in your craft stash and create something special !
Happy crafting!