Make Designs Pop with a Transparent Base (with Video Tutorial)
Adding images onto a transparent base will create visual contrast and help make them pop! Plus, it's just something fun and different too! This is the technique we're going to be exploring today!
Hello there, Michelle here with another edition of Terrific Tags with Michelle. Today I have a fun technique to share - using a transparent base for your cards and tags! I am creating a tag today, but this works well for cards too.

Focal Image
I started off by creating the focal image for my transparent tag by stamping the beautiful image from Build-A-Garden: Rose Reverie onto white cardstock using Obsidian Pigment Ink.
Using the stencils, I added color to the image using ink blending and Mini Blending Brushes, as well as Micro Blending Brushes to get into the smaller areas. I used Deep Blue Seas Fresh Dye Inks (all four shades) for the rose petals, and Green Valley Fresh Dye Inks (Firefly, Grass Field and Shadow Creek) for the leaves.

I die cut the image out using the coordinating die. I then placed the largest of the Terrific Tags Dies on top and die cut it again.
I took the coordinating die and cut it again from white cardstock. This will go on the back of the tag to hide the adhesive.
Transparent Tag
I die cut the largest Terrific Tags Die again, but this time from acetate. Any transparent material will work here though! When die cutting acetate, I like to add a piece of paper underneath it, this helps to get a clean cut.
I added Instant Dimension Foam Tape onto the back of the rose image and adhered it to the tag. Since the background is transparent, it automatically pops!

To hide the adhesive showing through the back (the downside of using transparent material!), I adhered the second die cut to the back of the tag using Glue Tape, cutting off the excess from the sides with scissors.
I then threaded black twine through the top of the tag and tied in a bow at the front.

Sentiment + Finishing Touches
I stamped the 'Grateful for You' sentiment from Build-A-Garden: Rose Reverie onto Crafty Necessities: Jet Black Cardstock using Embossing Ink. I applied Pure White Crisp Embossing Powder and heat set. It was cut into a strip and adhered to the tag using Instant Dimension Foam Tape.
To finish, I embellished with Ivory Pearl Dots.
Video Tutorial:
I hope I have inspired you to try using a transparent base for your projects. It is fun way to make images pop! You can watch the video tutorial below or over on YouTube.
Thank you so much for stopping by today, I hope you have a wonderful day!
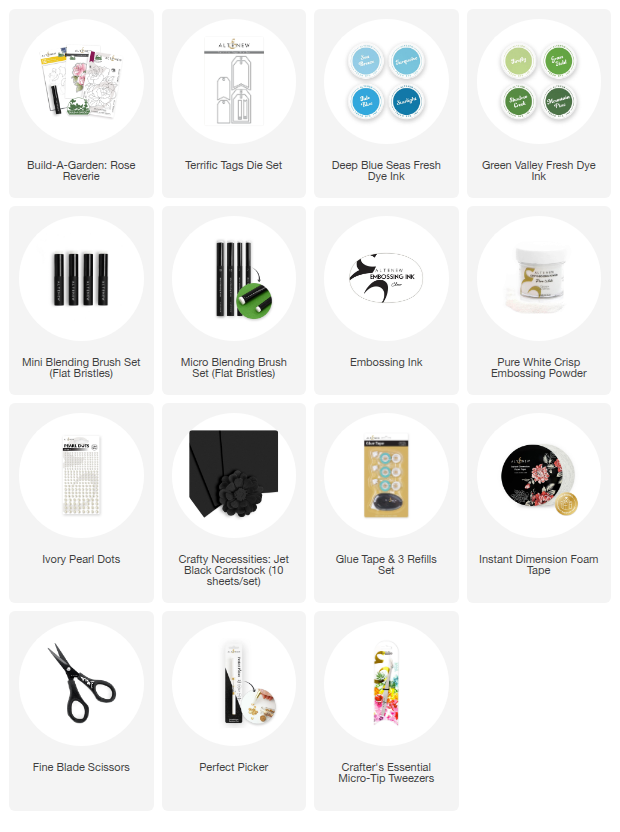
SUPPLY LIST