Make Your Cards POP! Simple Tips to create Tremendous Texture with Erica
Hi Altenew friends and fans, it's Erica back on the Altenew blog and YouTube channel today, and we are going to talk about making your cards go from flat to POP! Of course, we are going to be using some Instant Dimension Foam Tape, in all the widths, to make this happen. We are also going to be adding some delicious texture and layers with the Craft-A-Flower Prairie Roses Layering Die Set.

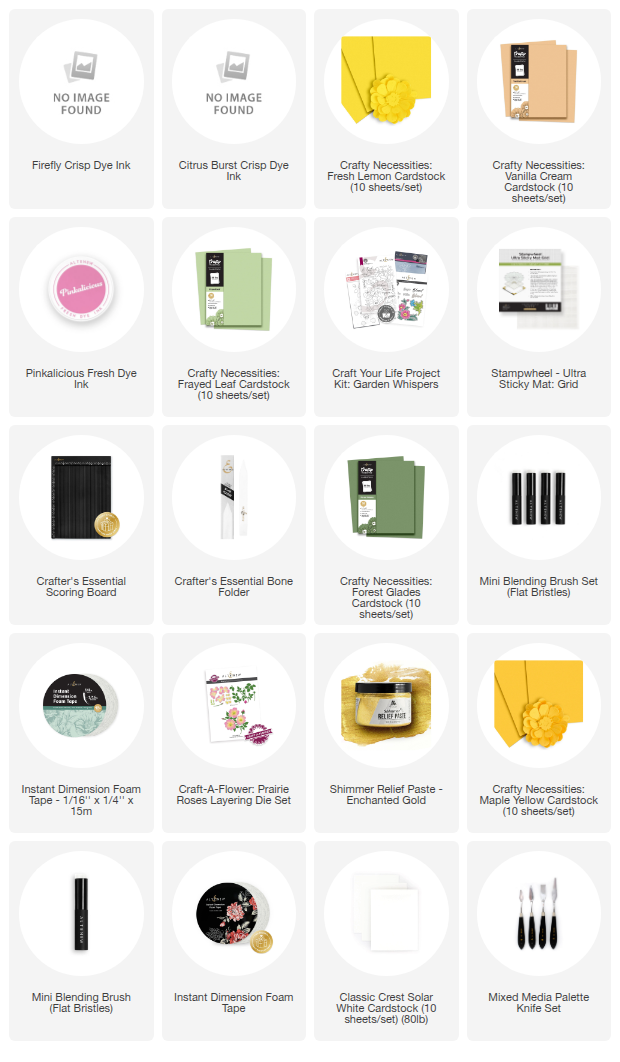
With the layering die cuts sets you have some options on how to add color: use your choice of Crafting Necessities Colored Card Stock, ink blend on white pieces, use sprays, watercolors etc. I have decided to make my flowers pop a bit extra by mixing colored card stock and ink blending!
First off, I did LOTS of die cutting. My philosophy tends to be ‘while I'm at it, why not?' and I end up with lots of bits and pieces, but while I don't always (read ‘never') end up using all of them in one go, it does speed up the card making at another point.
The flowers themselves are cut out of Crafting Necessities Colored Card stock in Vanilla Cream. I used Maple Yellow, Fresh Lemon and Frayed Leaf for the stamens and bits in the middle. A nice strong yellow is both eye catching and gives a nice pop of color. For the leaves and foliage, the obvious choices for me were Forest Glade and Parrot. Two great shades of green both of them! They are great choices both in card stock and inks by the way.


On the flower petals I have used a little bit of Citrus Burst Fresh Dye Ink for a light touch of yellow, and then Pinkalicious Fresh Dye Ink build up to bring in that pop of pink. In the YouTube video I am sharing a great tip for building up the pink, from a light, light touch to that dark pop of contrast, using only the ONE color. It does require a bit of patience, which admittedly isn't always (cough, cough, read ‘almost never' here too) my strong suit. However, if you can make yourself go slow and build up the color, you will get some great results!

Once all of these die cut pieces had their pops of colors added, it was time to glue them together. Which is a breeze, if you worry that it will be difficult. With the genius Altenew invention of the keyhole system, you honestly can't go wrong. Simply match up all the pieces with the matching keyhole symbol and get layering. Easy peasy!

To add some fabulous texture and interest to the background of the first card, I have done something very simple, yet effective: With the help of a score board and a Teflon bone folder, I have scored straight lines directly across a card base, at the 1/2-inch marks along the whole front of it. It's another one of those ‘whoa, that pops!' yet it's so simple, and doesn't require cover plates, glueing, or anything else. Having a score board in your craft room is pretty essential but why just use it to score card bases, when you can use it to make some fun and unique backgrounds too?

For the second background I have used the ever so amazing Shimmer Relief Paste in Enchanted Gold directly onto a panel of white card stock. This is my most favorite Shimmer Relief Paste! It is absolutely gorgeous and that pop of gold works with everything. Everything I say!
Ok, so here I have plopped some down with a Mixed Media Palette Knife and then dragged it across the card stock with a scraper. Then you have to make sure to give it enough time to dry, because we are going to cut this up! Eeek, I can practically hear you scream but trust the process.

I cut the panel into 1/2-inch-wide strips and then took out the one from the top and the one from the bottom as they didn't have enough gold on them, and they wouldn't fit on the card base anyway. On the back of the strips, I have added Instant Dimension Foam Tape in the 1/4-inch width, to pop them up. Only half mind you, the other half are going to go on flat, to create some interest.

I forgot to get a picture of the background before I added the flowers on top, sorry about that. I got carried away because it turned out so cool!!

After arranging all the flowers and leaves on top of the two card bases, I used both liquid glue and Instant Dimension Foam Tape to adhere them to their respective background. All that was left after that was adding sentiments, and here you can use whatever you want to fit the recipient of the card. I have used some friendship-based ones but these layouts will work for celebrations, weddings, birthdays and even sympathy cards so use one that works for you.

I made a video for these too, so I hope you get a chance to watch it over on the Altenew YouTube channel! Thank you so much for spending some time with me today, I hope you enjoyed this post and the resulting cards.

With love and light, creativity and sparkle!
Your girl, Erica