Layered Stenciling Magic: An Easy Technique with Beautiful Results

Hello there, Michelle here with another edition of Terrific Tags with Michelle. Today I have a fun and easy technique to share - layered stenciling. This is so easy to do and requires minimal supplies - you only need one ink per layer for this easy stenciling!

Layered Stenciling
I started off my card by stamping the largest image from the Cascading Flowers Stamp Set onto a 4.25" x 5.5" panel of white cardstock using Obsidian Pigment Ink and the Stampwheel.
I then placed the panel onto my Sticky Mat to add the stenciling on top.
The Flower Bed Layering Stencil Set can be used on it's own, but it also coordinates with the Cascading Flowers Stamp Set. It's the perfect crafting buddy for so many stenciling layouts!

I used the following stencil and ink combinations:
- Stencil 1 & 2 for the larger flowers using Wisteria for stencil 1, and Hydrangea for stencil 2. Both of these inks are from the Enchanted Garden Fresh Dye Ink Collection.
- Stencil 3, 4 & 7 for the small flowers using Baby Pink for stencil 3 & 7, and Fuchsia for stencil 4. Both of these inks are from the Bubblegum Dreams Fresh Dye Ink Collection.
- Stencil 5 for the flower centers using Buttercream & Warm Sunshine - both from the Summer Afternoon Fresh Dye Ink Collection.
- Stencil 5, 6 & 7 for the leaves using Firefly for stencil 5 & 7, and Grass Field for stencil 6 & 7. Both of these inks are from the Green Valley Fresh Dye Ink Collection.
I like to match the blending brush to the stenciling area. Most of the areas used the Mini Blending Brush, but I also used the Small Blending Brush for the first layer as it was larger, and also the Micro Blending Brush for the smallest areas - the flower centers.

There are quite a lot of layers of stenciling to this image and it did take me a little while to complete, but it's easy to do with only two ink shades and really adds depth to the flowers and leaves, even with just two flat layers. For me, stencilling images is well worth my time. I love the results!
Because these stencils are also made to create a whole background, I did need to mask off a few areas as I was stenciling. Watch the video below to see how!
The panel was then adhered flat to an A2 sized card base, adhering with Glue Tape.
Sentiment & Finishing Touches
I stamped a sentiment from Cascading Flowers Stamp Set onto Crafty Necessities: Jet Black Cardstock using Embossing Ink. I applied Pure White Crisp Embossing Powder and heat set.

It was cut into a tag using the One-Go: Words & Banners Die Set. I added black twine through the hole in the tag and tied in a small bow.
I added Instant Dimension Foam Tape to the back and adhered to the card. To finish, I embellished with Stellar Sequins - Crystal Moonlight.
Video Tutorial: Layered Stenciling Magic
I hope I have inspired you to try adding simple layered stenciling to stamped images. It is an easy technique but adds a real impact to projects. You can watch the video tutorial below or over on YouTube.
Thank you so much for stopping by today, I hope you have a wonderful day and let me know how you like layered stenciling!
Play with Gorgeous Color Using Watercolors!
We know that you probably came to this blog for stenciling or layered stenciling techniques, but just in case you want to explore more coloring mediums, this deal could be just the thing!
Buy the Deep Muse Watercolor Pan Set and get the Fine Watercolor Brush Set at 50% Off with code WTRCLR50! Don't dilly dally and get this soon, because the deal expires tomorrow, February 22, at 11:59 PM EST.

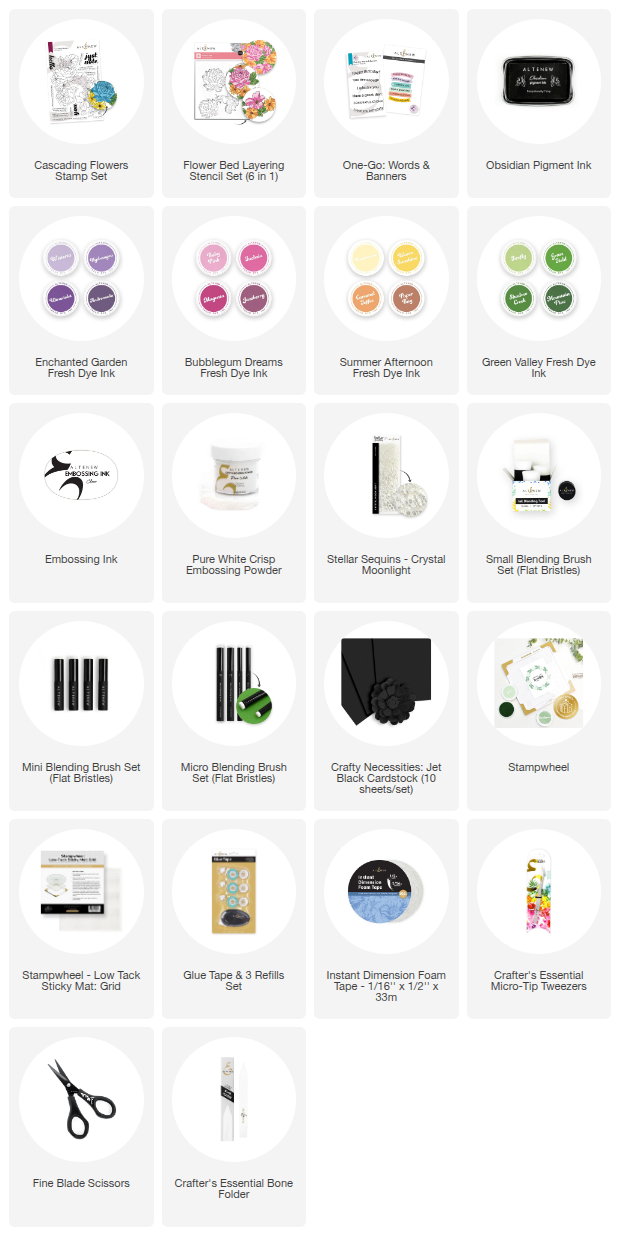
SUPPLY LIST
Leave a Reply