Layered Florals with Soft Texture and Dimension
Adding texture and dimension is one of my favorite ways to bring interest and depth to handmade cards. Whether it’s through embossing, ink blending, or subtle splatters, texture helps create a rich, layered look without overwhelming the design. Today, I’m sharing how to create a floral thank-you card featuring bold poppies with faux dimension, an aged (vintage) ornamental lantern, and a beautifully textured background.

VIDEO: 5 Ways to Add Dimension and Texture
Watch the video tutorial below or CLICK HERE to learn more about this cardmaking technique! Or read step-by-step instructions after the video.
Prepare the Die-Cuts
- Die cut the lantern from Pink Sand Cardstock using the Ornamental Lantern Layering Die Set.
- Die cut the flowers from Burnt Red Cardstock and the flower centers from Pink Sand Cardstock using the Ornamental Poppies Layering Die Set.

Add Faux Dimension to the Flower Layers
- To create visual texture on the flowers, start by applying Velvet Fresh Dye Ink to the center of each flower. Pull the ink outward toward the middle of the petals, leaving some areas uninked so the Burnt Red Cardstock shows through naturally.
- This variation in color creates soft highlights and adds instant texture to the die-cuts. Use a Mini Blending Brush or Micro Blending Brush for controlled application.
- Next, use a Detailed Blending Brush to apply ink from the small notches at the petal tips, gently dragging the ink inward. This creates a soft dimension and a faux textured look that mimics natural petal folds.
- Ink the flower centers with Espresso Fresh Dye Ink, blending until fully covered.
- Layer the poppies using the built-in keyhole system to create natural dimension, then adhere them together with The Glue.
Add Texture to the Lantern
- Ink the lantern base layer with Mocha Fresh Dye Ink.Use leftover ink to lightly add texture to the top lantern layer. Apply a touch of Ginger Root Fresh Dye Ink to both layers to introduce a warm, aged look that pairs well with the upcoming greenery.
- Adhere the lantern layers together using The Glue.

Ink & Emboss the Background Panel
- Apply Mocha Fresh Dye Ink to a Pink Sand Cardstock panel using a Large Blending Brush. Keep the ink darker in the bottom-left corner and gradually diffuse it toward the top-right corner. This soft gradient adds subtle texture and visual dimension while keeping the focus on the floral arrangement.
- Emboss the panel using the Elegant Flourish 3D Embossing Folder to introduce bold, raised texture. Tip: Lightly mist the back of the cardstock before embossing to help prevent cracking and achieve smoother results.
- Lightly splatter water onto the panel for organic texture.
- Instead of adding leaf die-cuts, use the coordinating coloring stencil to create the illusion of foliage. Ink blend Swamp Green Fresh Dye Ink as the base color.
- Add depth and texture by applying Oak Moss Fresh Dye Ink sparingly to inward curves and notches using a Detailed Blending Brush. Concentrating darker ink in specific areas helps create natural-looking texture and movement.
- Add fine splatters of Carbon Black Gouache to introduce contrast and visual interest. Most splatters will sit behind the arrangement, adding texture without distraction.
Assemble the Card
- Adhere the lantern using 1/4" x 1/16" Instant Dimension Foam Tape.
Adhere the poppy on the right directly to the panel with glue. - Use foam tape in varying heights for the two larger poppies on the left to build layered dimension and added depth.
Adhere the smallest poppy flat. - Finish by adding Sicilian Amber Gem Sparkles and a heat-embossed gold-on-black sentiment.

I love how this card combines layered die-cuts with intentional dimension, from foam tape and ink shading to embossing and subtle splatters. Texture doesn’t have to be complicated, and even small details can make a big impact. I hope this inspires you to experiment and add more texture to your own handmade cards.
Thanks so much for stopping by! Happy crafting!
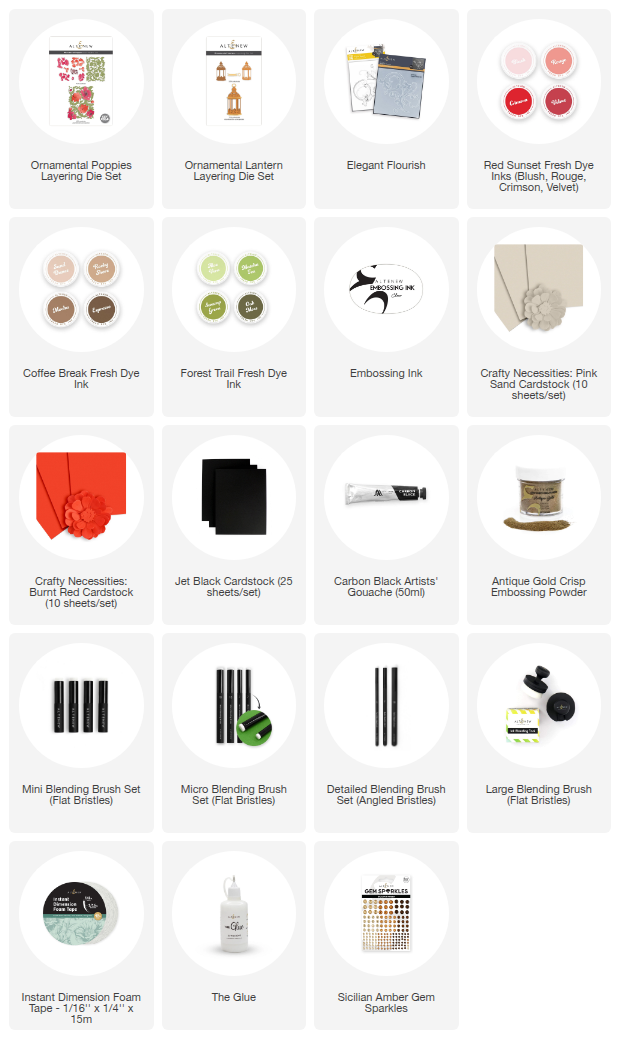
SUPPLY LIST