Layered Shine: Mixing Shimmer Relief Paste for a Dramatic Stenciled Card
Hi everyone, it’s Mindy Eggen! Today I’m sharing a card that’s all about dimension, shine, and a little creative play using shimmer relief paste. Instead of sticking to just one color, I mixed a few different shades on a single panel to create depth and visual interest—and the results are so pretty in person.
Why Black Cardstock Makes Shimmer Shine
I started with black watercolor cardstock, which instantly makes shimmer pastes pop. The dark base allows the metallic pigments to really shine and gives the finished card a dramatic, almost glowing look that you just don’t get on white cardstock. Watercolor cardstock also holds up extremely well to this medium, making it ideal for heavier applications like shimmer relief paste without warping or breaking down.
Preparing the Panel for Stenciling
To keep everything secure while working with paste, I placed an A2 panel onto a 9x12 Sticky Mat, then layered the Serene Lattice stencil on top. Using a sticky mat not only keeps the panel from shifting, but it also allows you to work more freely with multiple colors without worrying about alignment.
Mixing Shimmer Relief Paste Colors
For the paste application, I began with Amethyst Shimmer Relief Paste, spreading it across the stencil with a palette knife. Once that color was down, I cleaned my palette knife completely before moving on to Sea Beryl Shimmer Relief Paste. Cleaning between colors is key—it keeps the tones crisp and prevents muddying the shimmer.
Rather than fully blending the colors together, I scattered them across the stencil, letting each shade have its own moment while still overlapping slightly for a natural transition.
Adding a Finishing Metallic Touch
To finish off the background, I added just a touch of Antique Silver Shimmer Relief Paste. This softer metallic helps tie everything together and adds extra dimension without overpowering the color.
Once the stencil was removed, I immediately rinsed it (and the sticky mat) to keep cleanup easy—shimmer relief paste dries quickly, so this step is important.
Trimming and Mounting the Background
After letting the panel dry completely, I trimmed it down to 3¾" x 5". Slightly reducing the size gives the background some breathing room and helps frame the texture beautifully. I then popped it up onto a white card base using foam tape, which enhances the dimension and makes all that shimmer stand out even more.
Creating a Bold Sentiment
For the sentiment, I turned to the Bold Bouquet stamp set. I stamped the sentiment in Obsidian ink using the Stampwheel 2.0, which ensures perfectly straight and precise placement—especially helpful when working with bold, graphic sentiments.
The “you” was die cut using the coordinating die, while the remaining sentiment was trimmed into a thin strip for a clean, modern look.
Softening the Design with Vellum
To soften the overall design and balance the bold texture, I created a vellum accent using the Nesting Circles die set. I die cut the circle twice and layered them together with a piece of double-sided adhesive sandwiched between the vellum. This trick adds stability without any visible adhesive—perfect for vellum.
The sentiment was added to the front with thin foam tape, and I placed additional foam tape behind the sentiment area on the back of the vellum to gently lift it away from the card front.
The Final Look
The result is a card that feels rich, dimensional, and elegant, while still being simple in design. Mixing shimmer relief paste colors is such a fun way to experiment—each panel turns out a little different, and that’s part of the magic. If you’ve been hesitant to combine pastes, this is your sign to try it!

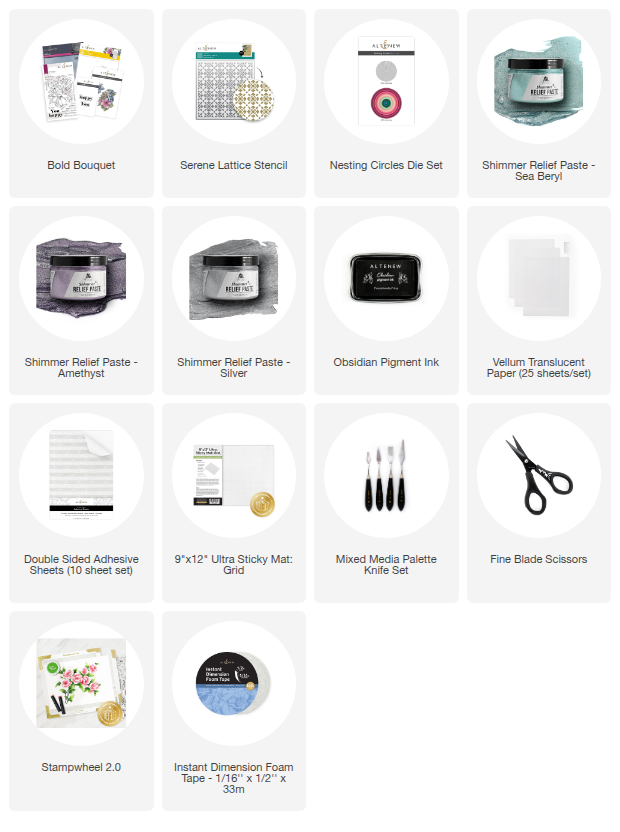
SUPPLIES